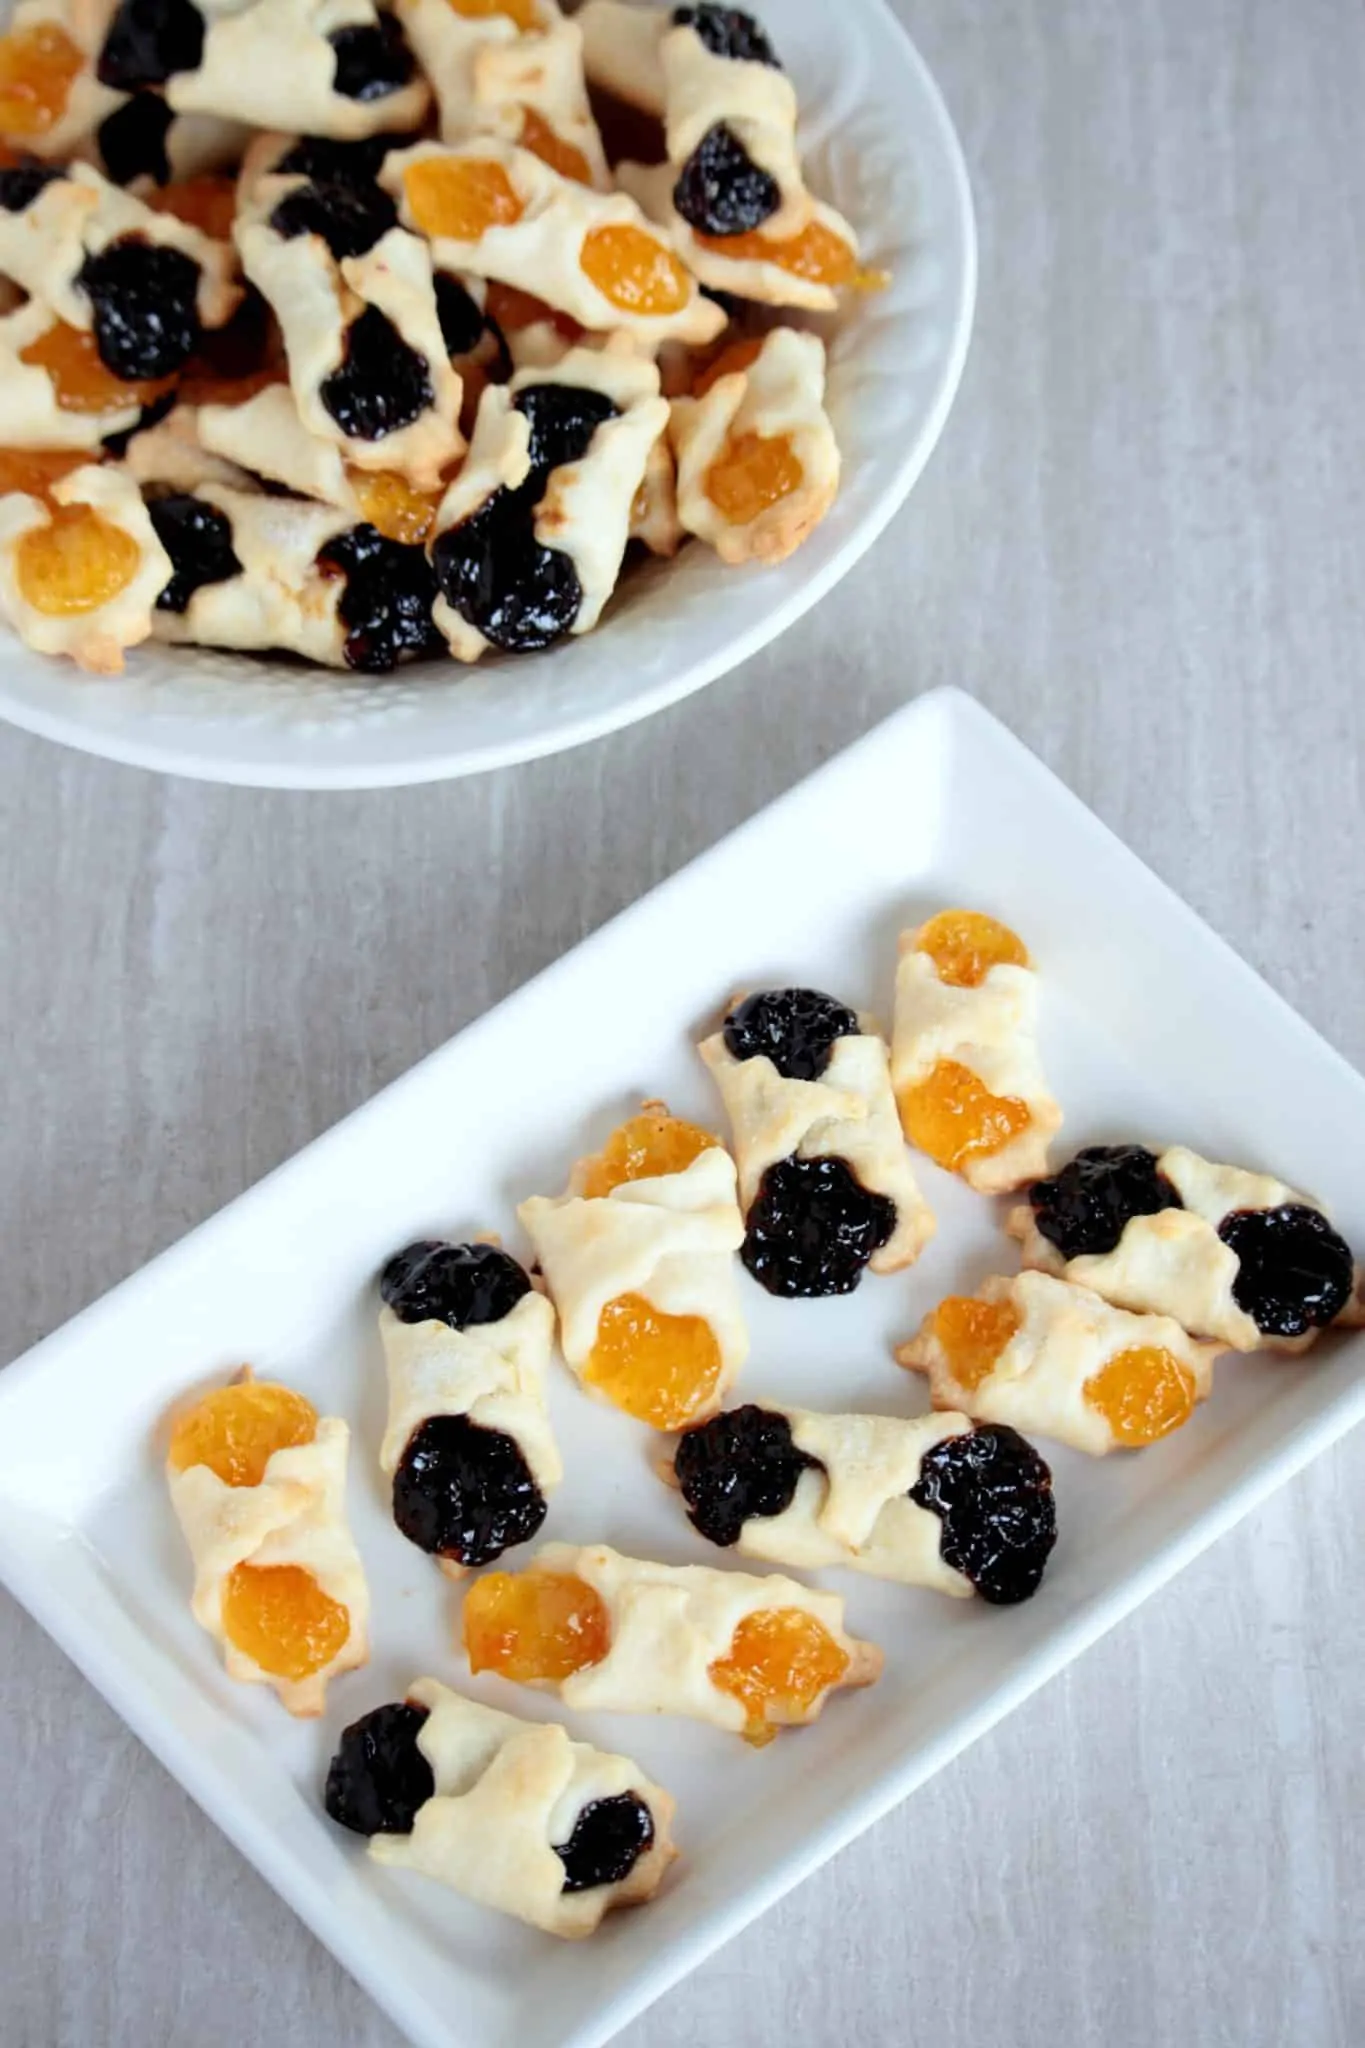
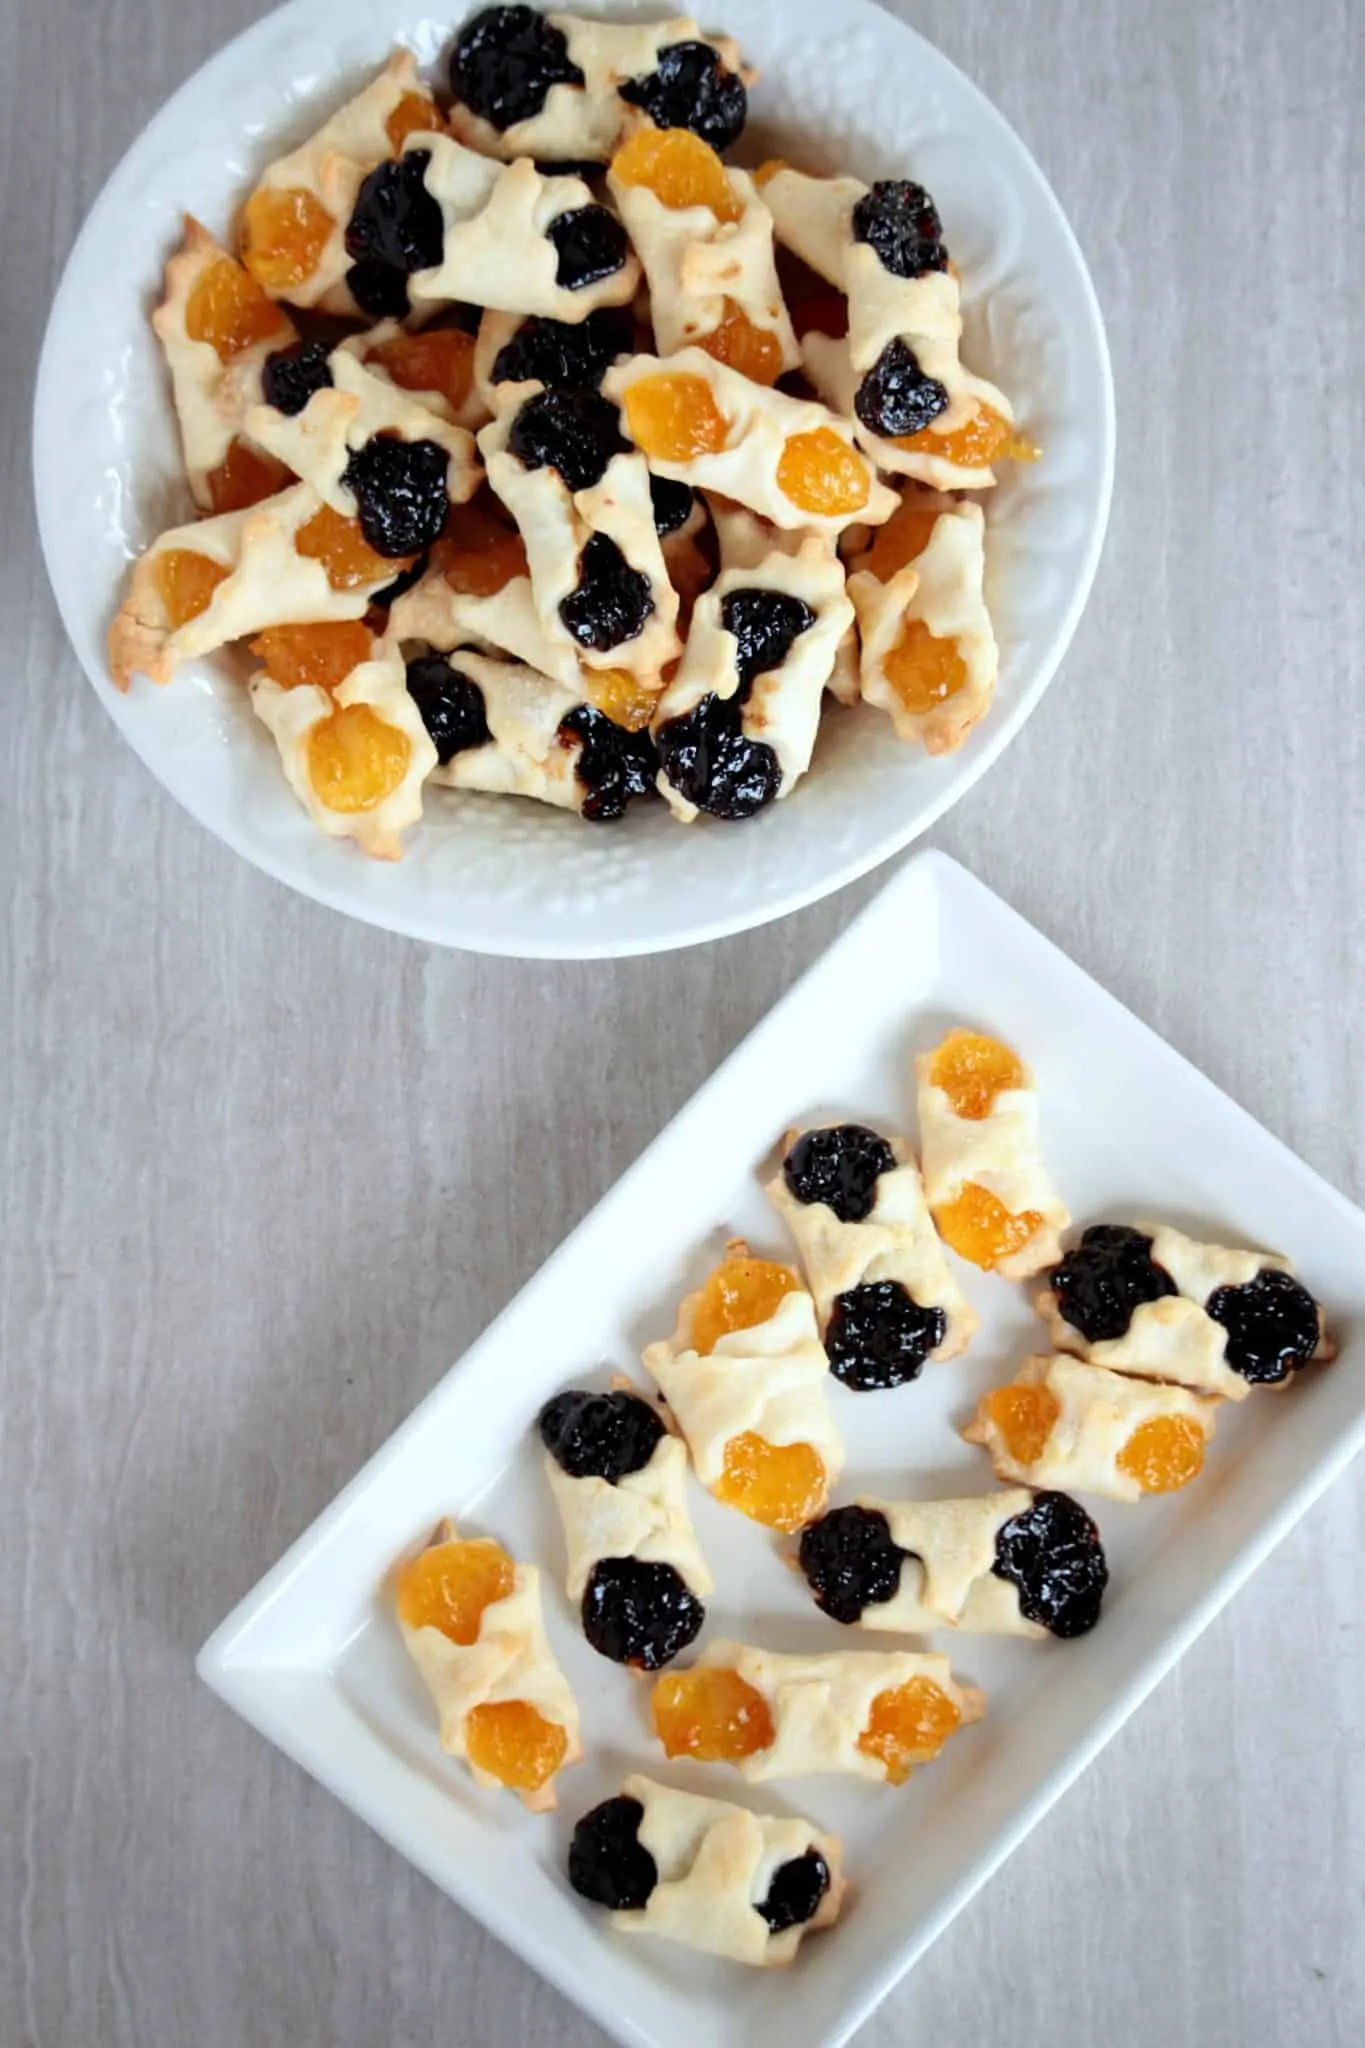
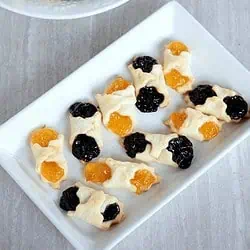
Kiffles or Kiflis are traditional Hungarian pastries that are made during the holiday season. These pastries are hand-rolled paper thin and then stuffed with pastry/pie fillings.
Kiffles are traditional Hungarian pastries that are made during the holiday season. These pastries are hand-rolled paper thin and then stuffed with pastry/pie fillings.
The dough is made with just 3 ingredients; cream cheese, butter, and all-purpose flour. I added a bit of salt to the dough to bring out the flavors. When reading through the description of kiflis, I initially decided that I would fill them up with some jam.
Only when I researched further, did I realize that I should be using pie filling instead of jam as they would run off the dough when baking. I have never used the pie filling and had no idea how they would be.
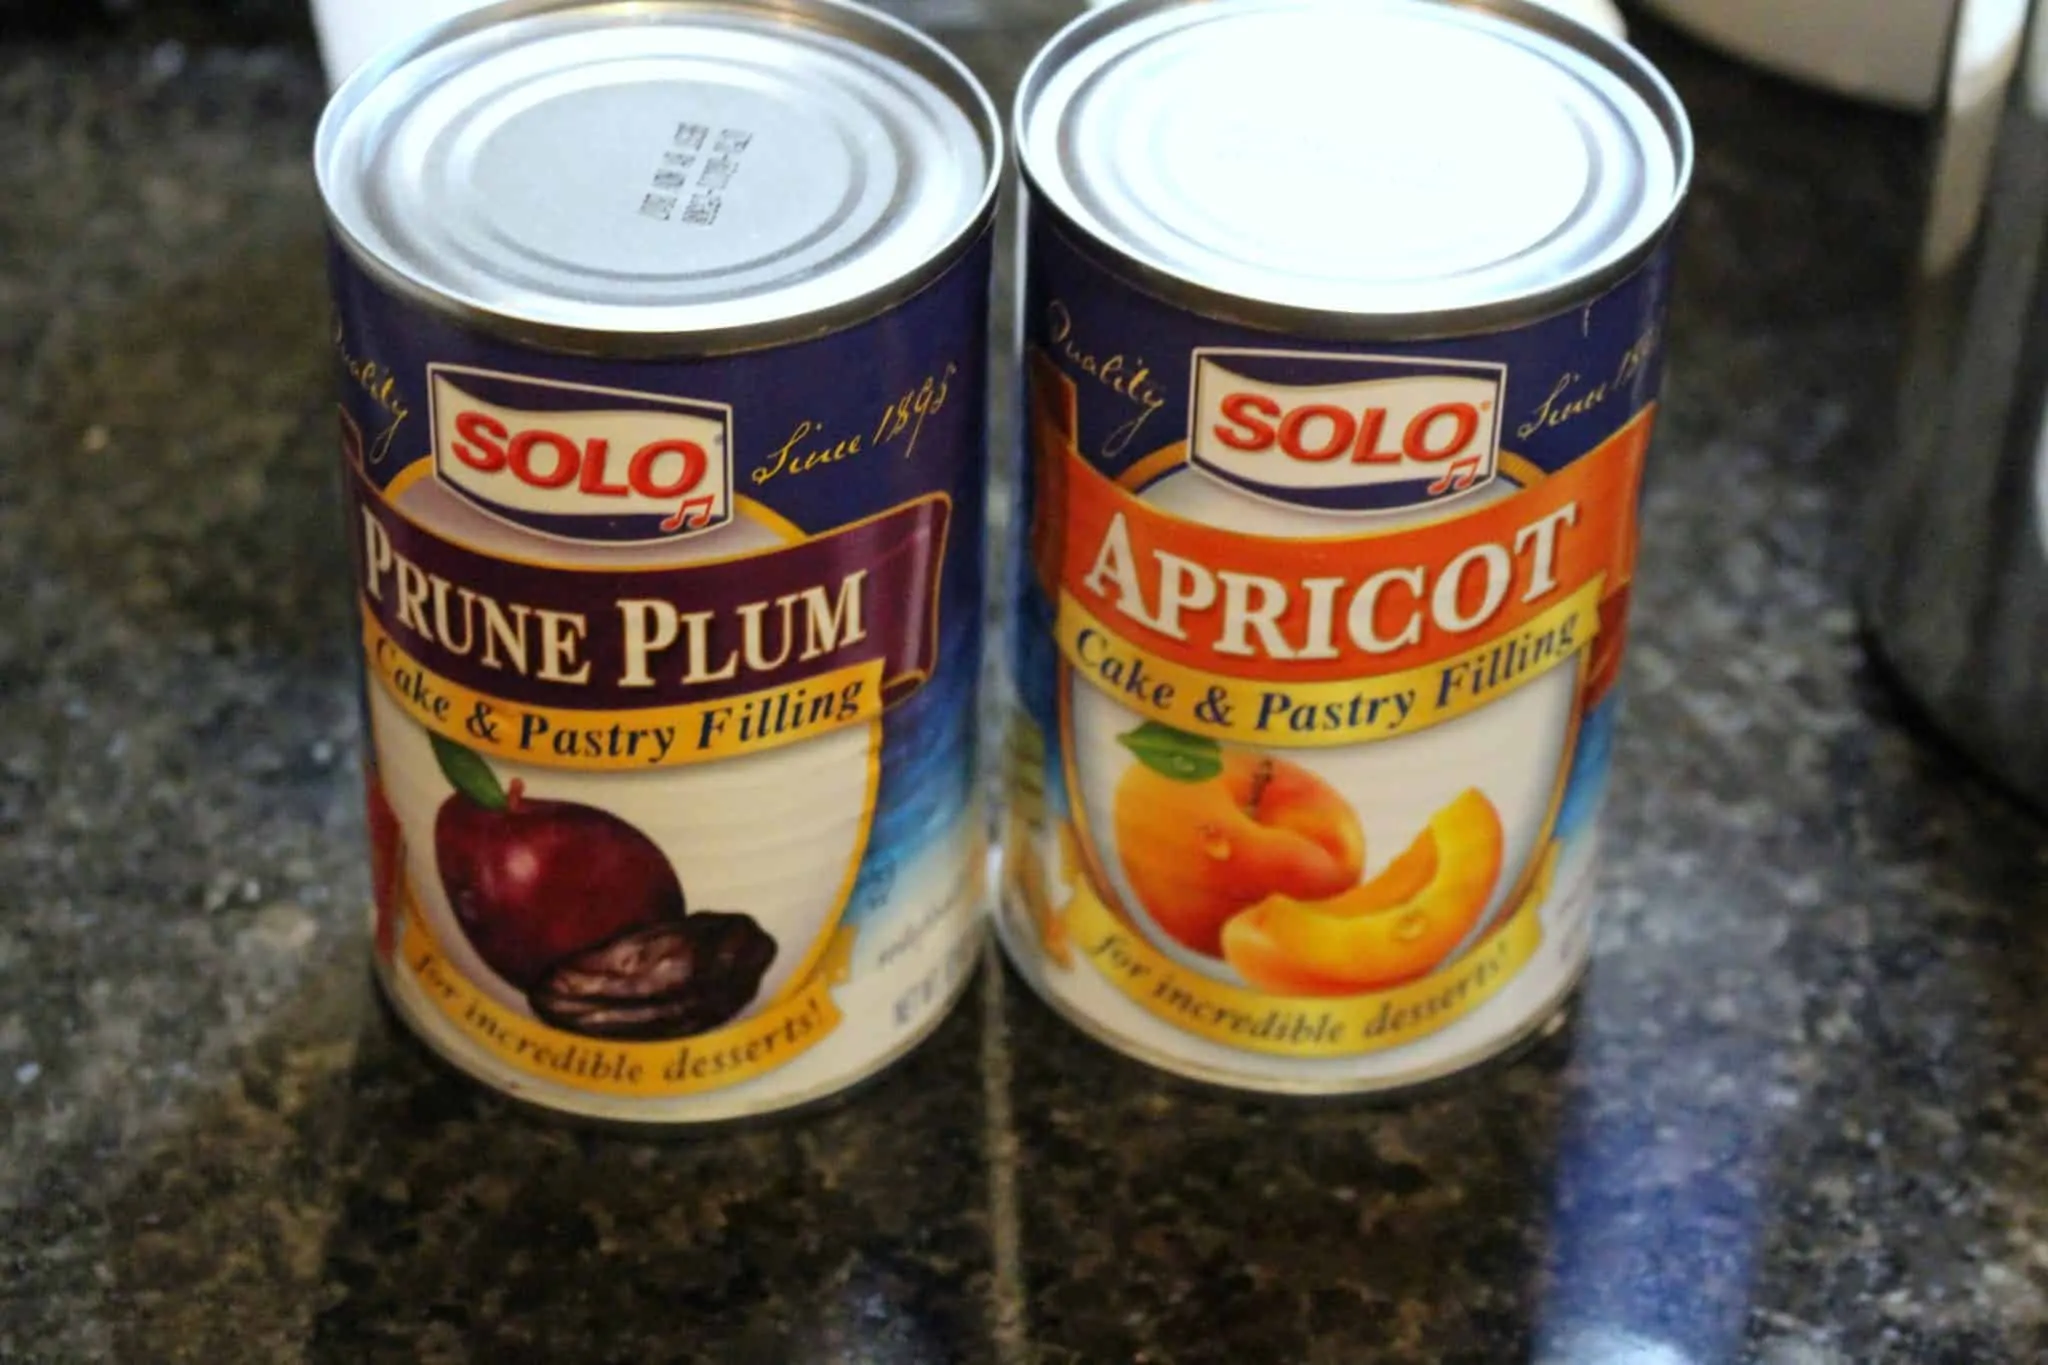
I was debating whether to make my filling or buy them. Before making the filling, I decided to go to the stores to take a look. I saw that we had Solo brand of pie fillings available and that was what I was looking for.
There were many different flavors that I saw online that were available and my boys wanted the pineapple flavor. When I went to the store, there were only 2 flavors on the shelf, apricot and prunes plum.
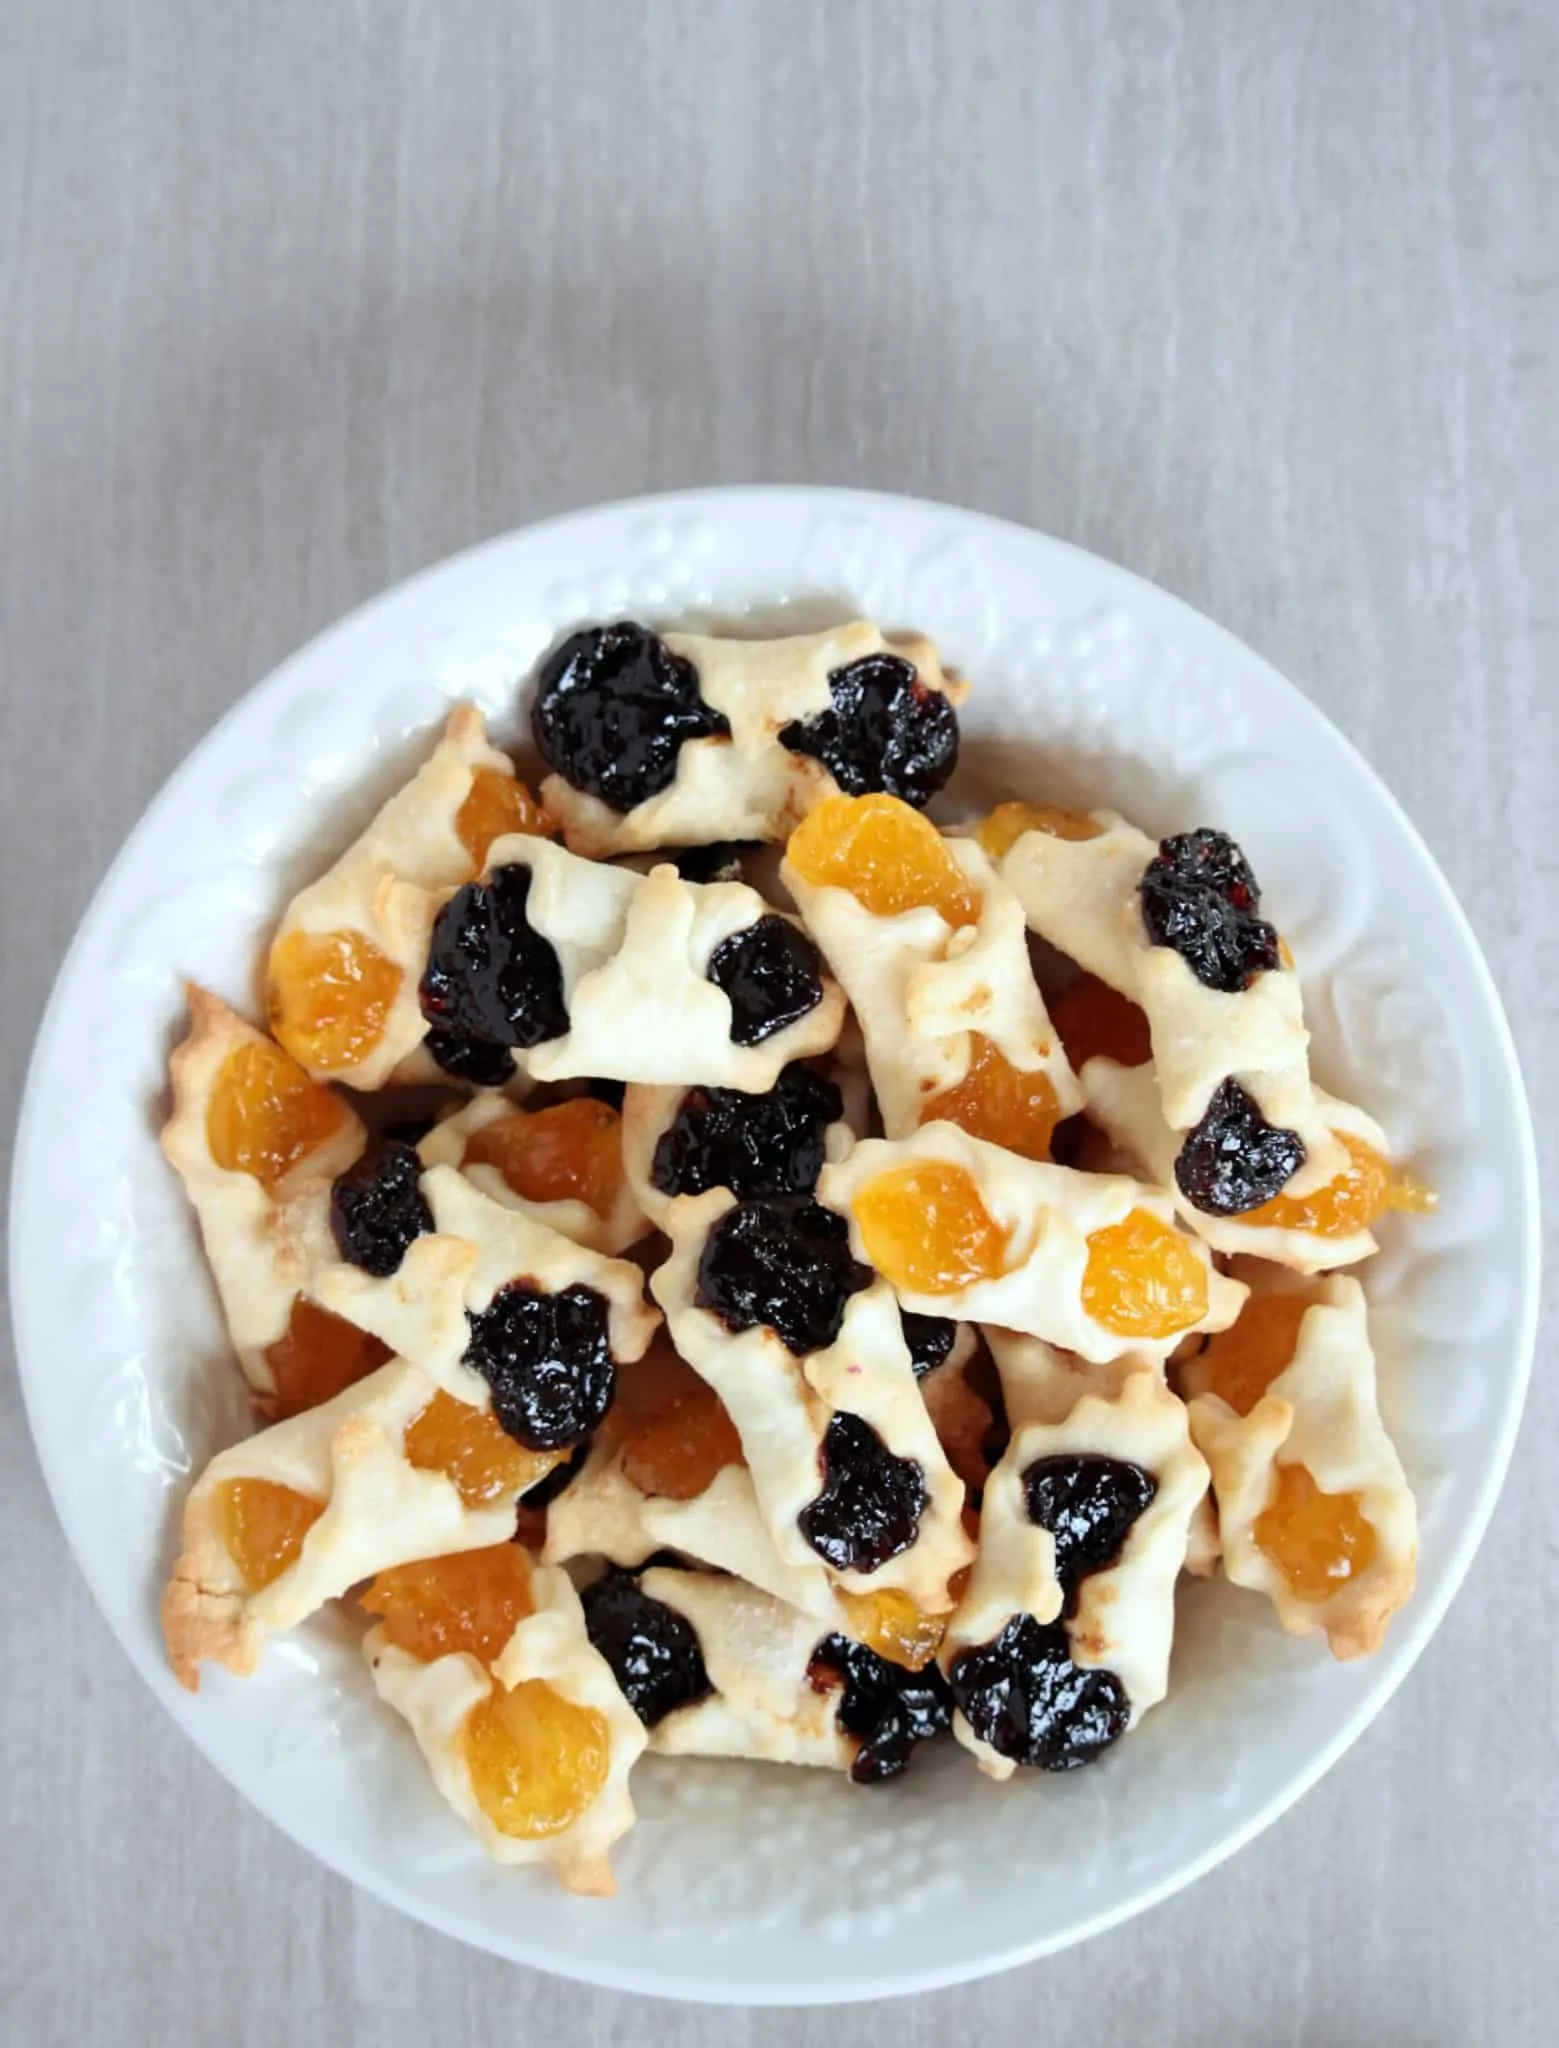
I was glad that they were of two different contrasting colors and that would look good for the pictures but worried if my boys would eat the prune flavor.
I made the dough for the Hungarian pastry the night before and again, this is one of the firsts for me. Having never made an all-fat dough and was really looking forward to how it was going to hold the shape. The dough was very soft when I made it and totally understood the need for refrigeration.
I refrigerated the dough overnight and it was perfectly hard the next morning. In fact, I had to leave the dough out for a few minutes before I started rolling it out. The first chunk of dough was all over for me and I never managed to get a good rectangle. I trimmed the corners and measured out 2-inch squares.
Shaping the pastry
I wanted to make the nice fancy crinkled edges for my Kiffles, but I don’t have the crinkled cutter. A bulb flickered in my mind and I knew that there was a crinkled roller in the play dough set that my son has.
Praying hard that I find the box with all the play dough gadgets, I ran upstairs and found the fancy roller. I could not have been more excited than this.
I assembled the pastries and baked the first batch. My husband was just leaving for work when the first batch came out and I quickly gave him one to taste test. He loved it and wanted to taste the other flavor as well.
On his way out he mentioned that the pastry shell was marvelous and they just melted in the mouth. Not saying it out loud, I said to myself, this is what an all-fat dough does.
My greatest critics were going to taste it only in the evening. I finished photographing them and waited for my boys to come home. My oldest came home and the first thing he asked was, what’s new I baked today. I showed him the Kiffles and he loved how they looked.
He ate one kiflis and then another and then another and a few more without saying a word. A few minutes later, he came to me and said this is one of the best pastries he has had in a while. He mentioned that these were not too sweet and the sweetness from the pie fillings was just right.

Preparation time - 10 minutes Baking time - 12 to 15 minutes Difficulty level - Intermediate Recipe adapted from - My Gourmet Connection
Ingredients to make Kiffles - (makes 4 dozen)
- Cream cheese (plain) - 4 oz (softened)
- Unsalted butter - 8 tablespoon (softened)
- All-purpose flour - 1 cup plus about 2 tbsp
- Salt - ½ tsp
- Cake and Pastry filling (I used Solo brand ) - I used Apricot and prunes flavor
- Flour - for dusting the surface when rolling
- Sugar - for sprinkling
Procedure to make Kiffles -
To make the Dough -
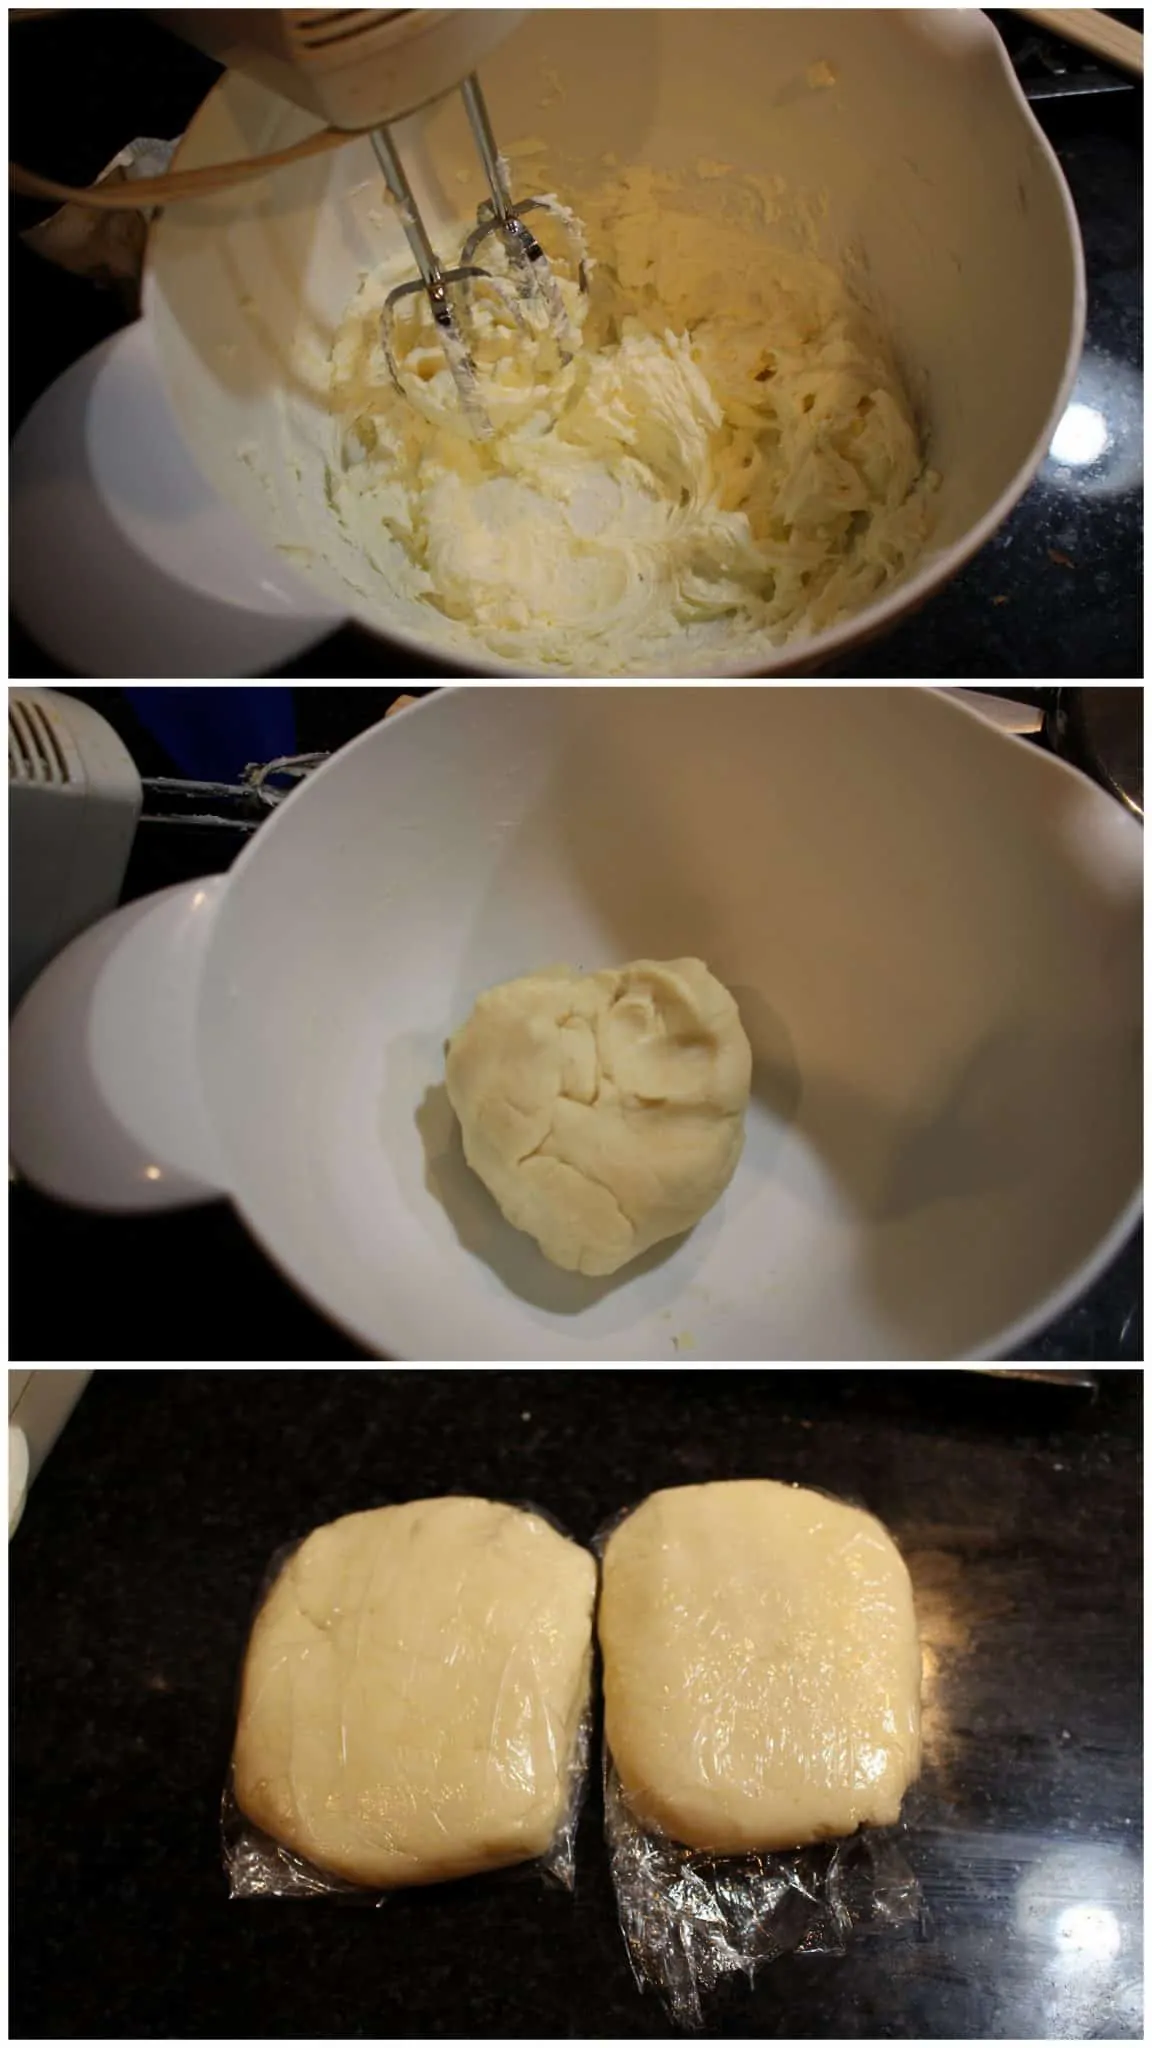
In a large bowl, beat the butter and the cream cheese until fluffy. Be sure to leave the cream cheese and butter on the counter to soften.
Mix the flour and salt in a small bowl. Add this mixture in 4 batches to the butter mixture. Mix well after each addition.
I used my hand mixer to beat the butter. Once we add the flour, the mixer will start to clump up. At this stage, use your hands to mix it and make a soft dough.
This is a fat dough, so the dough will be very soft, but not sticky.
Divide the dough into two and pat it down. Wrap it in plastic wrap and refrigerate overnight. If overnight is possible, refrigerate at least for 3 hours.
To shape and bake the pastry -
When ready to roll, dust the work surface with plenty of flour. Remember that this is an all-butter dough and hence will become soft much quicker. Hence we need to dust the surface and the rolling pin with sufficient flour.
Preheat the oven to 375 F. Layer a baking sheet with parchment and keep it ready.
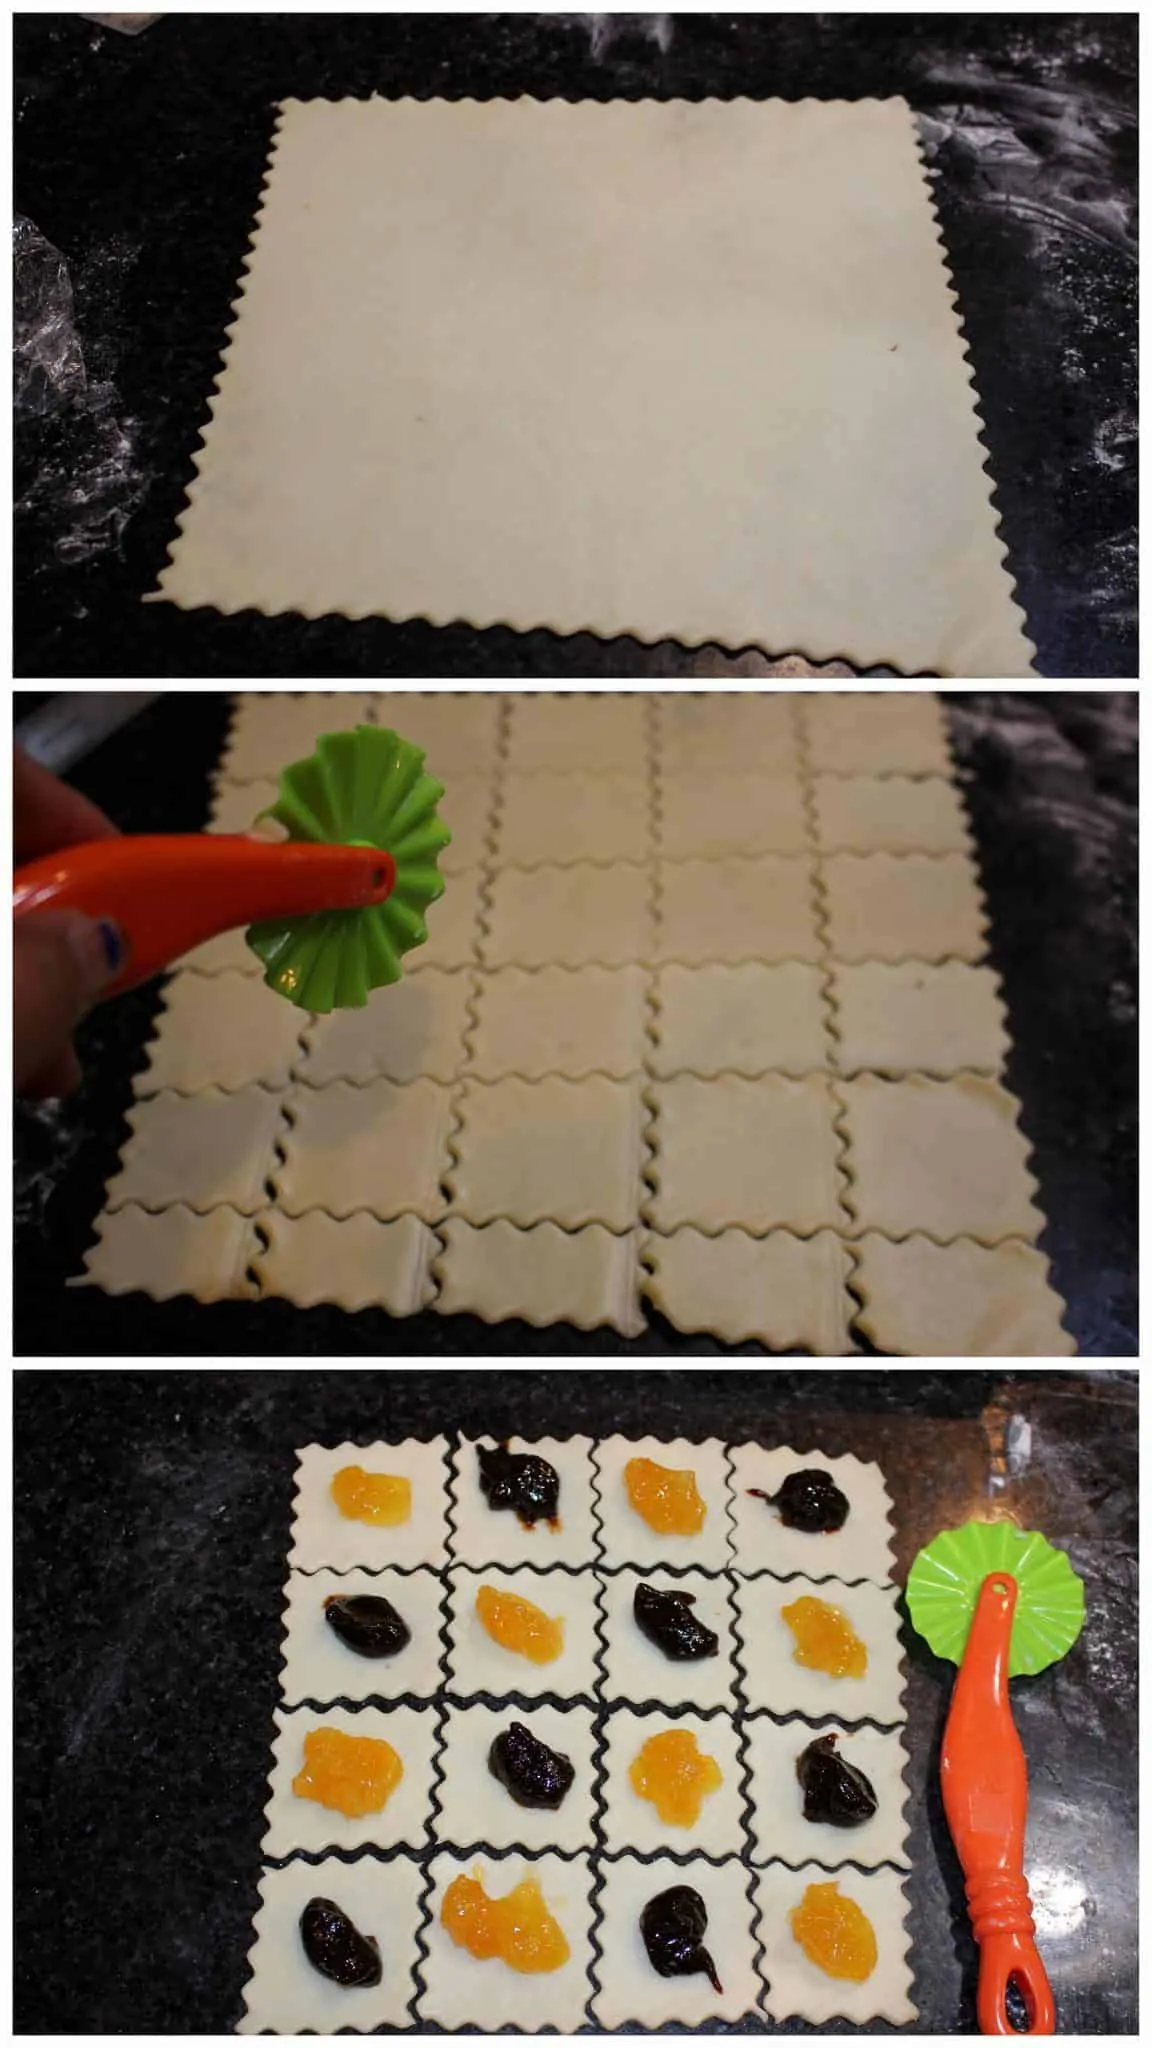
Let the dough sit out of the refrigerator for 5 minutes and then roll it into thin rectangles. There are several thicknesses that is mentioned, but I would just say, roll it as thin as possible. Keep lifting the dough often so it does not stick to the surface.
Using a serrated roller cutter or plain pizza cutter, cut the dough into 2 x 2 squares. Try to keep the squares as equal in size as possible. I used a ruler to guide me when I was cutting the dough.
Place a teaspoon of filling in the center of each square.
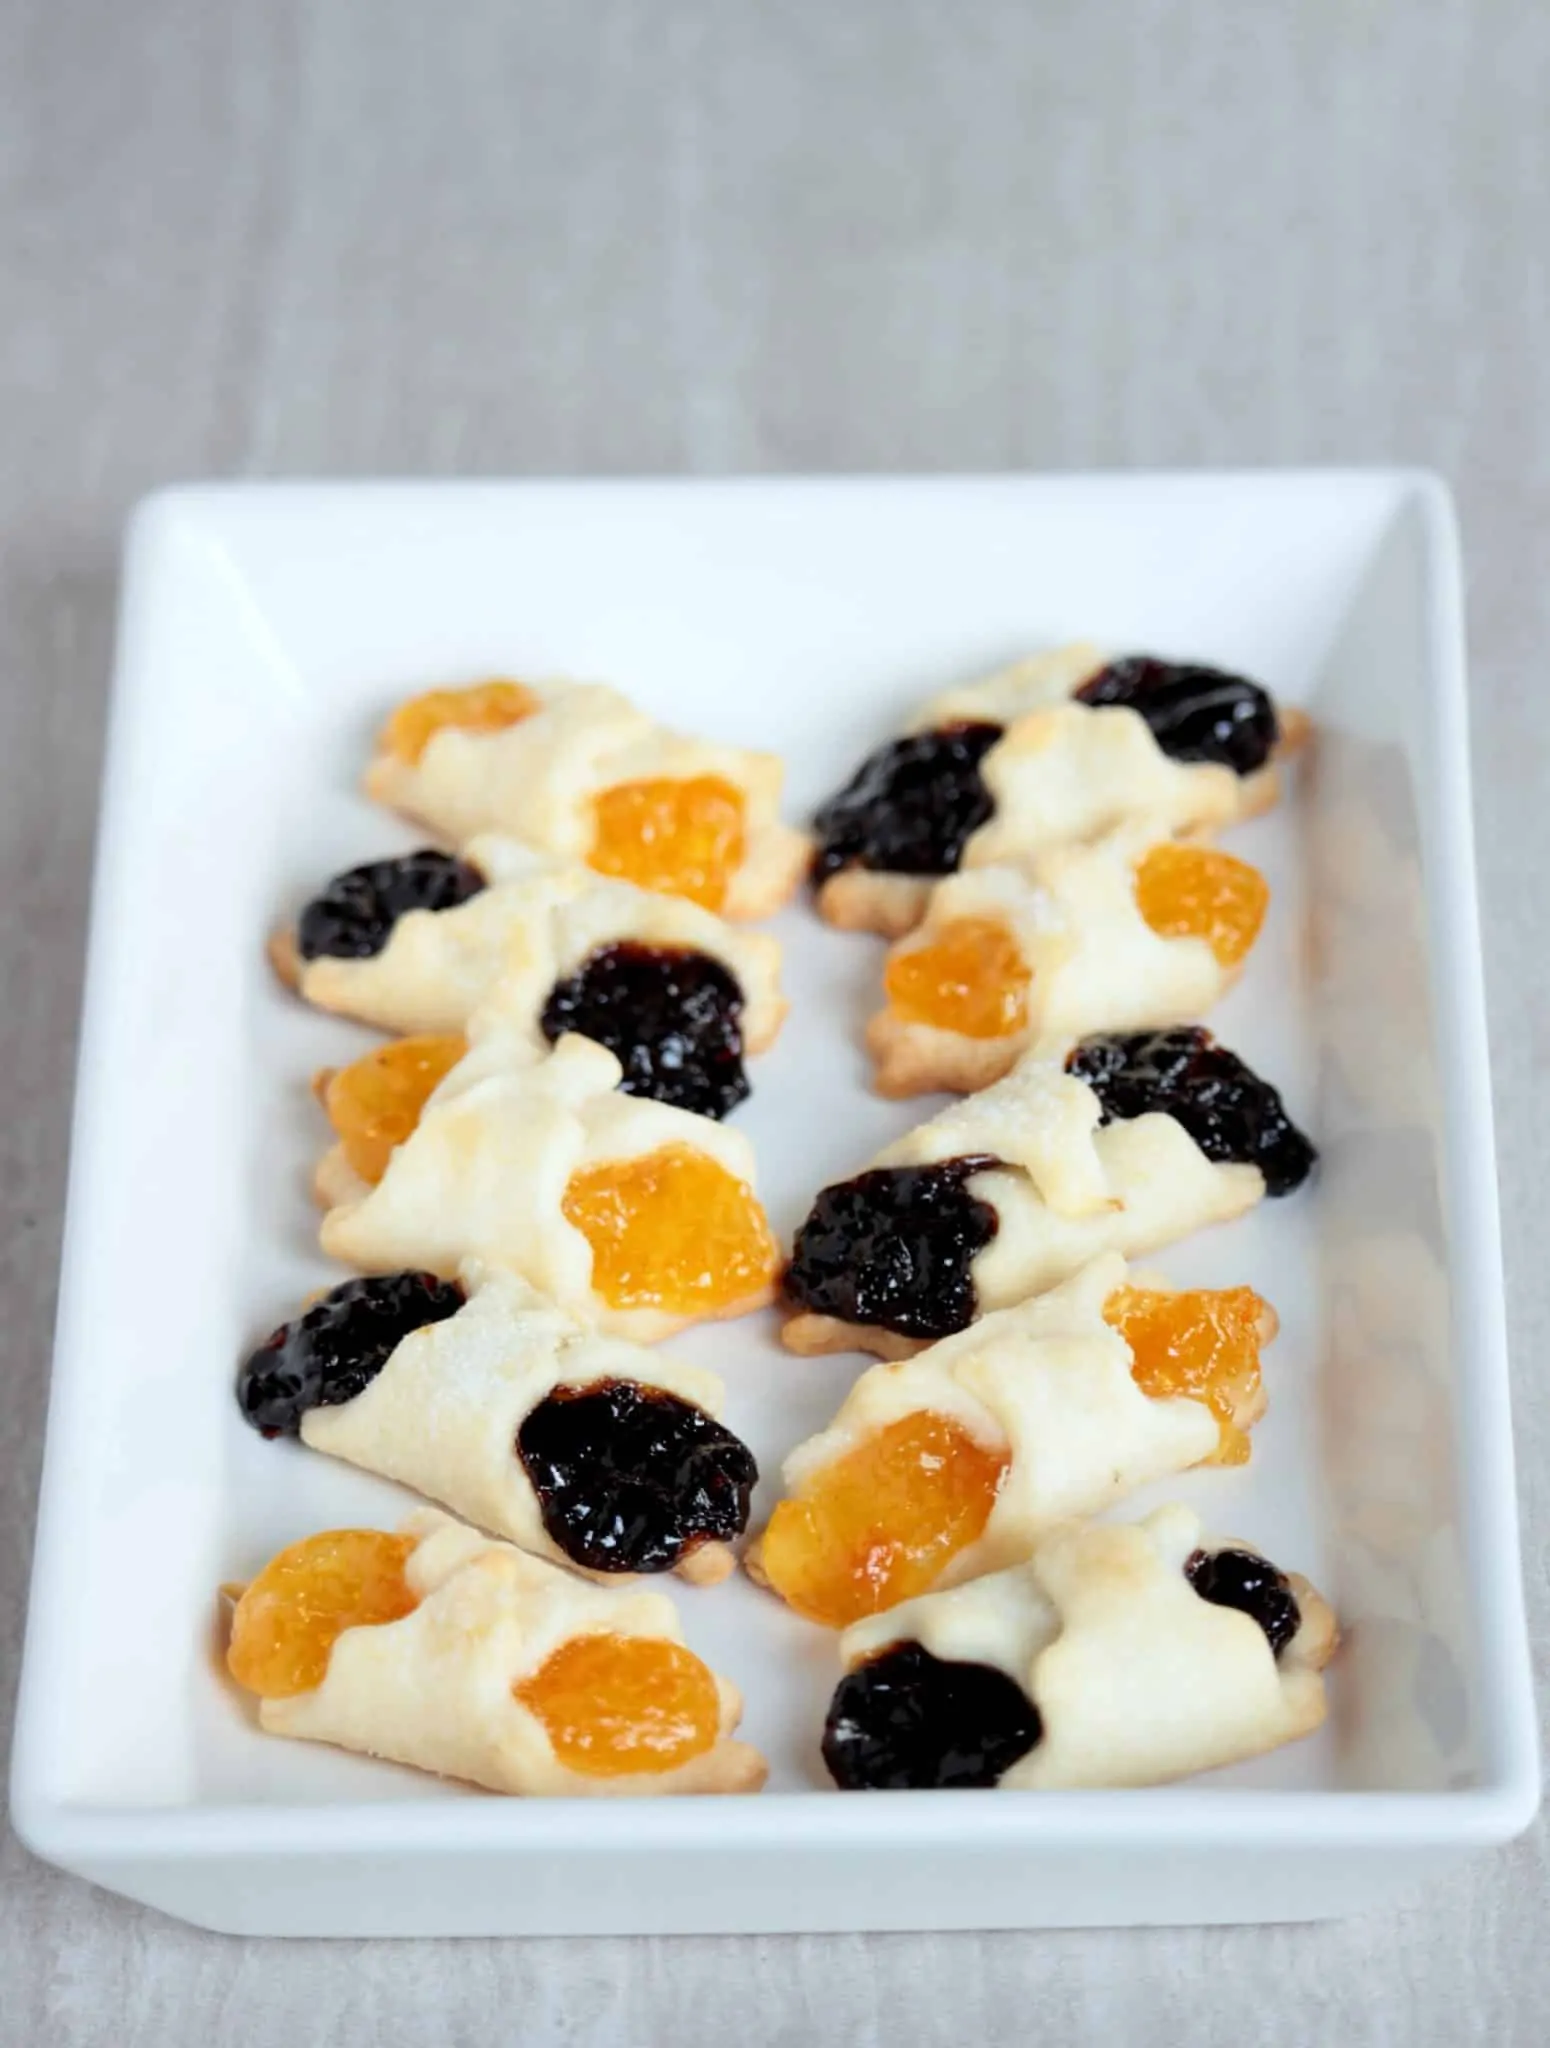
Bring one corner over the filling and then the other corner over the first one and pinch to seal. Repeat the same with all the squares.
I would suggest that you work as quickly as possible, as the dough becomes very soft the longer we leave it out.
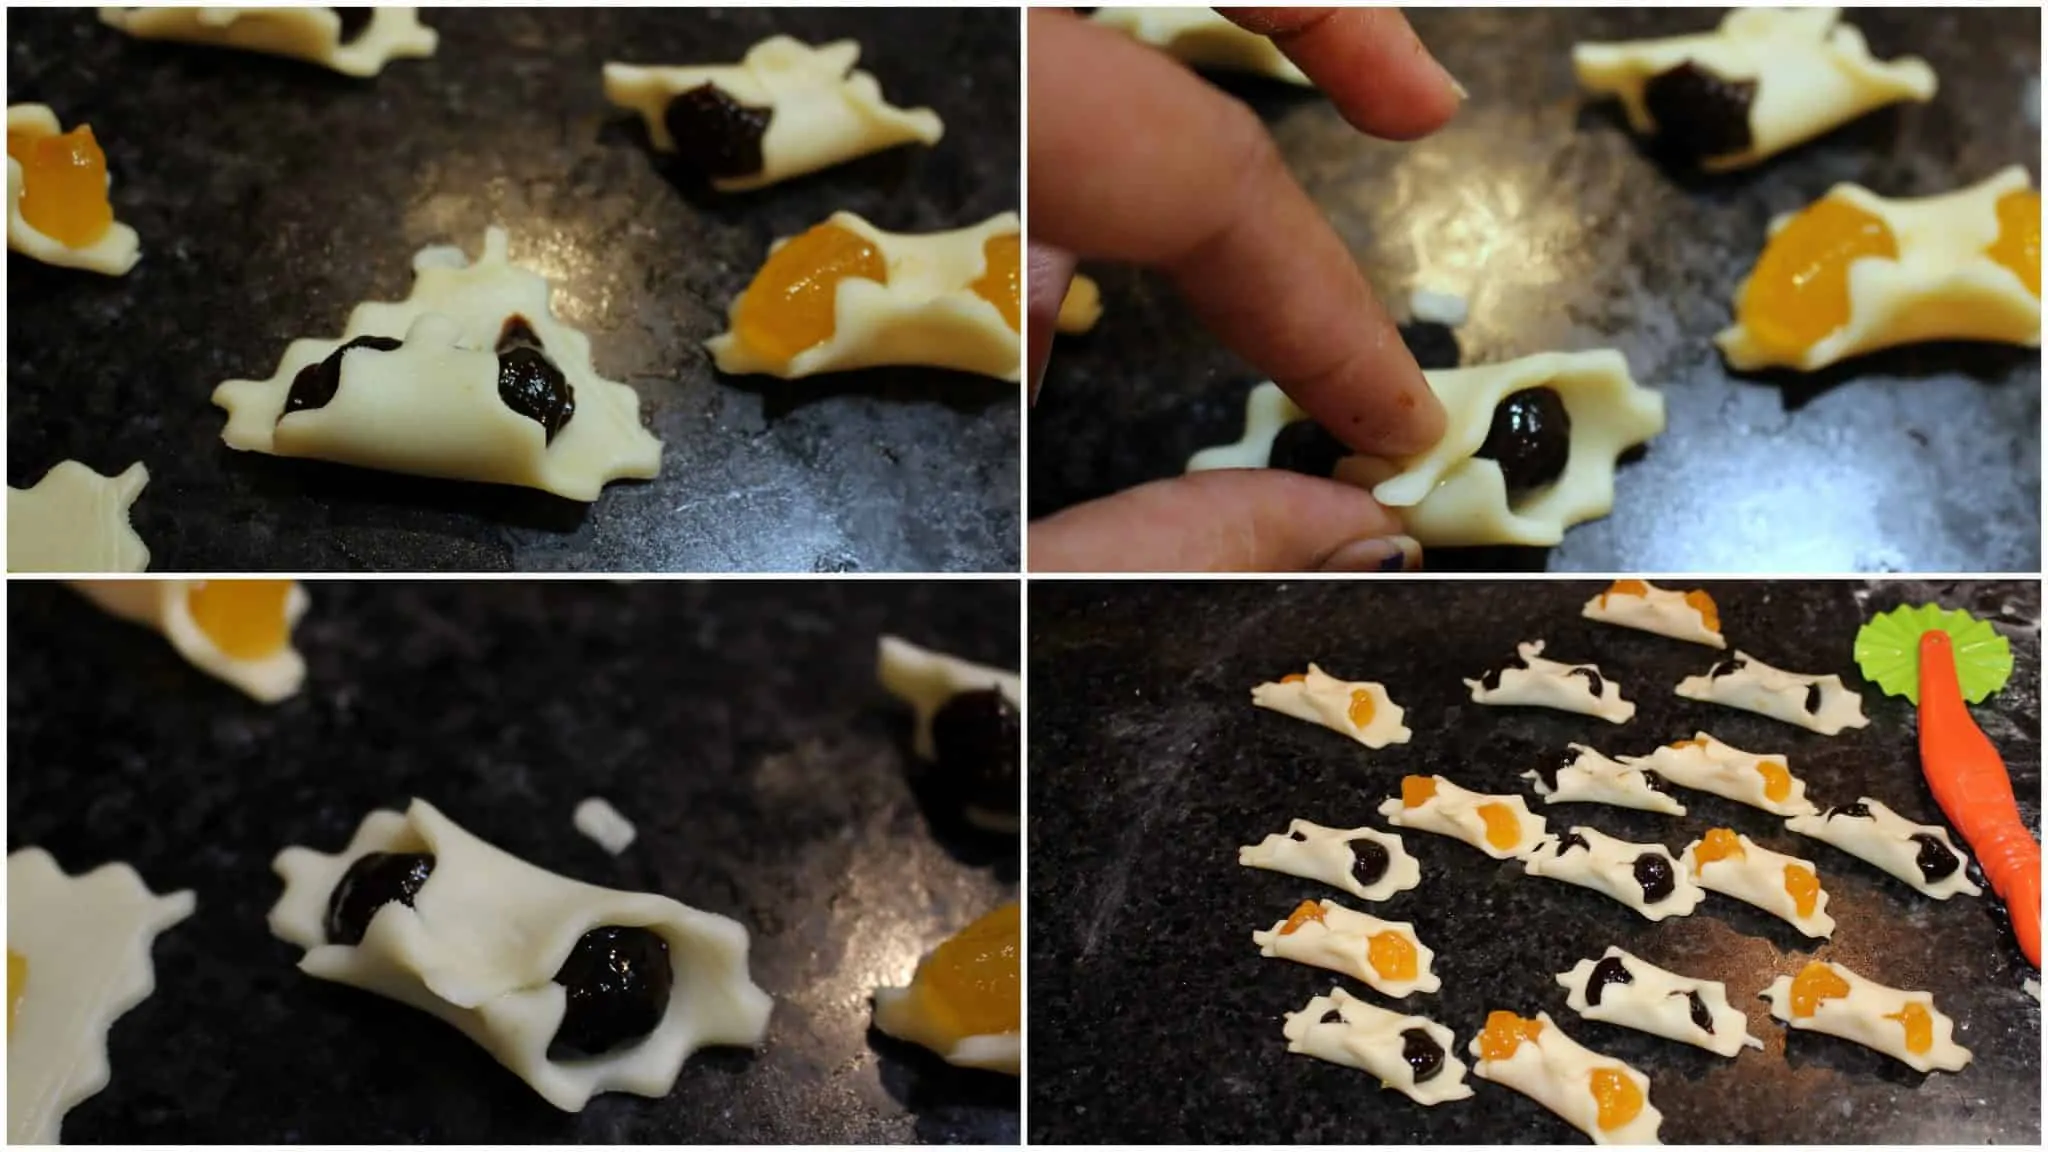
Place the shaped kiffles on the prepared baking sheet and sprinkle a little sugar over them.
Bake the kiflis for 12 to 15 minutes or until the edges start to turn slightly brown and the pastries start to firm up. For this kiffles pastry, I would highly recommend using a double tray to insulate it as the bottom of the pastry could burn easily.
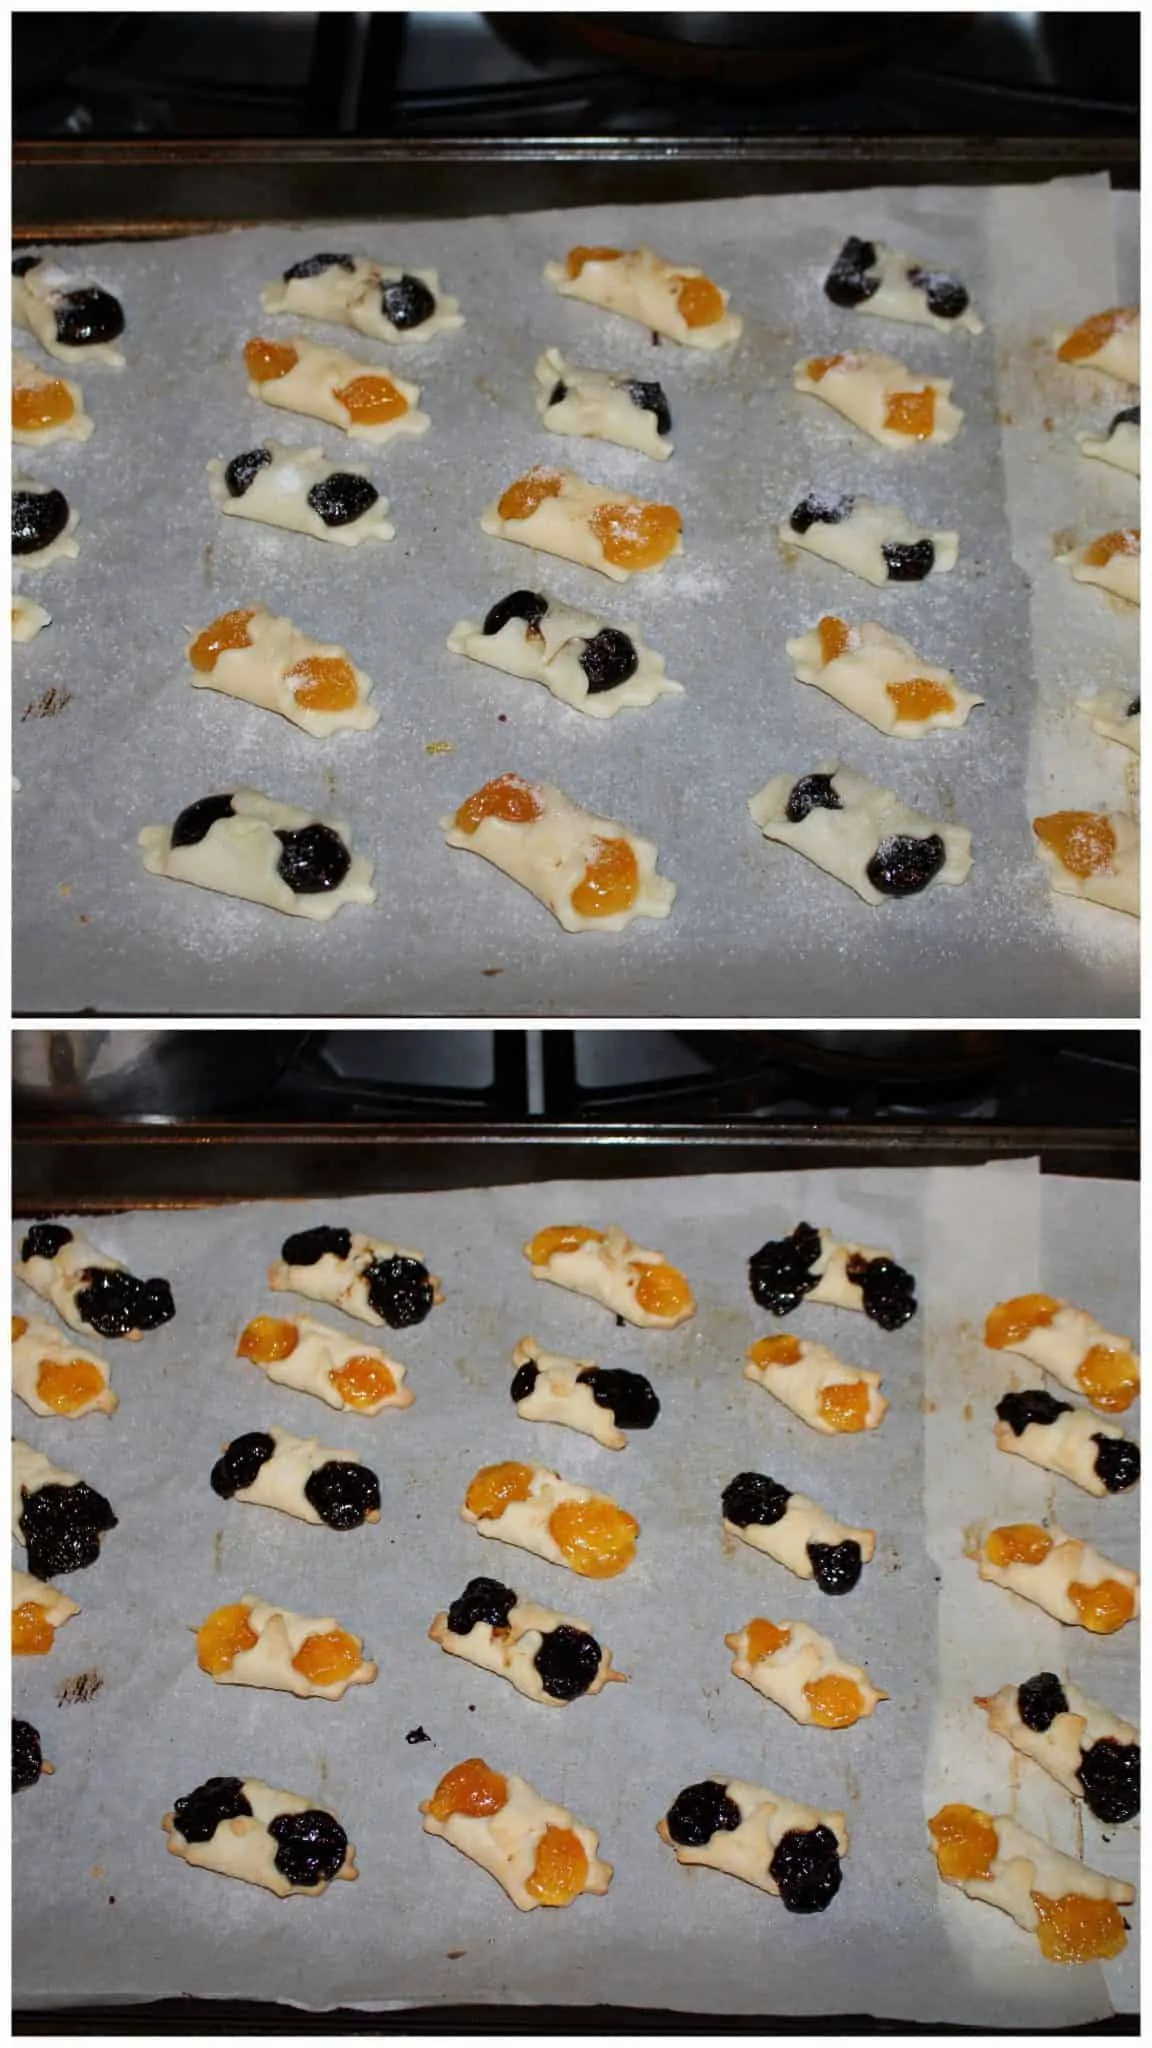
Let them cool in the tray for a couple of minutes and then transfer the kiffles to the cooling rack to cool completely.
Store the kiflis in a container layered between parchment paper to avoid sticking.
Expert Tips
The Kiflis dough can be a little tricky to work with. when very cold, it is hard to roll. when it warms up too much, they start sticking. I would suggest having all the ingredients ready and working with the dough quickly.
If making a large batch of Kiflis, you could place the fillings in a piping bag and pipe them onto each square. I used a small spoon to place the filling, but it was time-consuming.
Similar Recipes
- Jam Sandwich Cookies Recipe
- Jam Thumbprint Cookies - Egg-Less Jam Cookies
- French Macarons with Chocolate Ganache
- Fig Newton Bars With Homemade Fig Filling
Recipe
Equipment
- ▢ bowl
- ▢ Oven
Ingredients
- ▢ 4 oz Cream cheese Plain (softened)
- ▢ 8 tablespoon Unsalted butter Softened
- ▢ 1 cup All purpose flour
- ▢ ½ teaspoon Salt
- ▢ Cake and Pastry filling I used Solo brand - I used Apricot and prunes flavor
- ▢ Flour For dusting the surface when rolling
- ▢ for sprinkling Sugar
Instructions
TO MAKE THE DOUGH -
- In a large bowl, beat the butter and the cream cheese until fluffy. Be sure to leave the cream cheese and butter on the counter to soften.
- Mix the flour and salt in a small bowl. Add this mixture in 4 batches to the butter mixture. Mix well after each addition.
- I used my hand mixer to beat the butter. Once we add the flour, the mixer will start to clump up. At this stage, use your hands to mix it and make a soft dough.
- This is a all fat dough, so the dough will be very soft, but not sticky.
- Divide the dough into two and pat it down. Wrap it in plastic wrap and refrigerate overnight. If overnight is possible, refrigerate at least for 3 hours.
TO SHAPE AND BAKE THE PASTRY -
- When ready to roll, dust the work surface with plenty of flour. Remember that this is a all butter dough and hence will become soft much quicker. Hence we need to dust the surface and the rolling pin with sufficient flour.
- Preheat the oven to 375 F. Layer a baking sheet with parchment and keep it ready.
- Let the dough sit out of the refrigerator for 5 minutes and then roll it into thin rectangle. There are several thickness that is mentioned, but I would just say, roll it as thin as possible. Keep lifting the dough often so it does not stick to the surface.
- Using a serrated roller cutter or plain pizza cutter, cut the dough into 2 x 2 squares. Try to keep the squares as equal in size as possible. I used a ruler to guide me when I was cutting the dough.
- Place a teaspoon of filling in the center of each square.
- Bring one corner over the filling and then the other corner over the first one and pinch to seal. Repeat the same with all the squares.
- I would suggest that you work as quickly as possible, as the dough becomes very soft the longer we leave it out.
- Place the shaped kiffles on the prepared baking sheet and sprinkle little sugar over them.
- Bake them for 12 to 15 minutes or until the edges starts to turn slightly brown and the pastries starts to firm up. For this pastry, I would highly recommend using double tray to insulate as the bottom of the pastry could burn easily.
- Let it cool in the tray for couple of minutes and then transfer the kiffles to cooling rack to cool completely.
- Store them in a container layered between parchment paper to avoid sticking.
Nutrition
More Pastries
- Homemade Puff Pastry Toaster Strudel
- Cream Cheese Spirals | Cinnamon Nut Filled Cookies
- Samosa Pinwheels | Air fryer and Baked
- Apple Turnover With Phyllo (Filo) Pastry Sheets
These jam thumbprint cookies are made with very few basic ingredients and are a great way to try out different flavors with different preserves. These are mildly sweet with a very flaky texture.
It is always a pleasure to step into the new year and cherish the old ones. I am really excited to begin my New Year blogging with these very simple Jam thumbprint cookies that I pinned from here .
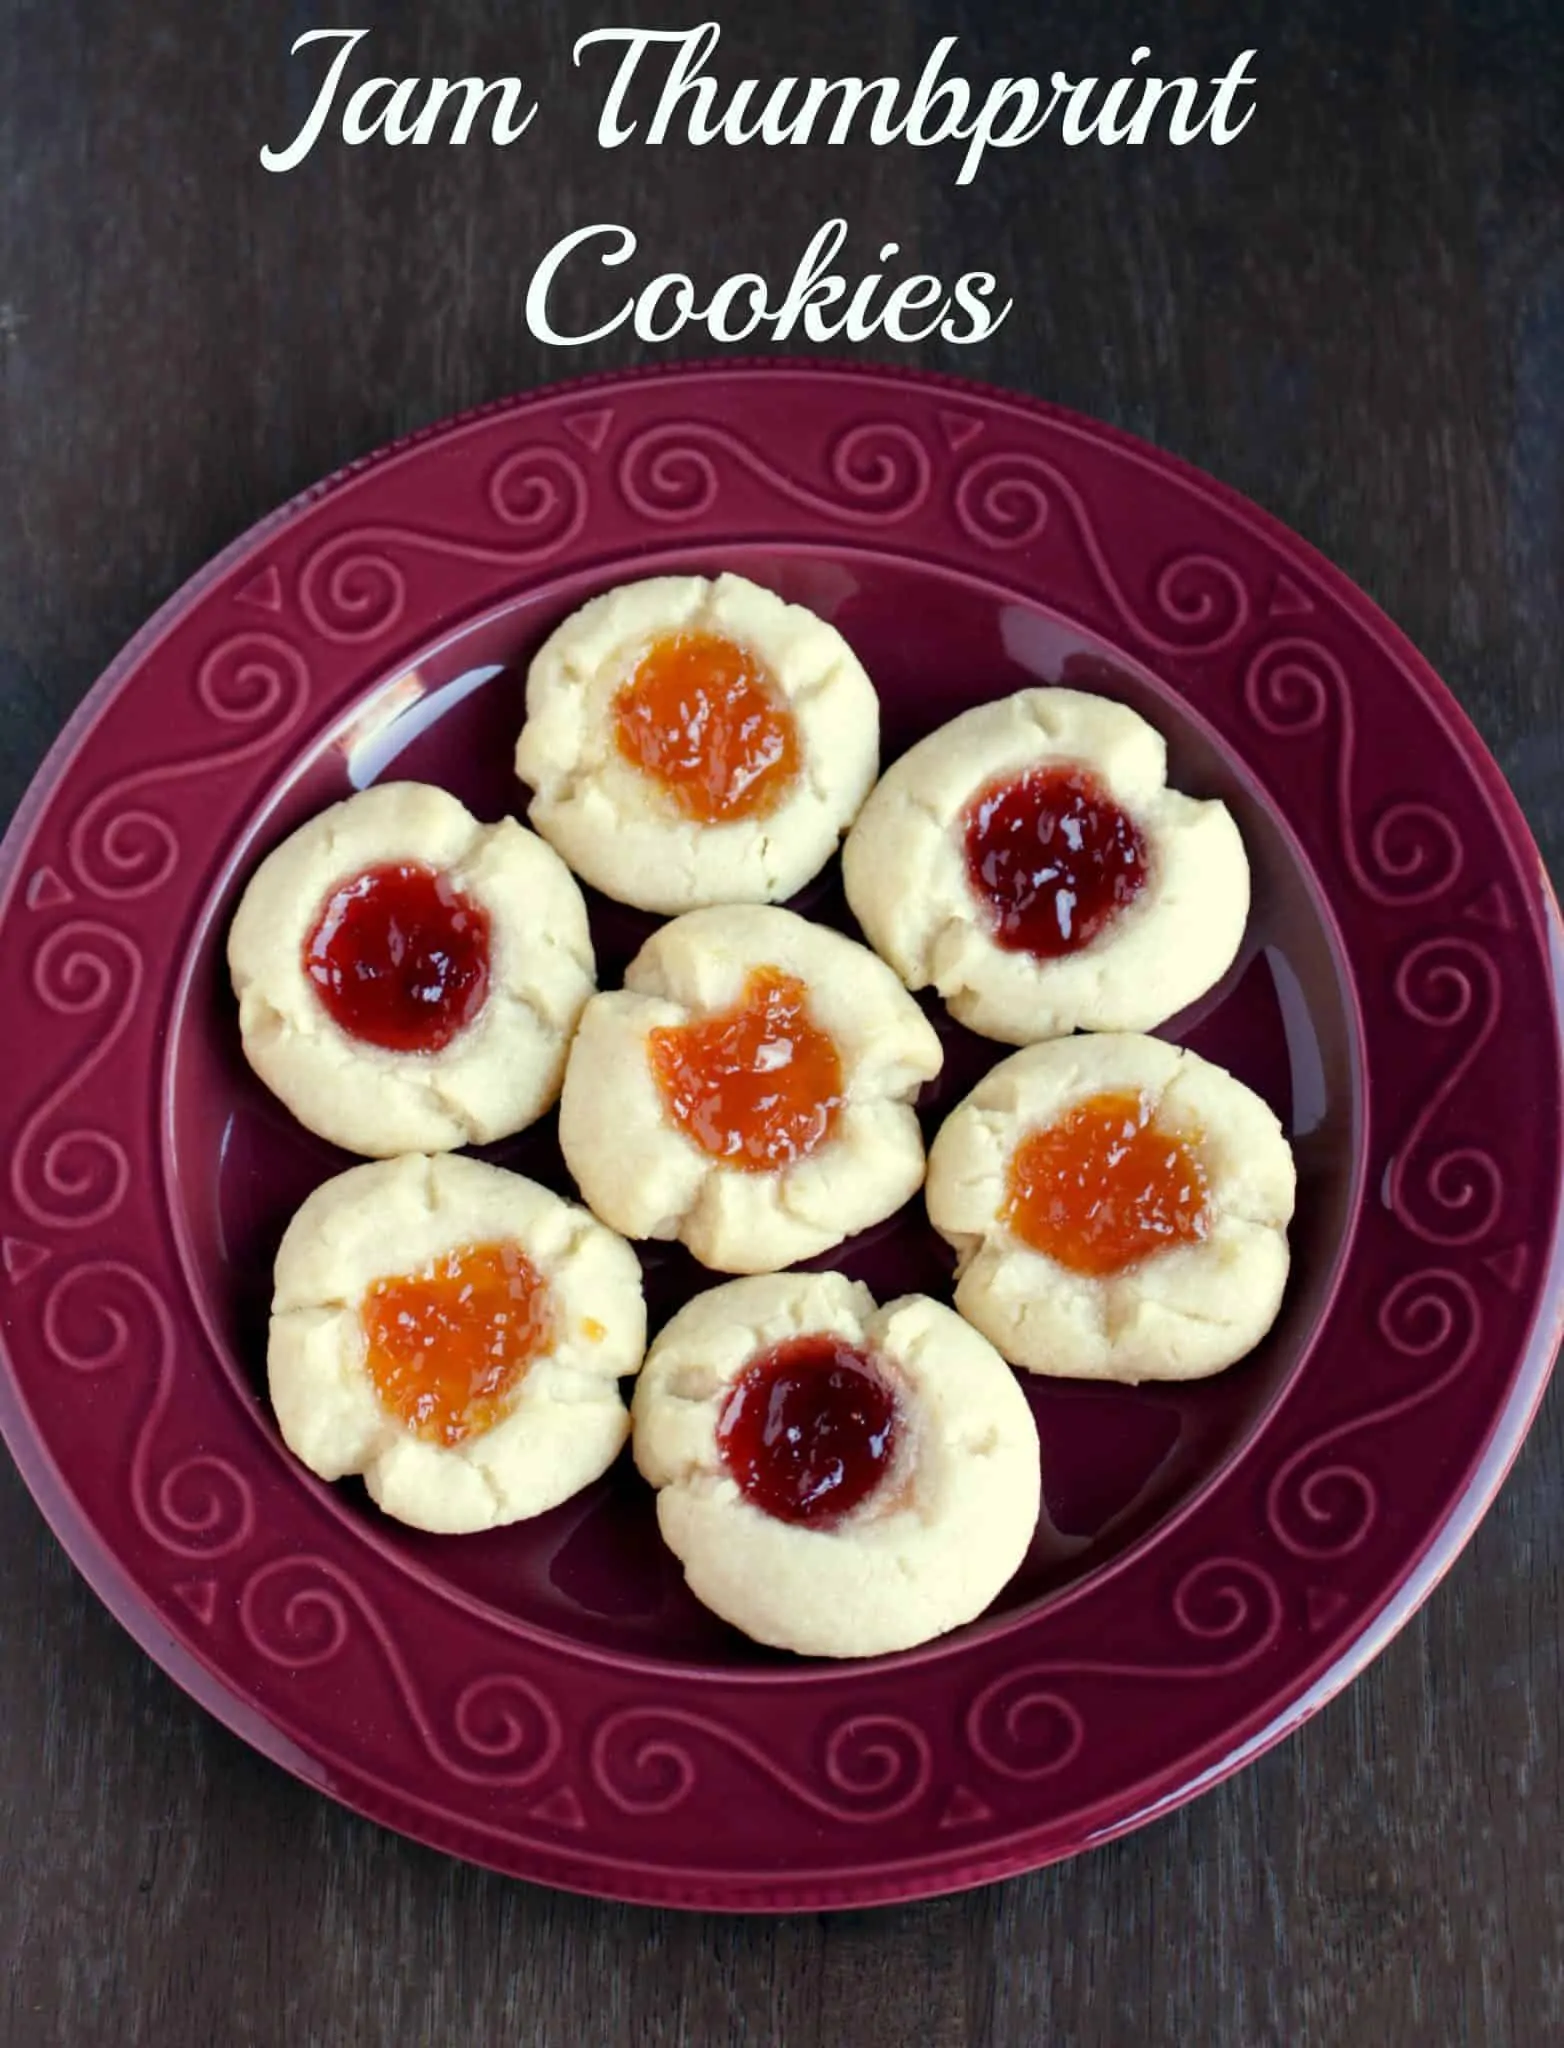
This Jam cookie (as my kids called it) is made with very few basic ingredients and is a great way to try out different flavors with different preserves.
Strawberry jam is always everyone’s favorite in my house and hence that is one jam/preserve that gets used up really quickly. Next to that, is the apple jam that is a favorite.
I did not have any homemade spiced apple jam and hence was not able to try it out, but it will be a great one to try in the fall when I will have an abundance of apple jam.
I had a jar of the apricot preserve that was begging to be used. My boys did not care for it in the sandwiches and hence it was left untouched. I was planning on making the entire batch with the apricot preserve hoping to use quite a bit of it, but then decided to use it only in half as I was worried the boys might not like it.
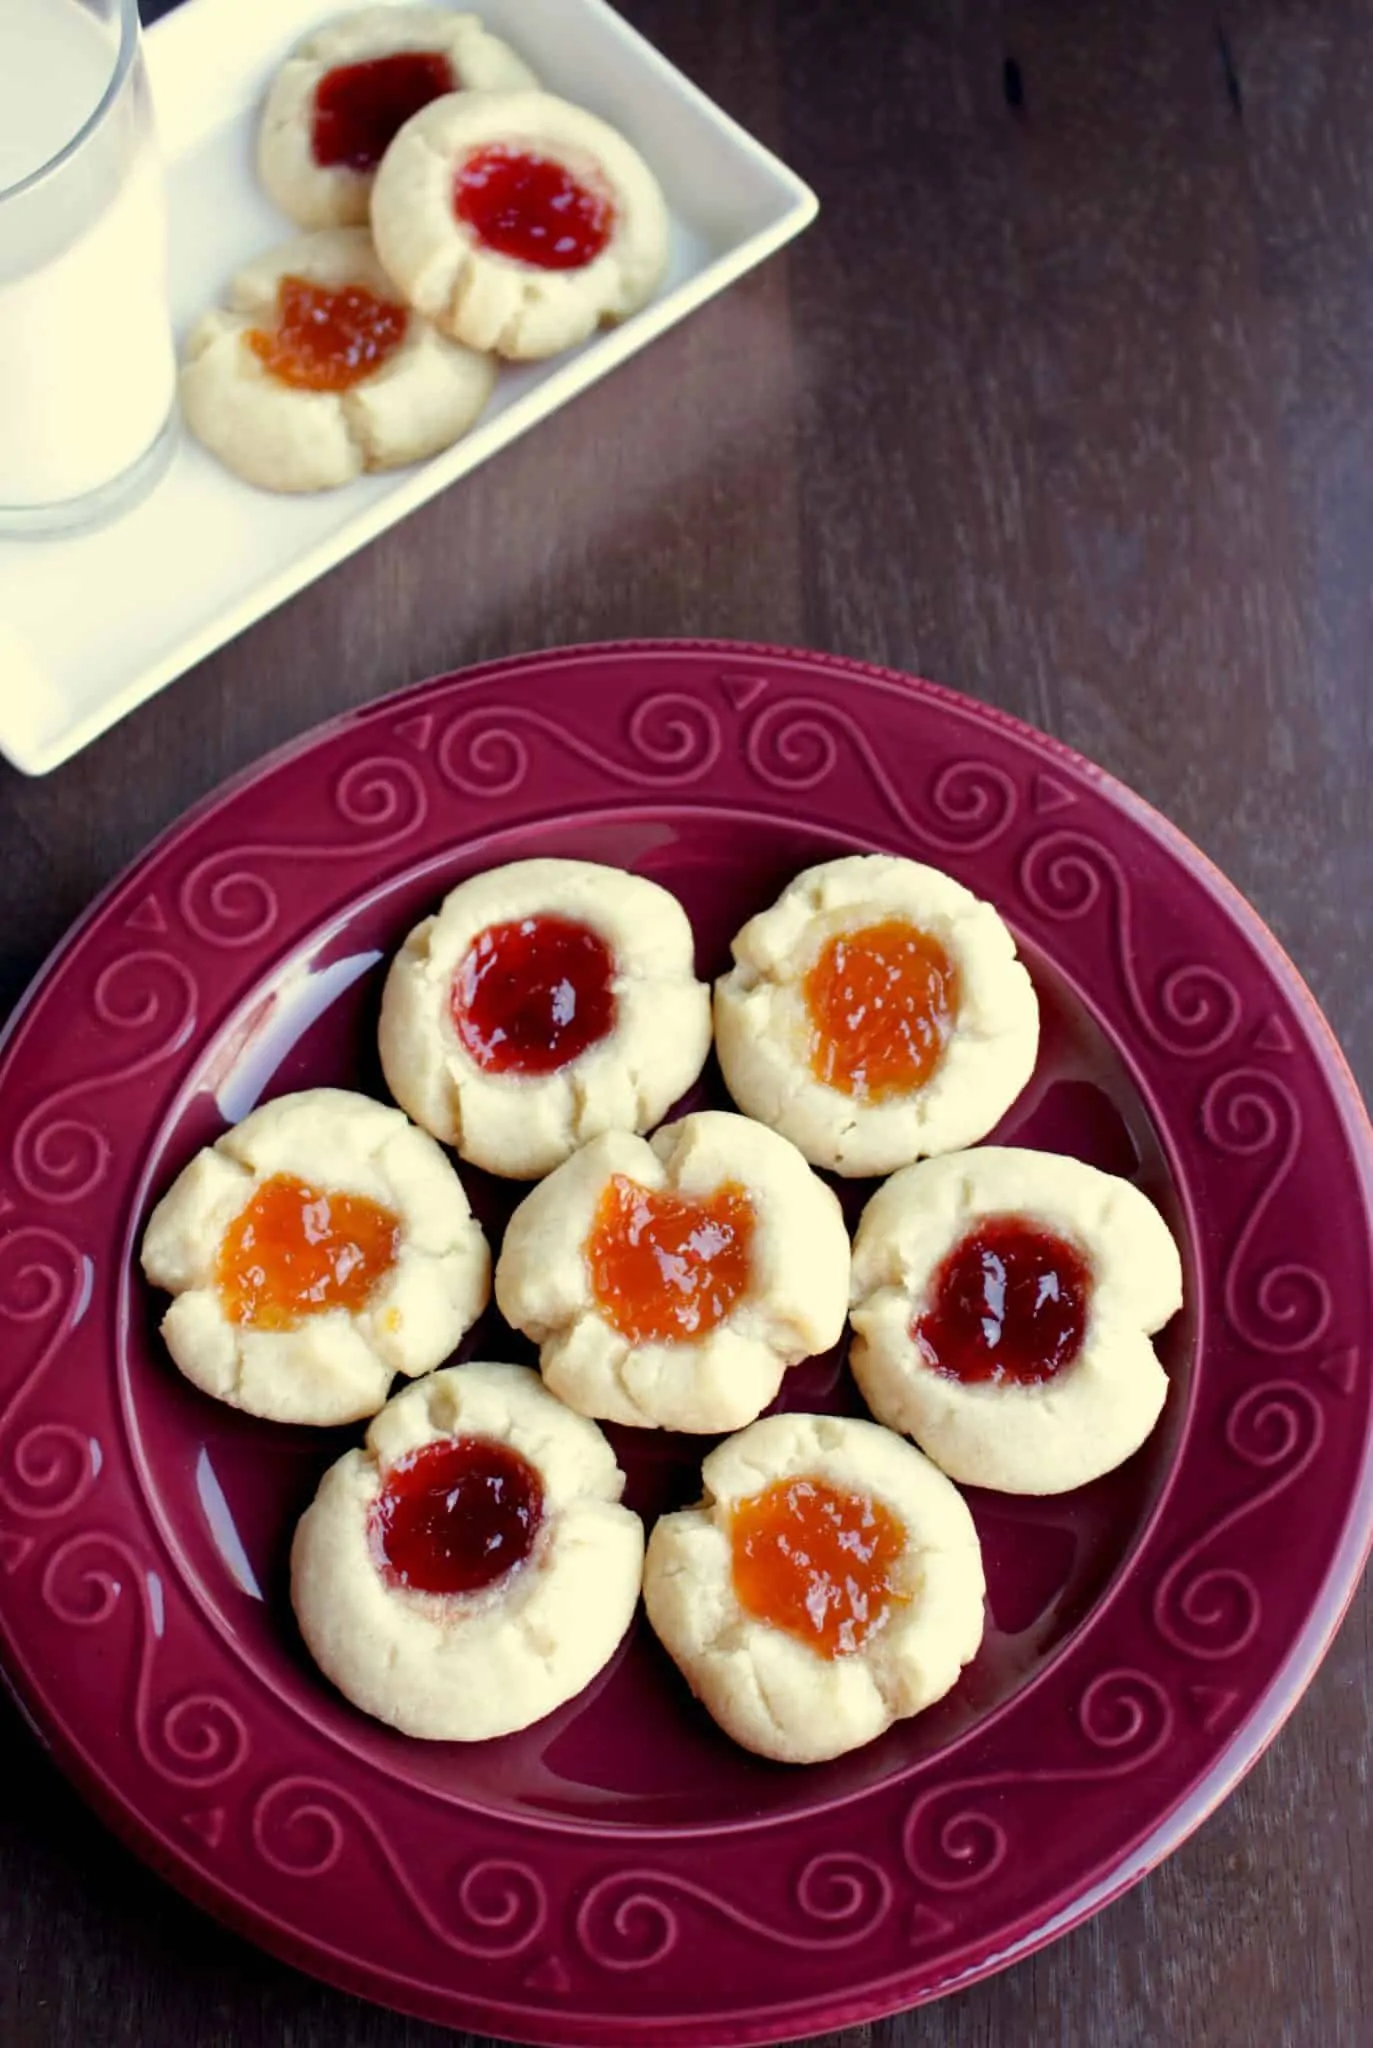
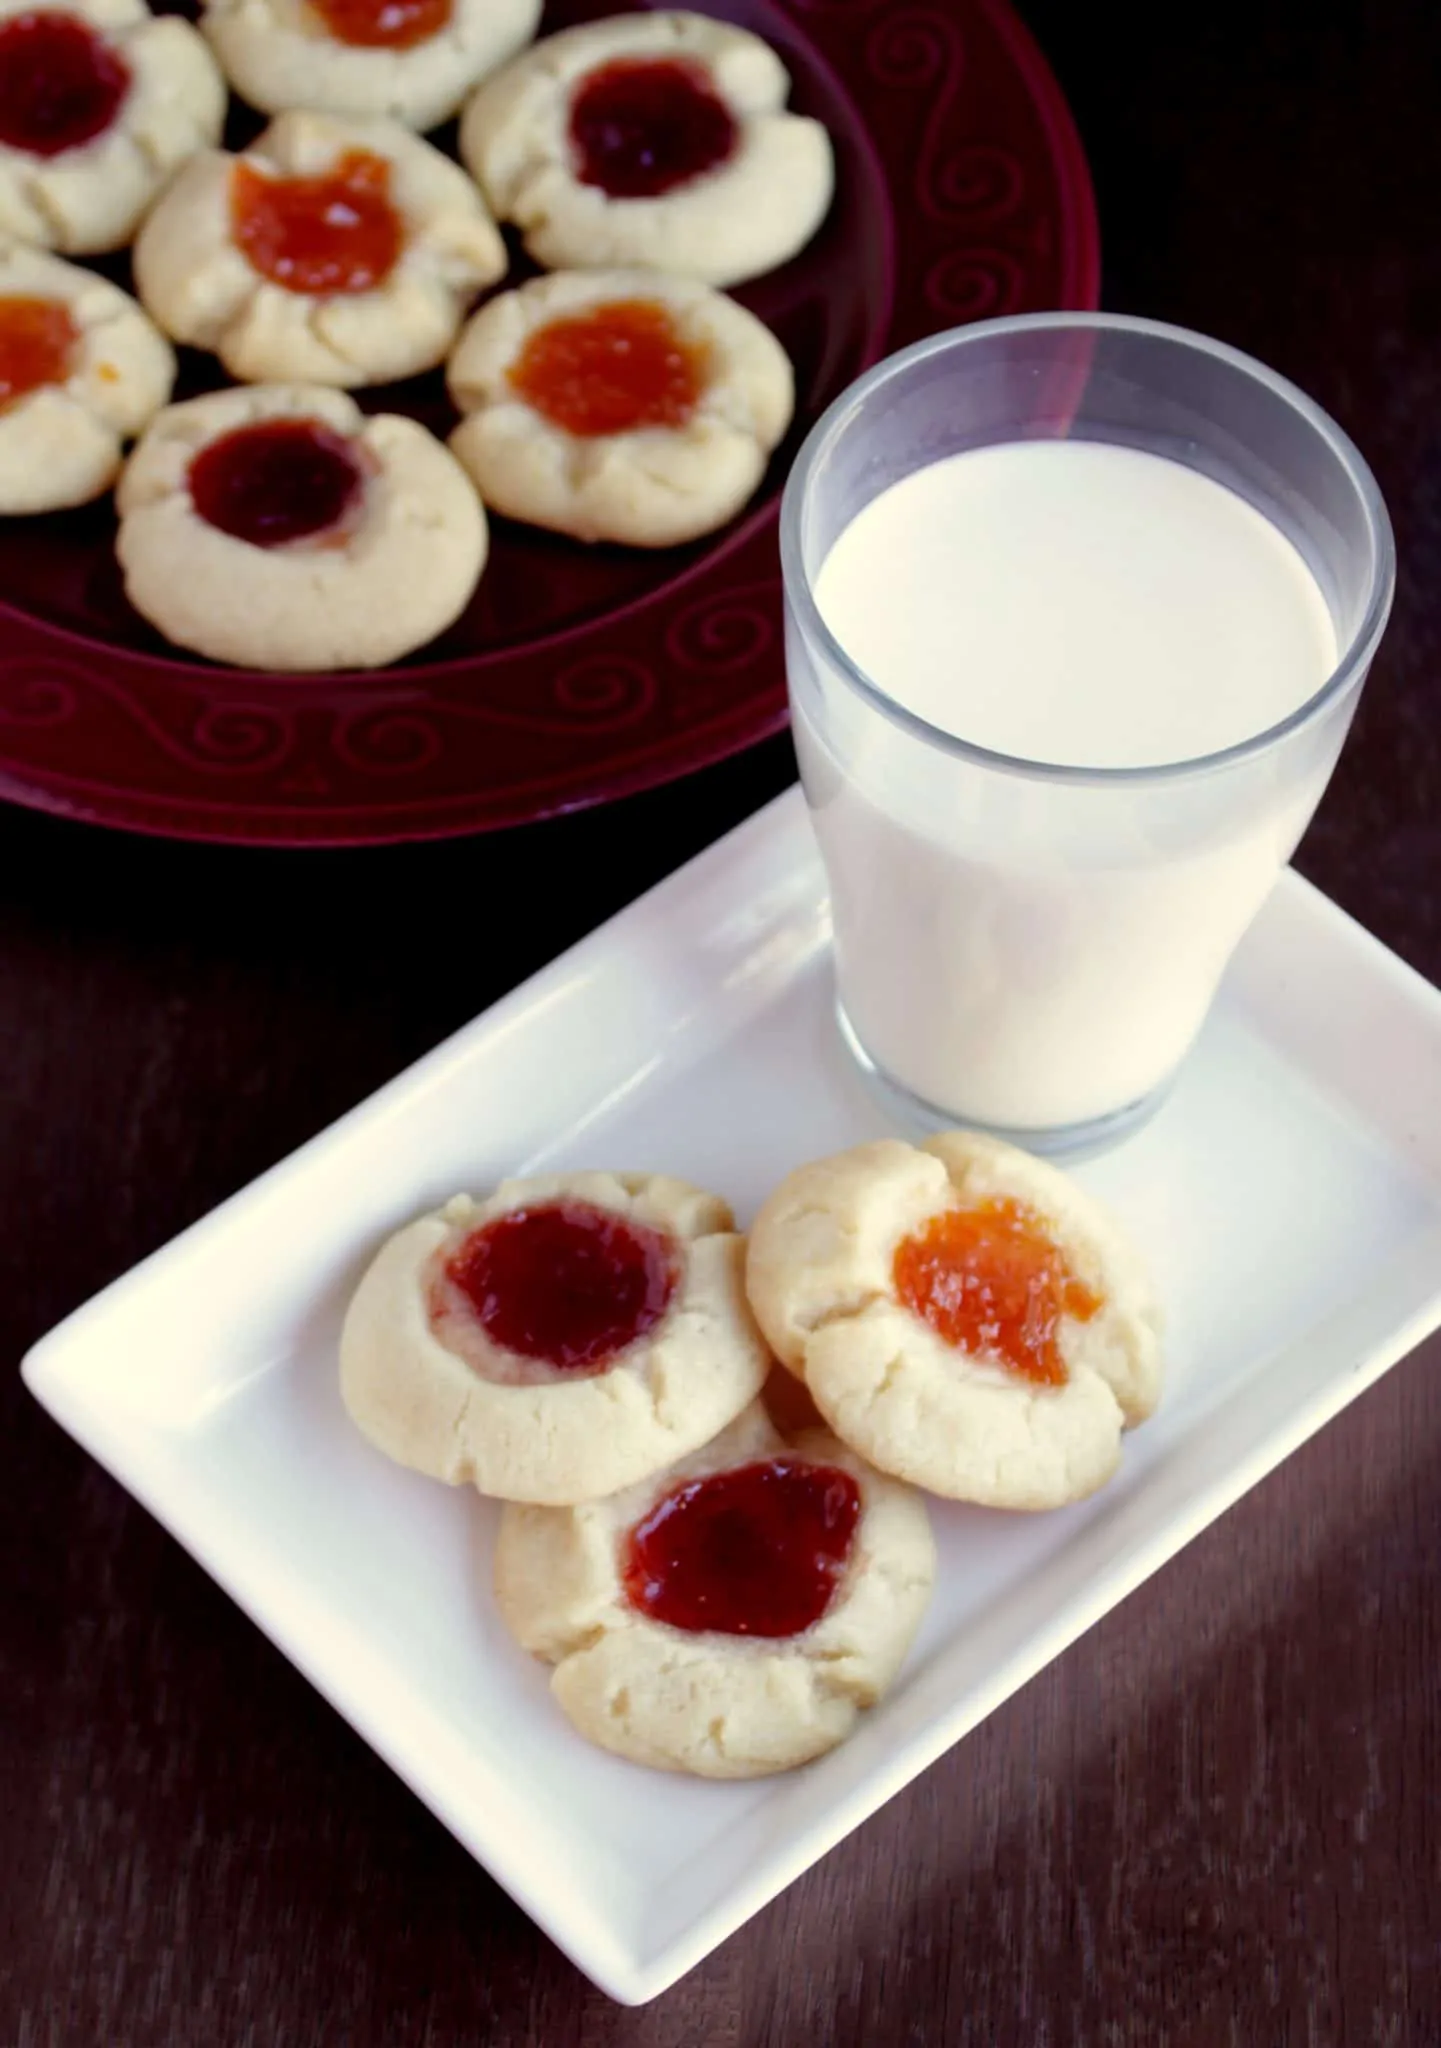
I used strawberry jam for the remaining half. Like I thought, my boys were not too keen on the apricot flavor and fought for the strawberry ones. My husband on the other hand loved the cookies with the apricot jam and enjoyed the whole batch without any competition.
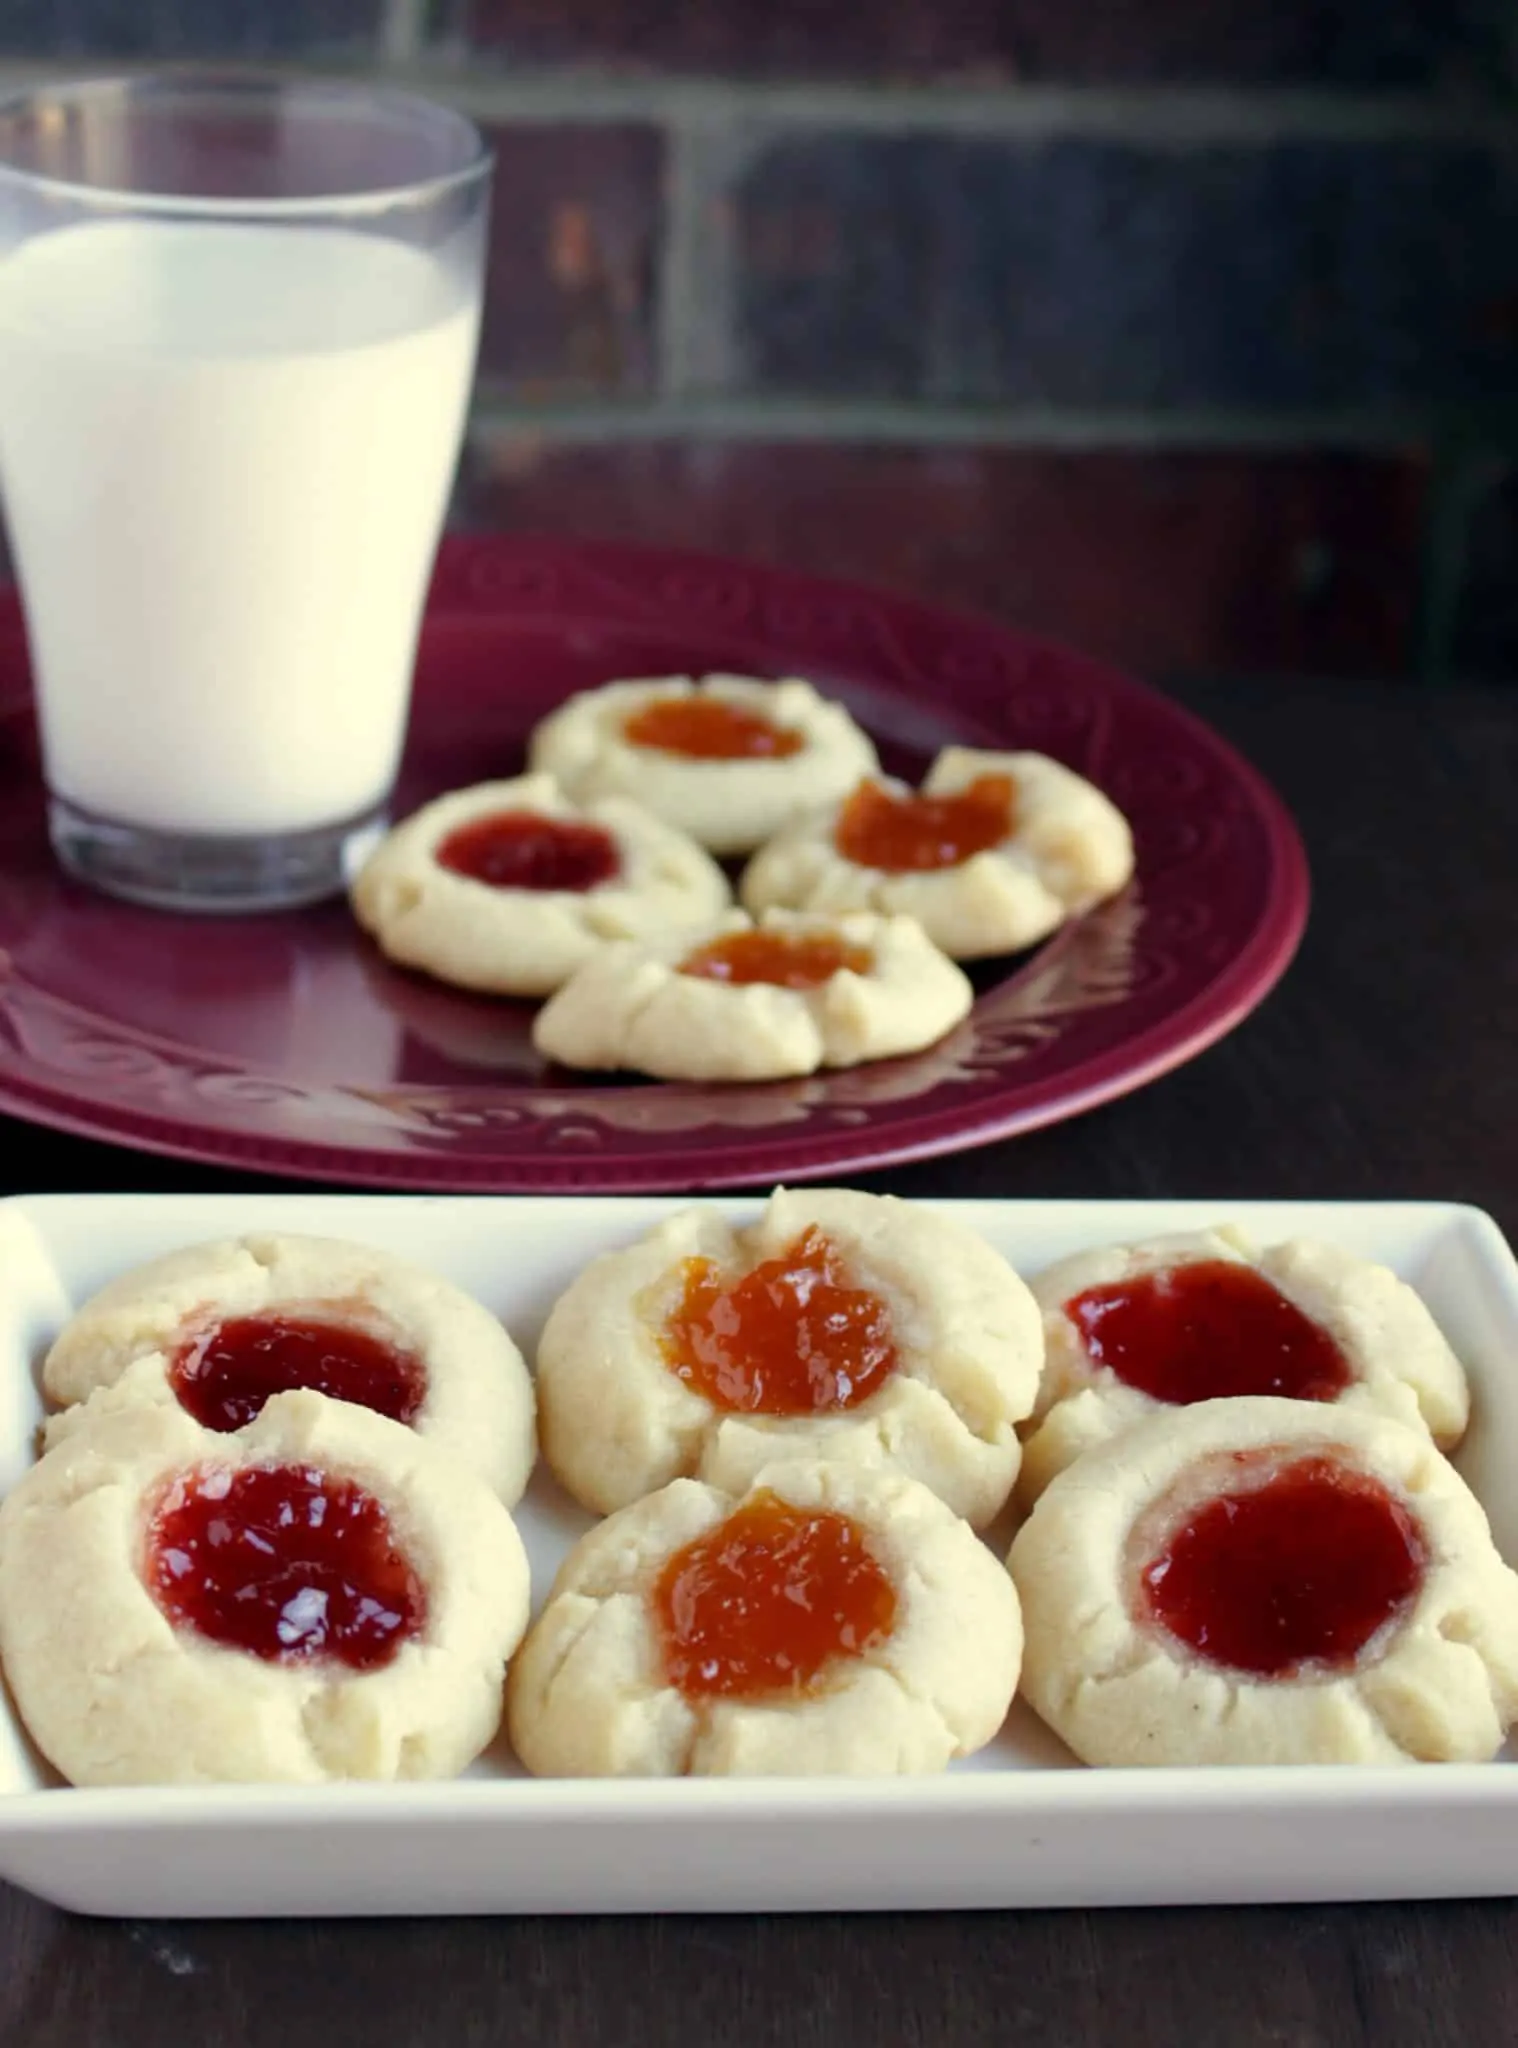
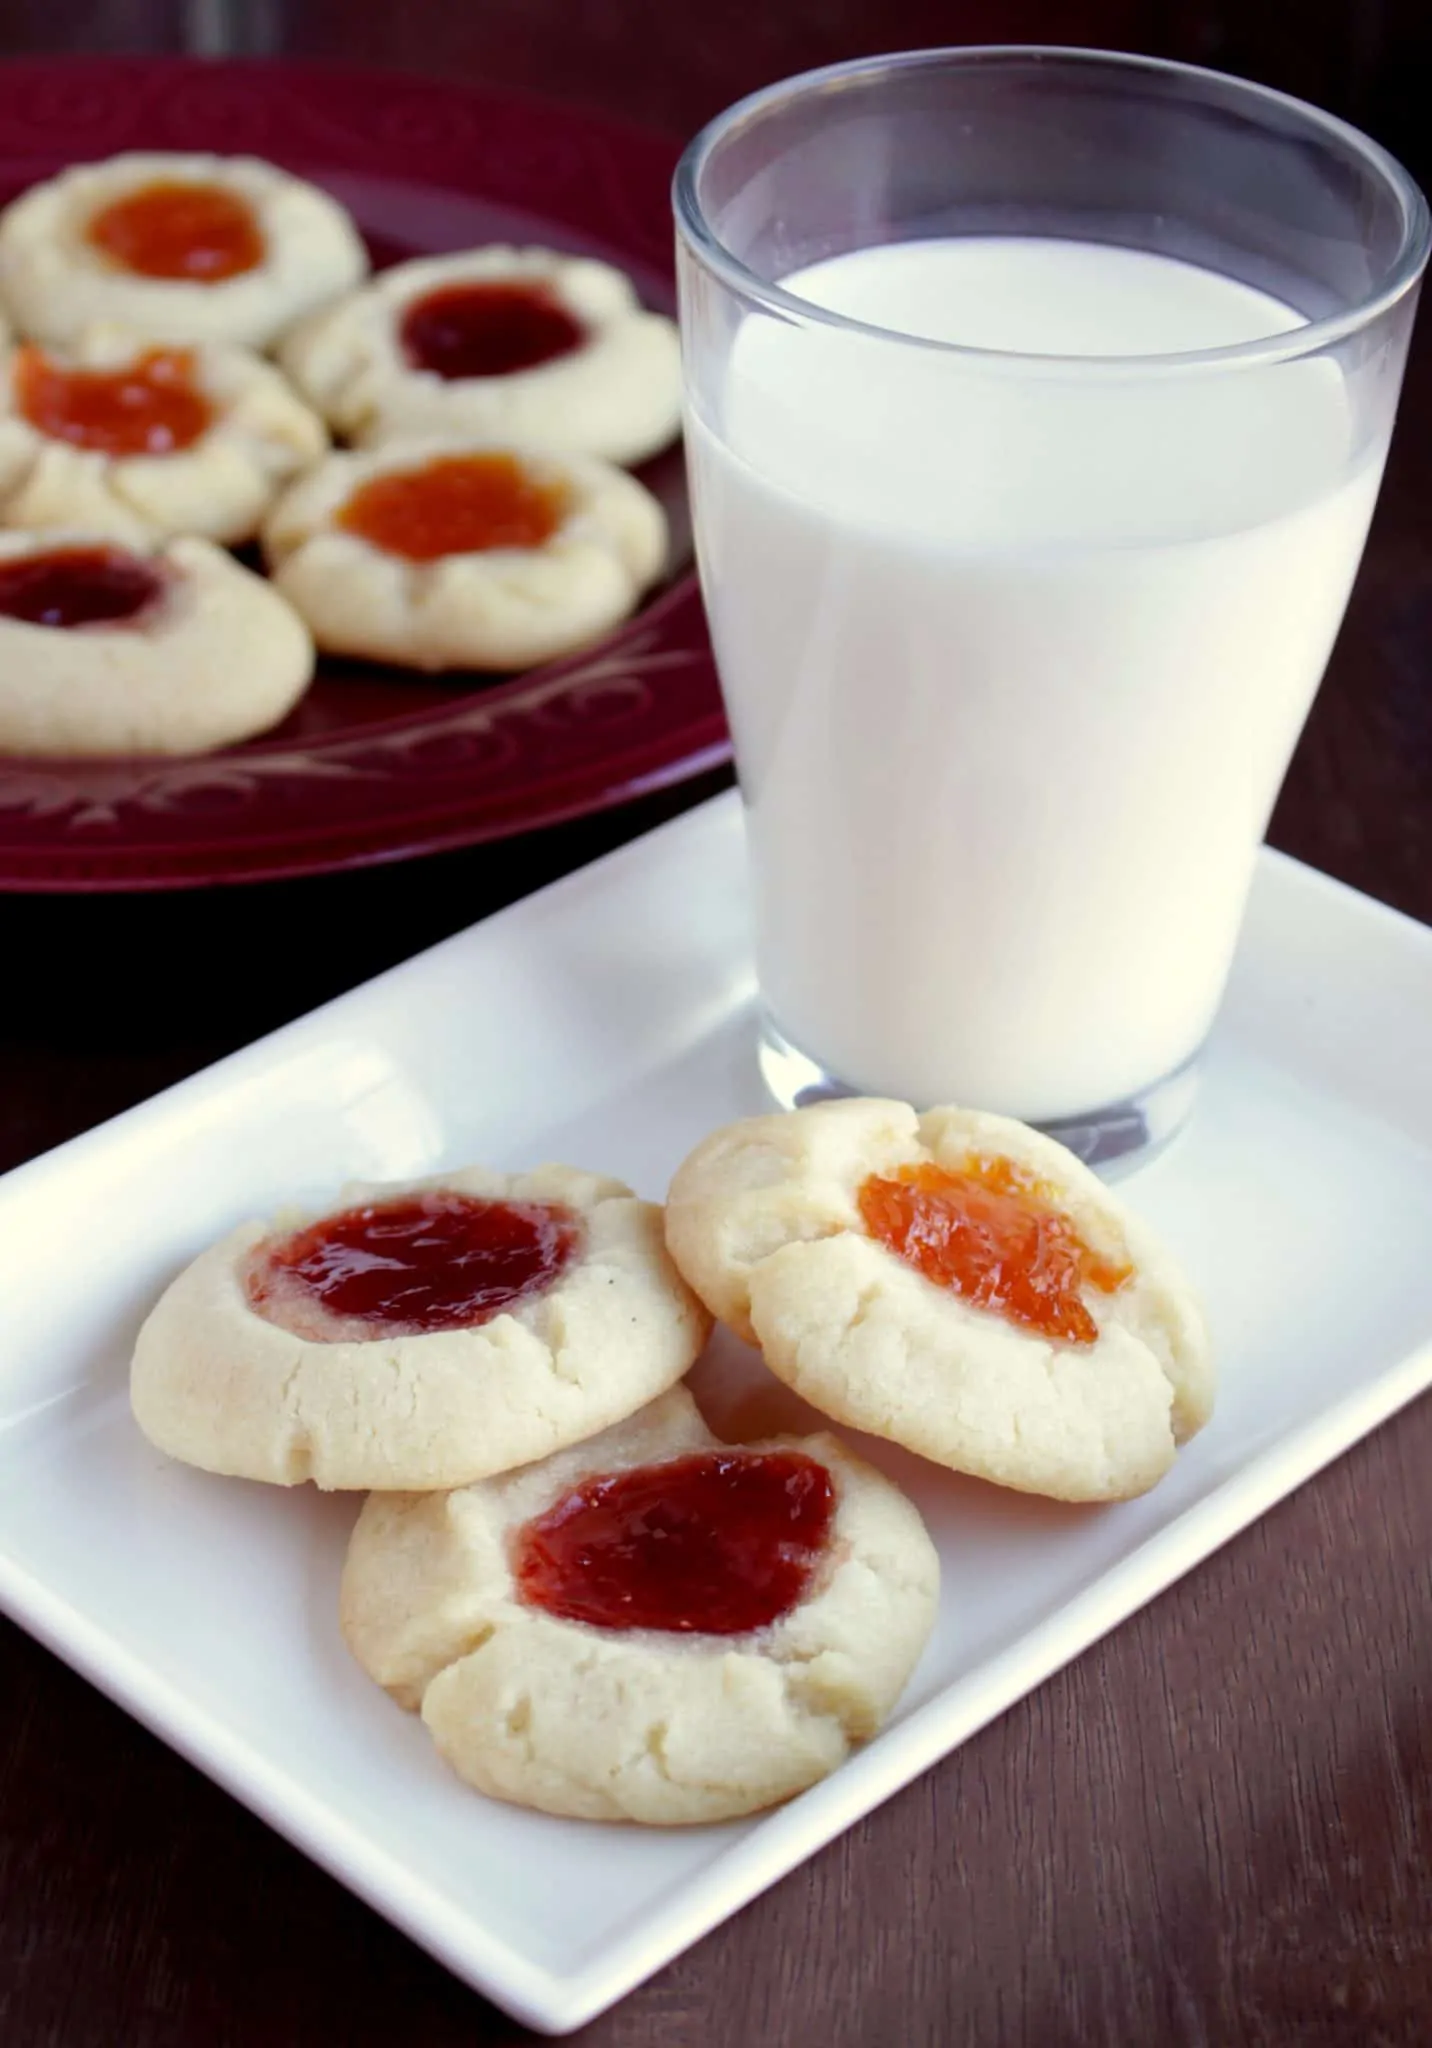
These jam thumbprint cookies are mildly sweet with a very flaky texture. The cookies just melt in the mouth and are perfect with a glass of milk or for a sneaky after-dinner snack.
If you love lemon flavor, then you have to try these delicious lemon puff cookies. They are very similar to these jam thumbprint cookies except we make a fresh lemon filling to add to the cookies.
Preparation time - 10 minutes Baking time - 12 to 14 minutes per batch Difficulty level - easy
Ingredients to make Jam Thumbprint Cookies - (makes about 15 cookies)
- Butter (Unsalted, room temperature) - 1 stick (½ cup)
- Sugar - 7 tbsps
- Vanilla extract - 1 tsp
- All-purpose flour - 1 cup + 1 tbsp
- Jam (any flavor) - as needed (I used strawberry and apricot jams)
Procedure -
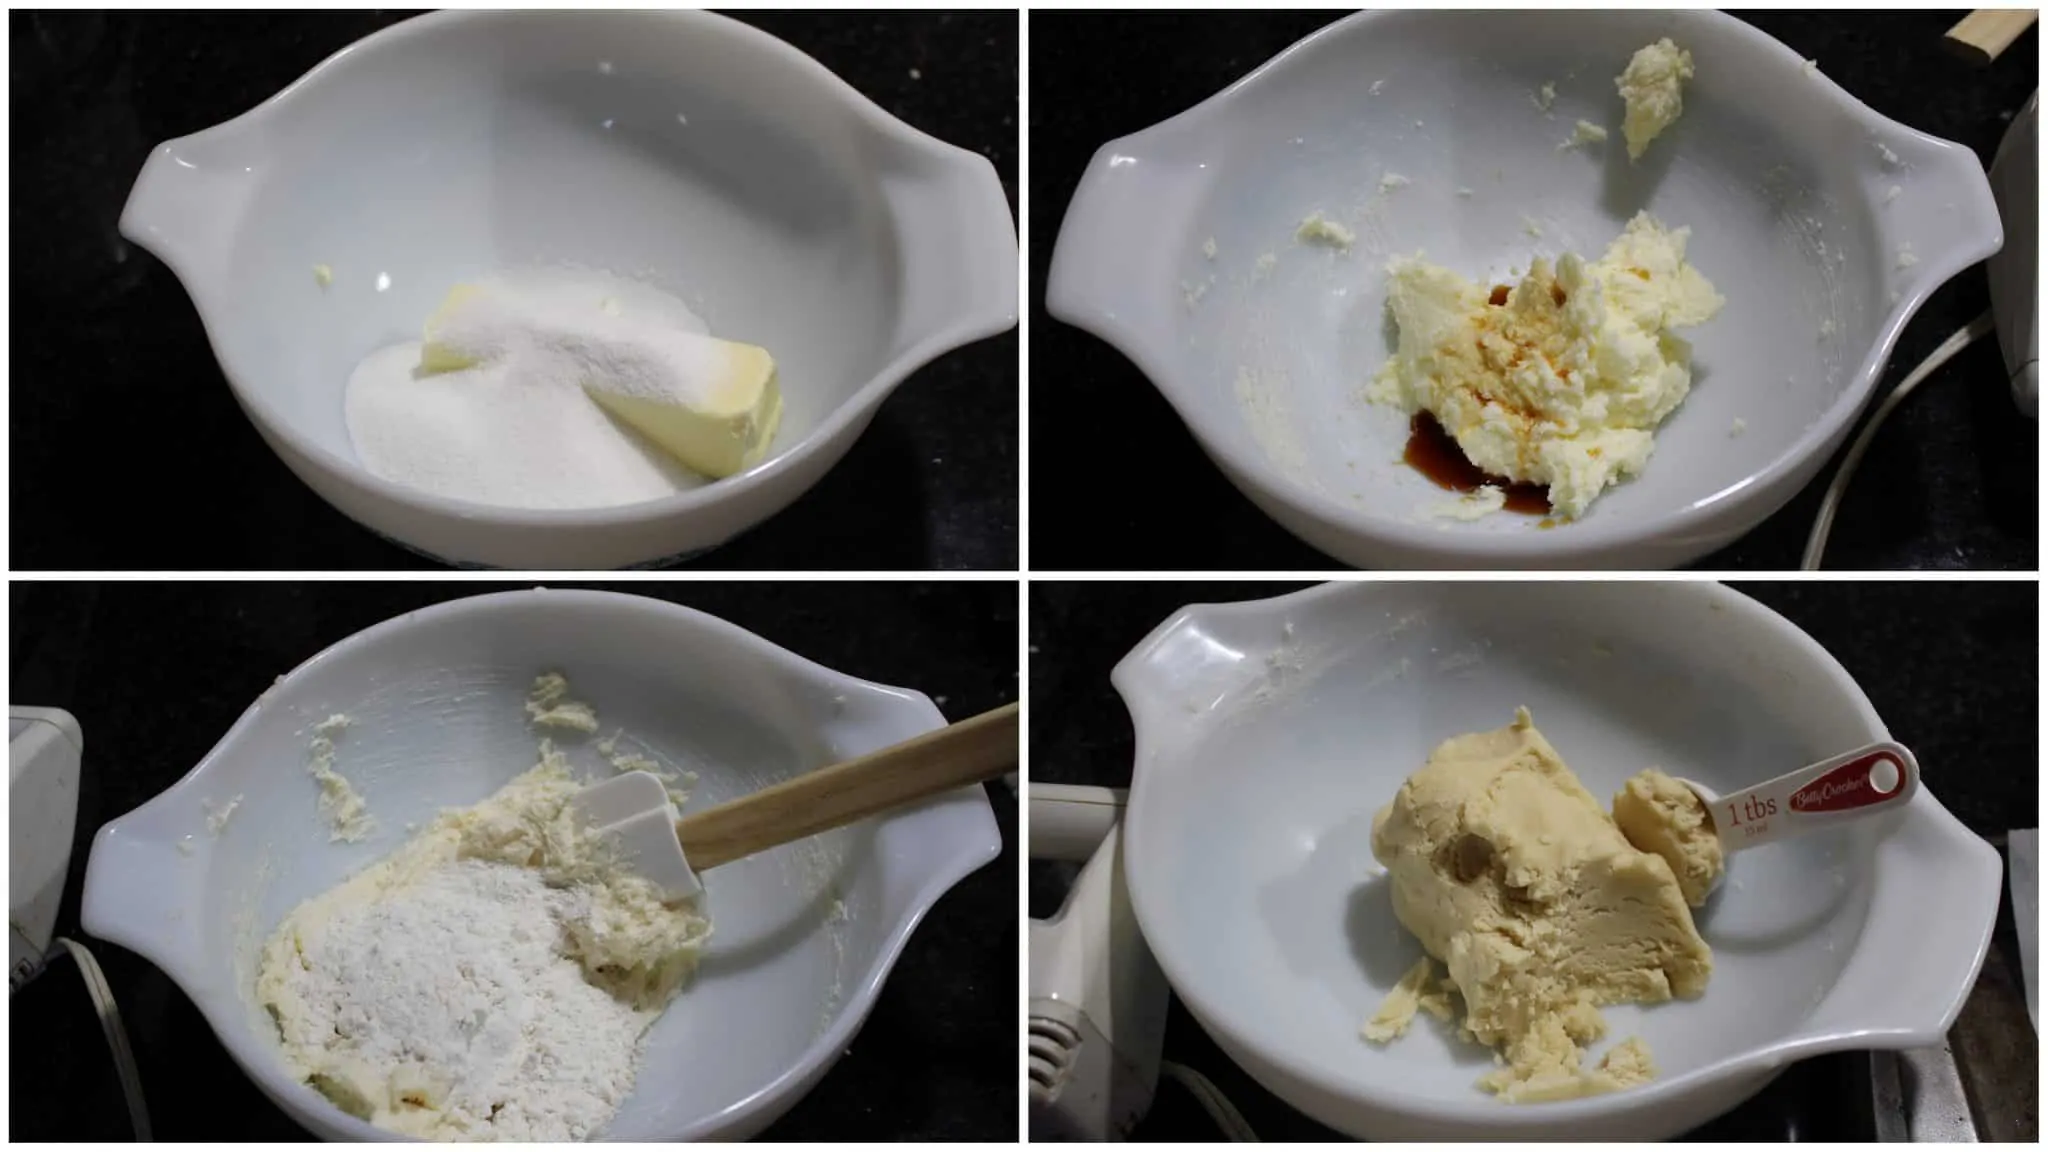
In a medium bowl, cream together the butter and the sugar. Make sure that the butter is at room temperature. I used by hand mixer to cream the butter as this was a small batch. If I was doubling the recipe, I would have used my stand mixer.
Add the vanilla extract and mix again.
Add the flour in batches and mix until it forms a stiff dough.
Preheat the oven to 350 F. Line a baking sheet with parchment or baking paper.
Using a tablespoon measure, scoop out the dough and form a ball. Place them on the lined baking sheet.
Using the back of a ½ teaspoon measure or using your thumb, make a small indentation in the middle of each cookie ball.
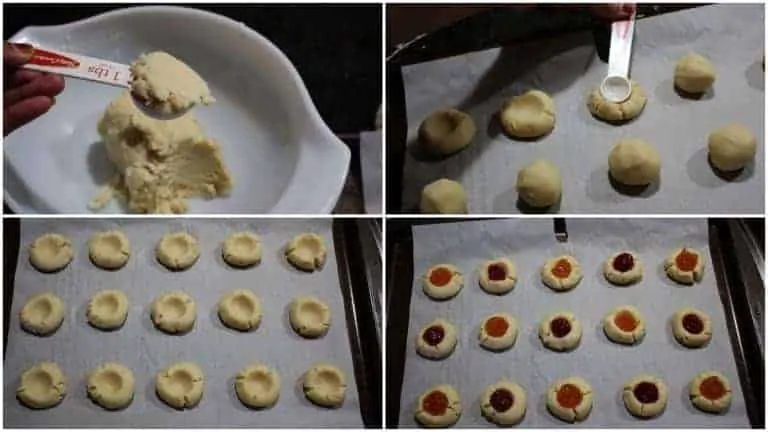
- Fill the indentations with jam.
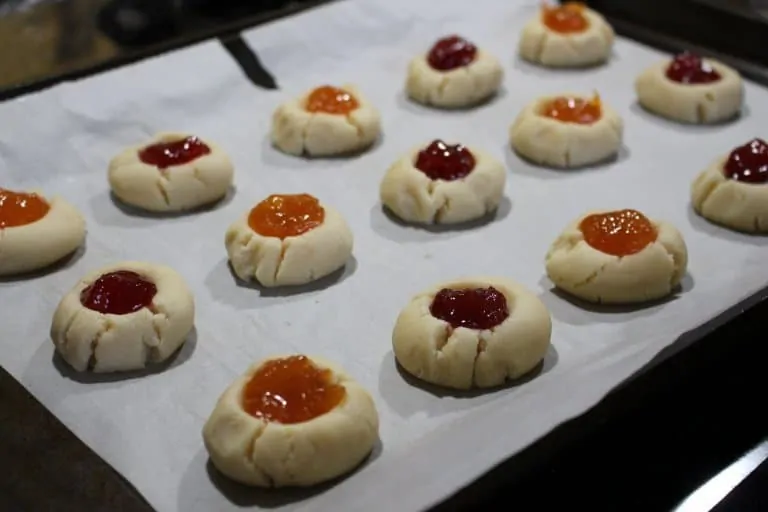
Bake them for about 12 to 14 minutes, keeping an eye on them for about 12 minutes. Mine needed 14 minutes, but depending on individual ovens the baking time may vary. Don’t let the cookies become too dark. Remove them when they are pale golden.
Let the Jam thumbprint cookies cool on the sheet for about 5 minutes and then cool entirely on a wire rack.
Similar Recipes
- Basic Christmas Sugar Cookies Recipe
- Japanese Melon Pans - Cookie Covered Bread Rolls
- Orange-Scented Cranberry Walnut Cookies
- Kiffles | Kiflis | Traditional Hungarian Pastries
Recipe
Equipment
- ▢ Oven
Ingredients
- ▢ 1 stick Butter Unsalted, room temperature (½ cup)
- ▢ 7 tbsps Sugar
- ▢ 1 teaspoon Vanilla Extract
- ▢ 1 cup All purpose flour Plus 1 tbsp
- ▢ Jam Any Flavor - as needed (I used strawberry and apricot jams)
Instructions
- In a medium bowl, cream together the butter and the sugar. Make sure that the butter is at room temperature. I used by hand mixer to cream the butter as this was a small batch. If I was doubling the recipe, I would have used my stand mixer.
- Add the vanilla extract and mix again.
- Add the flour in batches and mix until it forms a stiff dough.
- Preheat the oven to 350 F. Line a baking sheet with parchment or baking paper.
- Using a tablespoon measure, scoop out the dough and form a ball. Place them on the lined baking sheet.
- Using the back of a ½ teaspoon measure or using your thumb, make a small indentation in the middle of each cookie ball.
- Fill the indentations with jam.
- Bake them for about 12 to 14 minutes, keeping an eye on them from about 12 minutes. Mine needed 14 minutes, but depending on individual ovens the baking time may vary. Don’t let the cookies become too dark. Remove them when they are pale golden.
- Let the Jam thumbprint cookies cool in the sheet for about 5 minutes and then cool entirely on a wire rack.
Nutrition
More Cookies
- Crunchy Coconut Sesame Cookies
- Cream Cheese Spirals | Cinnamon Nut Filled Cookies
- Sweet Maida Biscuit | Baked Shakarpara
- Easy Eggless Coconut Macaroons

Kiffles | Kiflis | Traditional Hungarian Pastries
Equipment
- bowl
- Oven
Ingredients
- 4 oz Cream cheese Plain (softened)
- 8 tablespoon Unsalted butter Softened
- 1 cup All purpose flour
- ½ teaspoon Salt
- Cake and Pastry filling I used Solo brand - I used Apricot and prunes flavor
- Flour For dusting the surface when rolling
- for sprinkling Sugar
Instructions
TO MAKE THE DOUGH -
- In a large bowl, beat the butter and the cream cheese until fluffy. Be sure to leave the cream cheese and butter on the counter to soften.
- Mix the flour and salt in a small bowl. Add this mixture in 4 batches to the butter mixture. Mix well after each addition.
- I used my hand mixer to beat the butter. Once we add the flour, the mixer will start to clump up. At this stage, use your hands to mix it and make a soft dough.
- This is a all fat dough, so the dough will be very soft, but not sticky.
- Divide the dough into two and pat it down. Wrap it in plastic wrap and refrigerate overnight. If overnight is possible, refrigerate at least for 3 hours.
TO SHAPE AND BAKE THE PASTRY -
- When ready to roll, dust the work surface with plenty of flour. Remember that this is a all butter dough and hence will become soft much quicker. Hence we need to dust the surface and the rolling pin with sufficient flour.
- Preheat the oven to 375 F. Layer a baking sheet with parchment and keep it ready.
- Let the dough sit out of the refrigerator for 5 minutes and then roll it into thin rectangle. There are several thickness that is mentioned, but I would just say, roll it as thin as possible. Keep lifting the dough often so it does not stick to the surface.
- Using a serrated roller cutter or plain pizza cutter, cut the dough into 2 x 2 squares. Try to keep the squares as equal in size as possible. I used a ruler to guide me when I was cutting the dough.
- Place a teaspoon of filling in the center of each square.
- Bring one corner over the filling and then the other corner over the first one and pinch to seal. Repeat the same with all the squares.
- I would suggest that you work as quickly as possible, as the dough becomes very soft the longer we leave it out.
- Place the shaped kiffles on the prepared baking sheet and sprinkle little sugar over them.
- Bake them for 12 to 15 minutes or until the edges starts to turn slightly brown and the pastries starts to firm up. For this pastry, I would highly recommend using double tray to insulate as the bottom of the pastry could burn easily.
- Let it cool in the tray for couple of minutes and then transfer the kiffles to cooling rack to cool completely.
- Store them in a container layered between parchment paper to avoid sticking.
