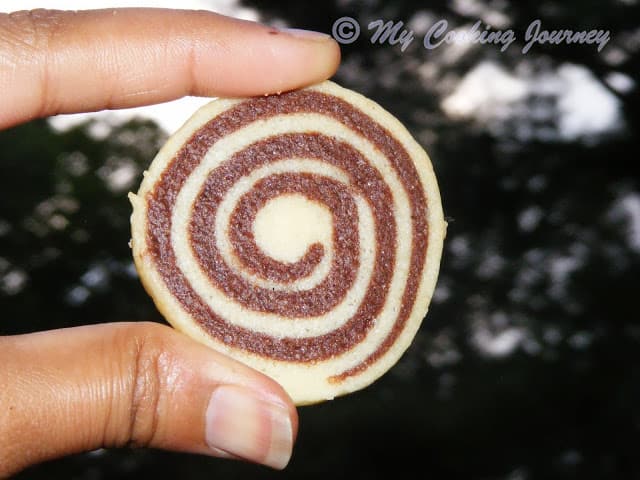
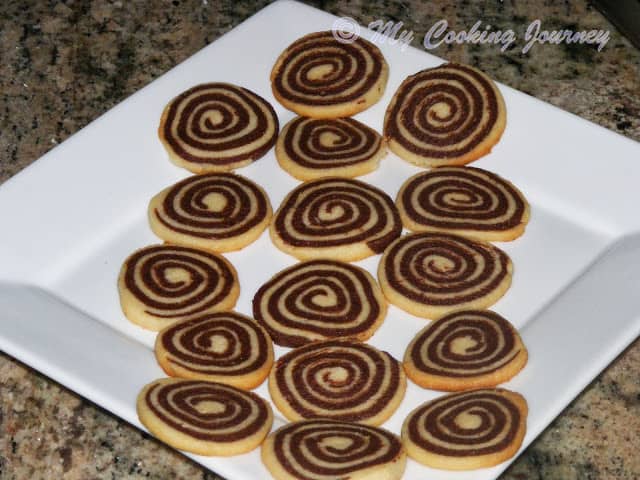
These Chocolate Pinwheel Cookies are definitely a cookie for those who love chocolate and those who love vanilla. These cookies are not too chocolatey, but at the same time have a distinct flavor of chocolate that one cannot miss.
I recently joined a new baking group called the Home Baker’s Challenge . This was my first bake with the group, and it turned out to be a wonderful one. In my house, the debate about vanilla Vs chocolate is always on.
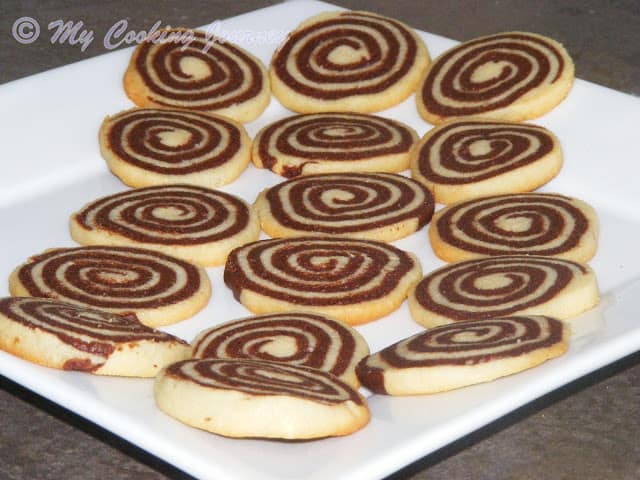
My husband and little one are chocoholics, whereas I and my older one prefer vanilla over chocolate anytime. This cookie turned out to be a perfect piece to satisfy both our taste buds.
The cookie is very easy to make, but do leave aside some chilling time, as the dough needs to be very cold and firm before we slice it. It is summer vacation for us here now, so I always have a log always chilled (frozen) and ready to bake when my kids have company.
This recipe was suggested to us by Viji of Virunthu Unna Vaanga . The recipe was adapted from The Heritage Cook.
Ingredients to make Chocolate Pinwheel Cookies - Makes about 30 -36 cookies
- All purpose flour - 1 ½ Cup (6-¾ Oz)
- Baking powder - ½ Tsp
- Salt - ¼ Tsp
- Unsalted softened butter - ½ Cup (4 Oz)
- Granulated sugar - ¾ Cup
- Large egg - 1 lightly beaten
- Vanilla extract - 1 Tsp
- Unsweetened cocoa powder - 2 Tbsp
- Semi-sweet chocolate - ¼ Cup melted and cooled slightly

Procedure to make Chocolate Pinwheel Cookies -
Sift together the flour, baking powder, and salt, and keep it aside.
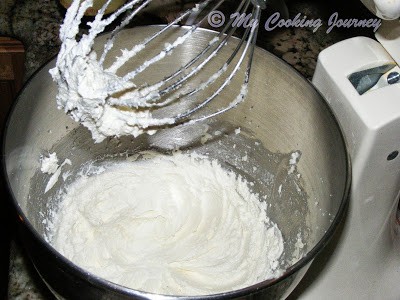
In the mixer, beat together the butter and the sugar until light and fluffy.
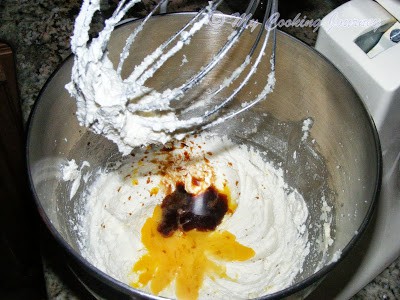
- Now beat in the egg and the vanilla and beat until well combined.
Add the sifted flour mixture slowly over the butter and mix until it forms a dough.
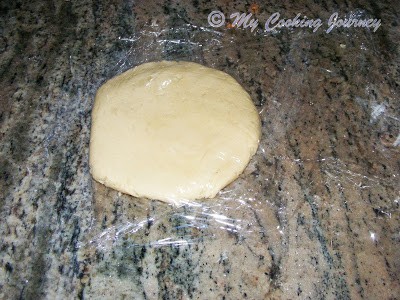
Now remove half the dough (About 9 0z) and keep it aside. This will become the vanilla layer of the cookie.
Chocolate layer -
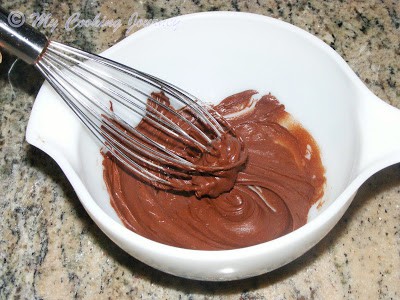
- Melt the chocolate in the microwave or a double boiler slowly. Add the cocoa powder to the melted chocolate and mix well.
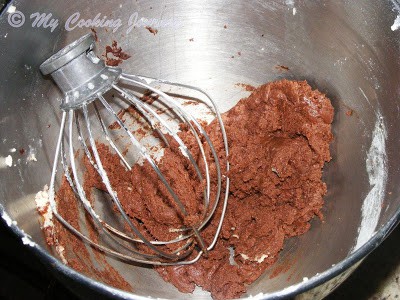
- To the other half of the dough, add this chocolate mixture and mix again until the chocolate mixes uniformly in the dough.
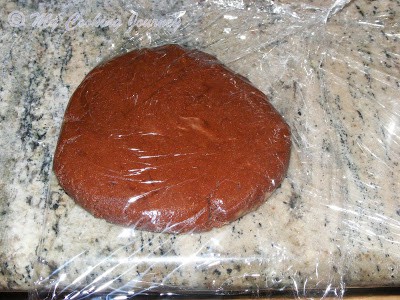
- Make discs of both the chocolate and vanilla dough, cover them with plastic wrap, and chill for about 30 minutes. Depending on where you live, you might need more time to chill.
To shape the cookies -
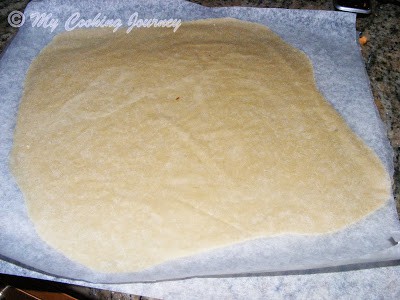
- Roll the vanilla layer into a 12-inch square in between 2 layers of parchment or wax paper.
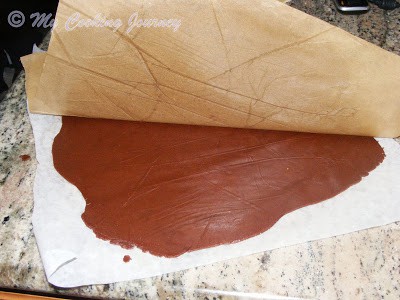
- Also, roll out the chocolate in between 2 layers of parchment into a slightly smaller square than the vanilla.
- Remove the top parchment from both the rolled-out dough and slowly place the chocolate layer on top of the vanilla layer.
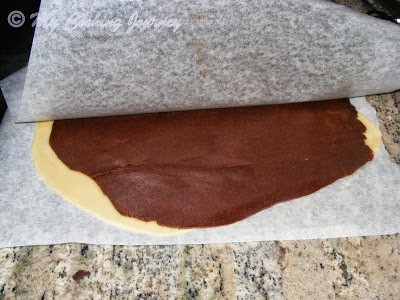
Slightly roll the dough again (using less pressure) to make the two layers stick to each other.
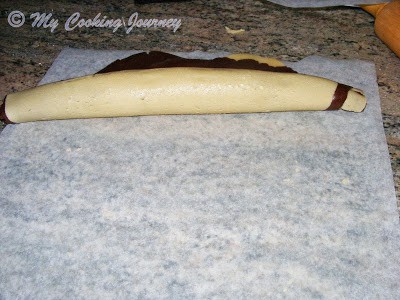
Roll the dough into a tight log. Refrigerate the dough for at least 2-3 hours to completely harden at this stage.
Make sure you lay the dough carefully in the fridge so that the shape of the log does not get disturbed. I froze my log for about an hour and then took it out to cut.
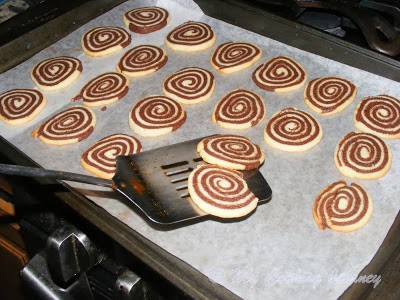
Remove the log from the refrigerator or the freezer and roll it back and forth a couple of times to bring back the nice circle. Now, using a sharp knife, cut the log into ¼ inch thick cookies and place them on a parchment-layered baking sheet.

Bake them at 350°F/180°C preheated oven for 9 - 12 mins.
Watch out for the base of the cookies when baking. The chocolate layer tends to become brown much quicker than the vanilla.
- Cool on a wire rack and when completely cooled, store the Chocolate Pinwheel Cookies in an airtight container.
Similar Recipes
- Jam Sandwich Cookies Recipe
- French Macarons with Chocolate Ganache
- Jam Thumbprint Cookies - Egg-Less Jam Cookies
- Iced Ginger Cookies | Ginger Cookies made with Whole Wheat Flour
Recipe
Equipment
- ▢ Oven
- ▢ Rolling Pin
Ingredients
- ▢ 1 ½ cup All-purpose flour 6-¾ Oz
- ▢ ½ teaspoon Baking powder
- ▢ ¼ teaspoon Salt
- ▢ ½ cup Unsalted softened butter 4 Oz
- ▢ ¾ cup Granulated sugar
- ▢ 1 Large egg Lightly beaten
- ▢ 1 teaspoon Vanilla extract
- ▢ 2 tablespoon Unsweetened cocoa powder
- ▢ ¼ cup Semi-sweet chocolate Melted and cooled slightly
Instructions
- Sift together the flour, baking powder, and salt and keep it aside.
- In the mixer, beat together the butter and the sugar until light and fluffy.
- Now beat in the egg and the vanilla and beat until well combined.
- Add the sifted flour mixture slowly over the butter and mix until it forms a dough.
- Now remove half the dough (About 9 0z) and keep it aside. This will become the vanilla layer of the cookie.
- Melt the chocolate in the microwave or a double boiler slowly. Add the cocoa powder to the melted chocolate and mix well.
- To the other half of the dough, add this chocolate mixture and mix again until the chocolate mixes uniformly in the dough.
- Make discs of both the chocolate and vanilla dough and cover it with plastic wrap and chill for about 30 minutes. Depending on where you live, it might need more time to chill.
- Roll the vanilla layer into a 12 inch square in between 2 layers of parchment or wax paper.
- Also, roll out the chocolate in between 2 layers of parchment into a slightly smaller square than the vanilla.
- Remove the top parchment from both the rolled out dough and slowly place the chocolate layer on top of the vanilla layer.
- Slightly roll the dough again (using less pressure) to make the two layers stick to each other.
- Roll the dough into a tight log. Refrigerate the dough for at least 2-3 hrs to completely harden at this stage.
- Make sure you lay the dough carefully in the fridge so that the shape of the log does not get disturbed. I froze my log for about an hour and then took it out to cut.
- Remove the log from the refrigerator or the freezer and roll it back and forth a couple of times to bring back the nice circle. Now using a sharp knife cut the log into ¼ inch thick cookies and place them on a parchment layered baking sheet.
- Bake them at 350 F/180 C preheated oven for 9 - 12 mins.
- Watch out for the base of the cookies when baking. The chocolate layer tends to become brown much quicker than the vanilla.
- Cool on a wire rack and when completely cooled, store the Chocolate Pinwheel Cookies in an airtight container.
Nutrition
More Cookies
- Crunchy Coconut Sesame Cookies
- Cream Cheese Spirals | Cinnamon Nut Filled Cookies
- Sweet Maida Biscuit | Baked Shakarpara
- Easy Eggless Coconut Macaroons
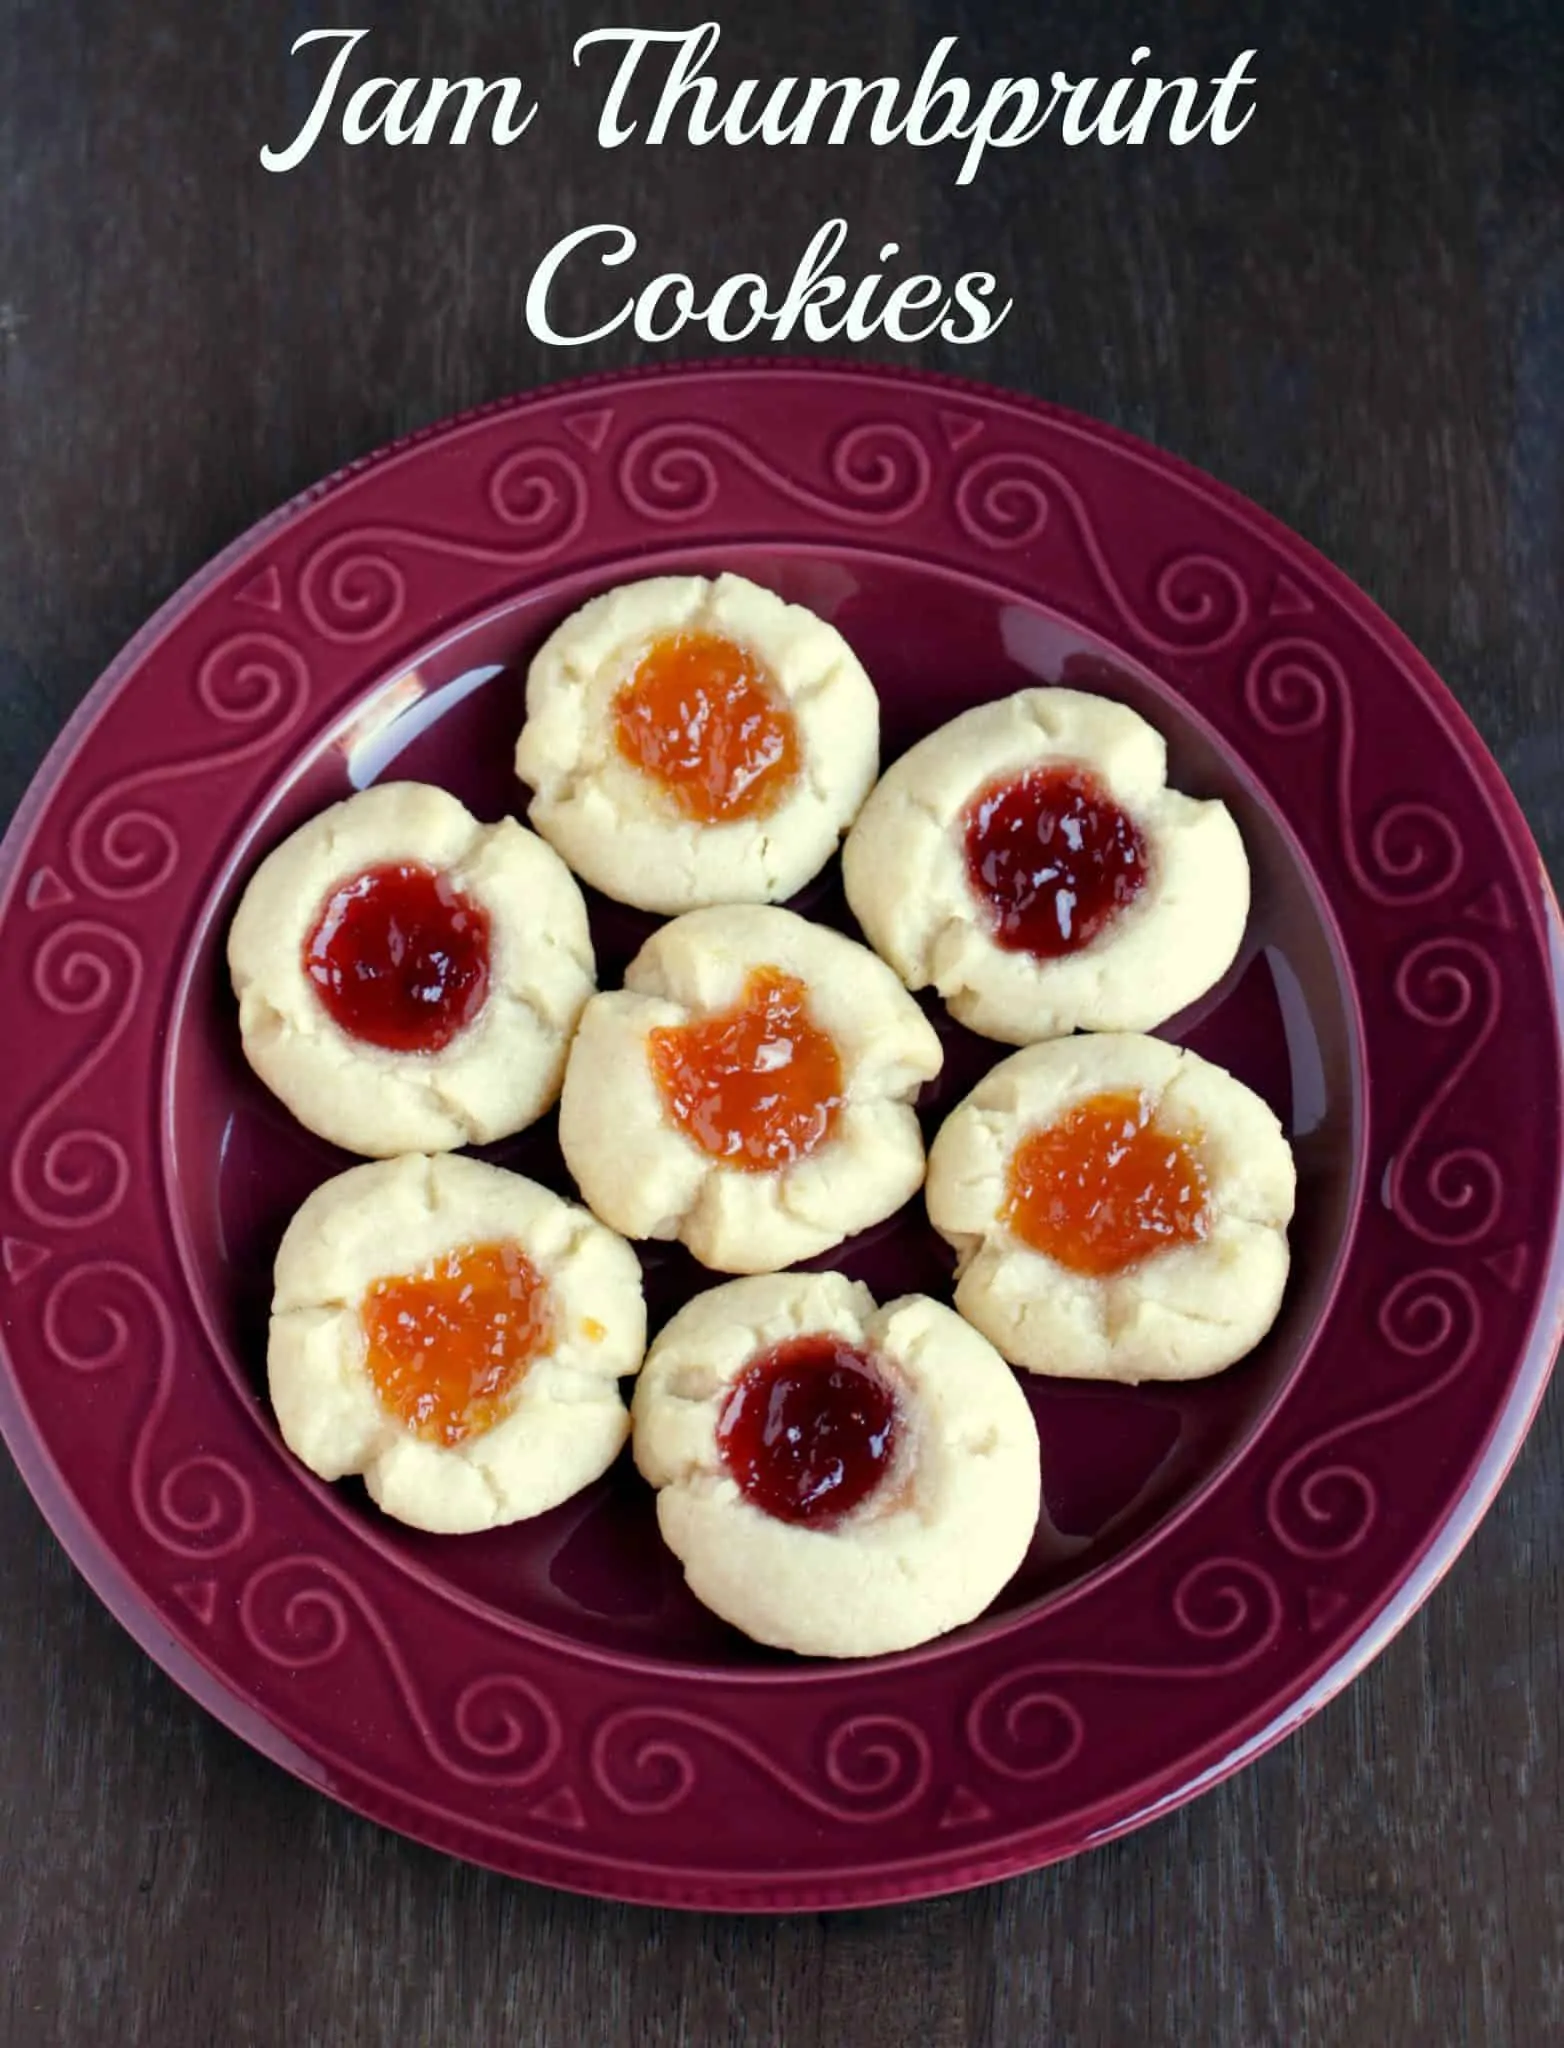
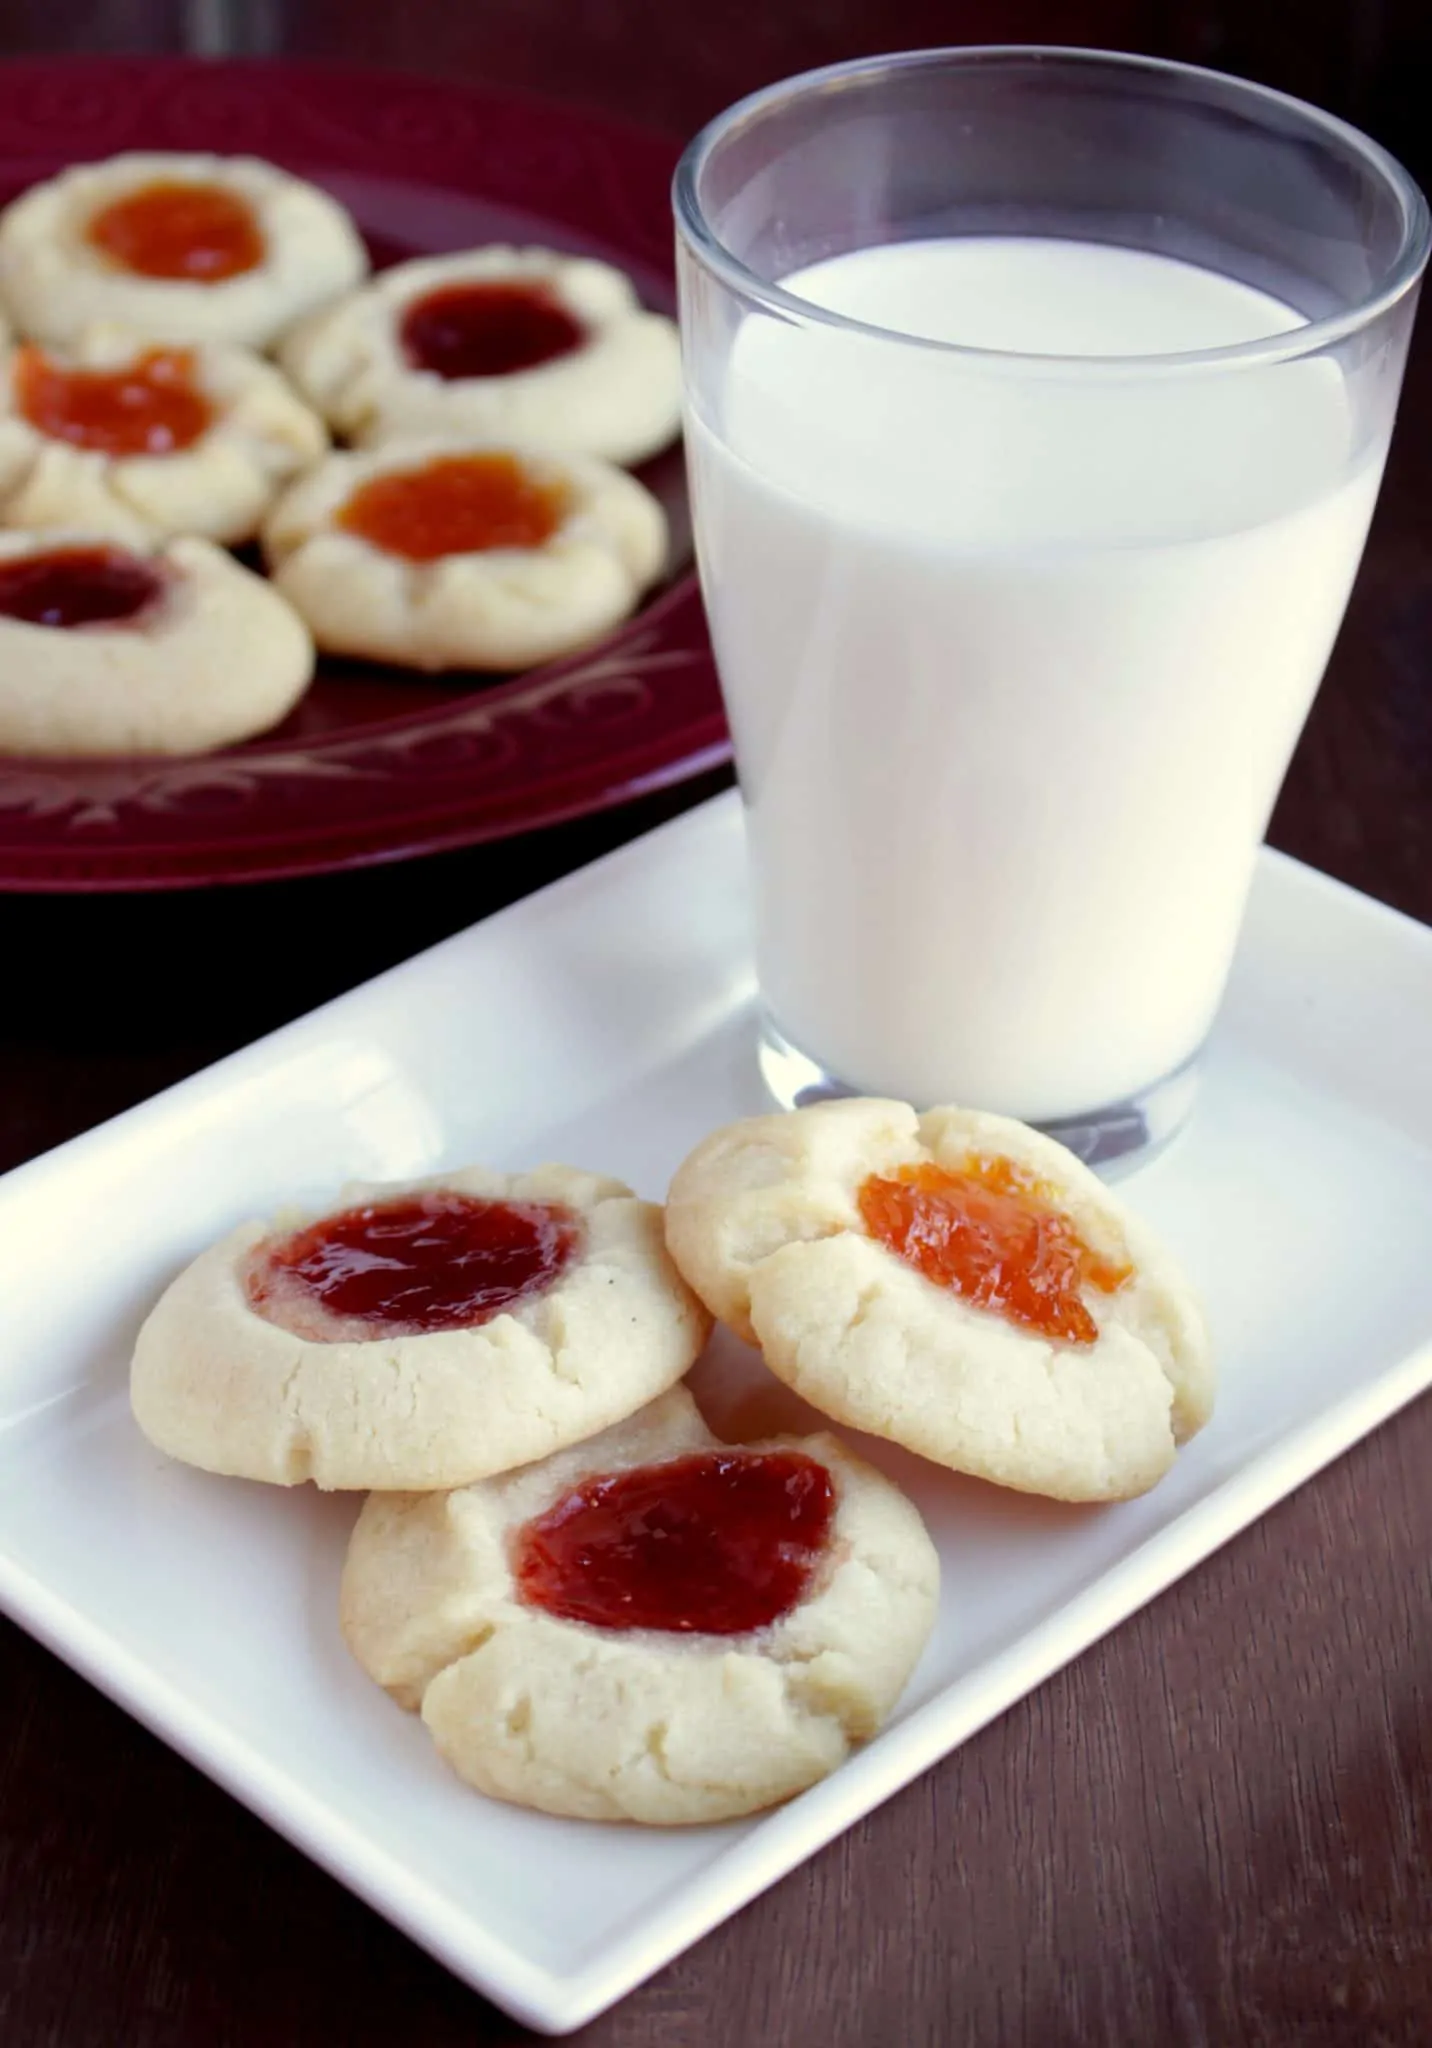
These jam thumbprint cookies are made with very few basic ingredients and are a great way to try out different flavors with different preserves. These are mildly sweet with a very flaky texture.
It is always a pleasure to step into the new year and cherish the old ones. I am really excited to begin my New Year blogging with these very simple Jam thumbprint cookies that I pinned from here .
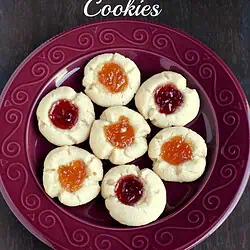
This Jam cookie (as my kids called it) is made with very few basic ingredients and is a great way to try out different flavors with different preserves.
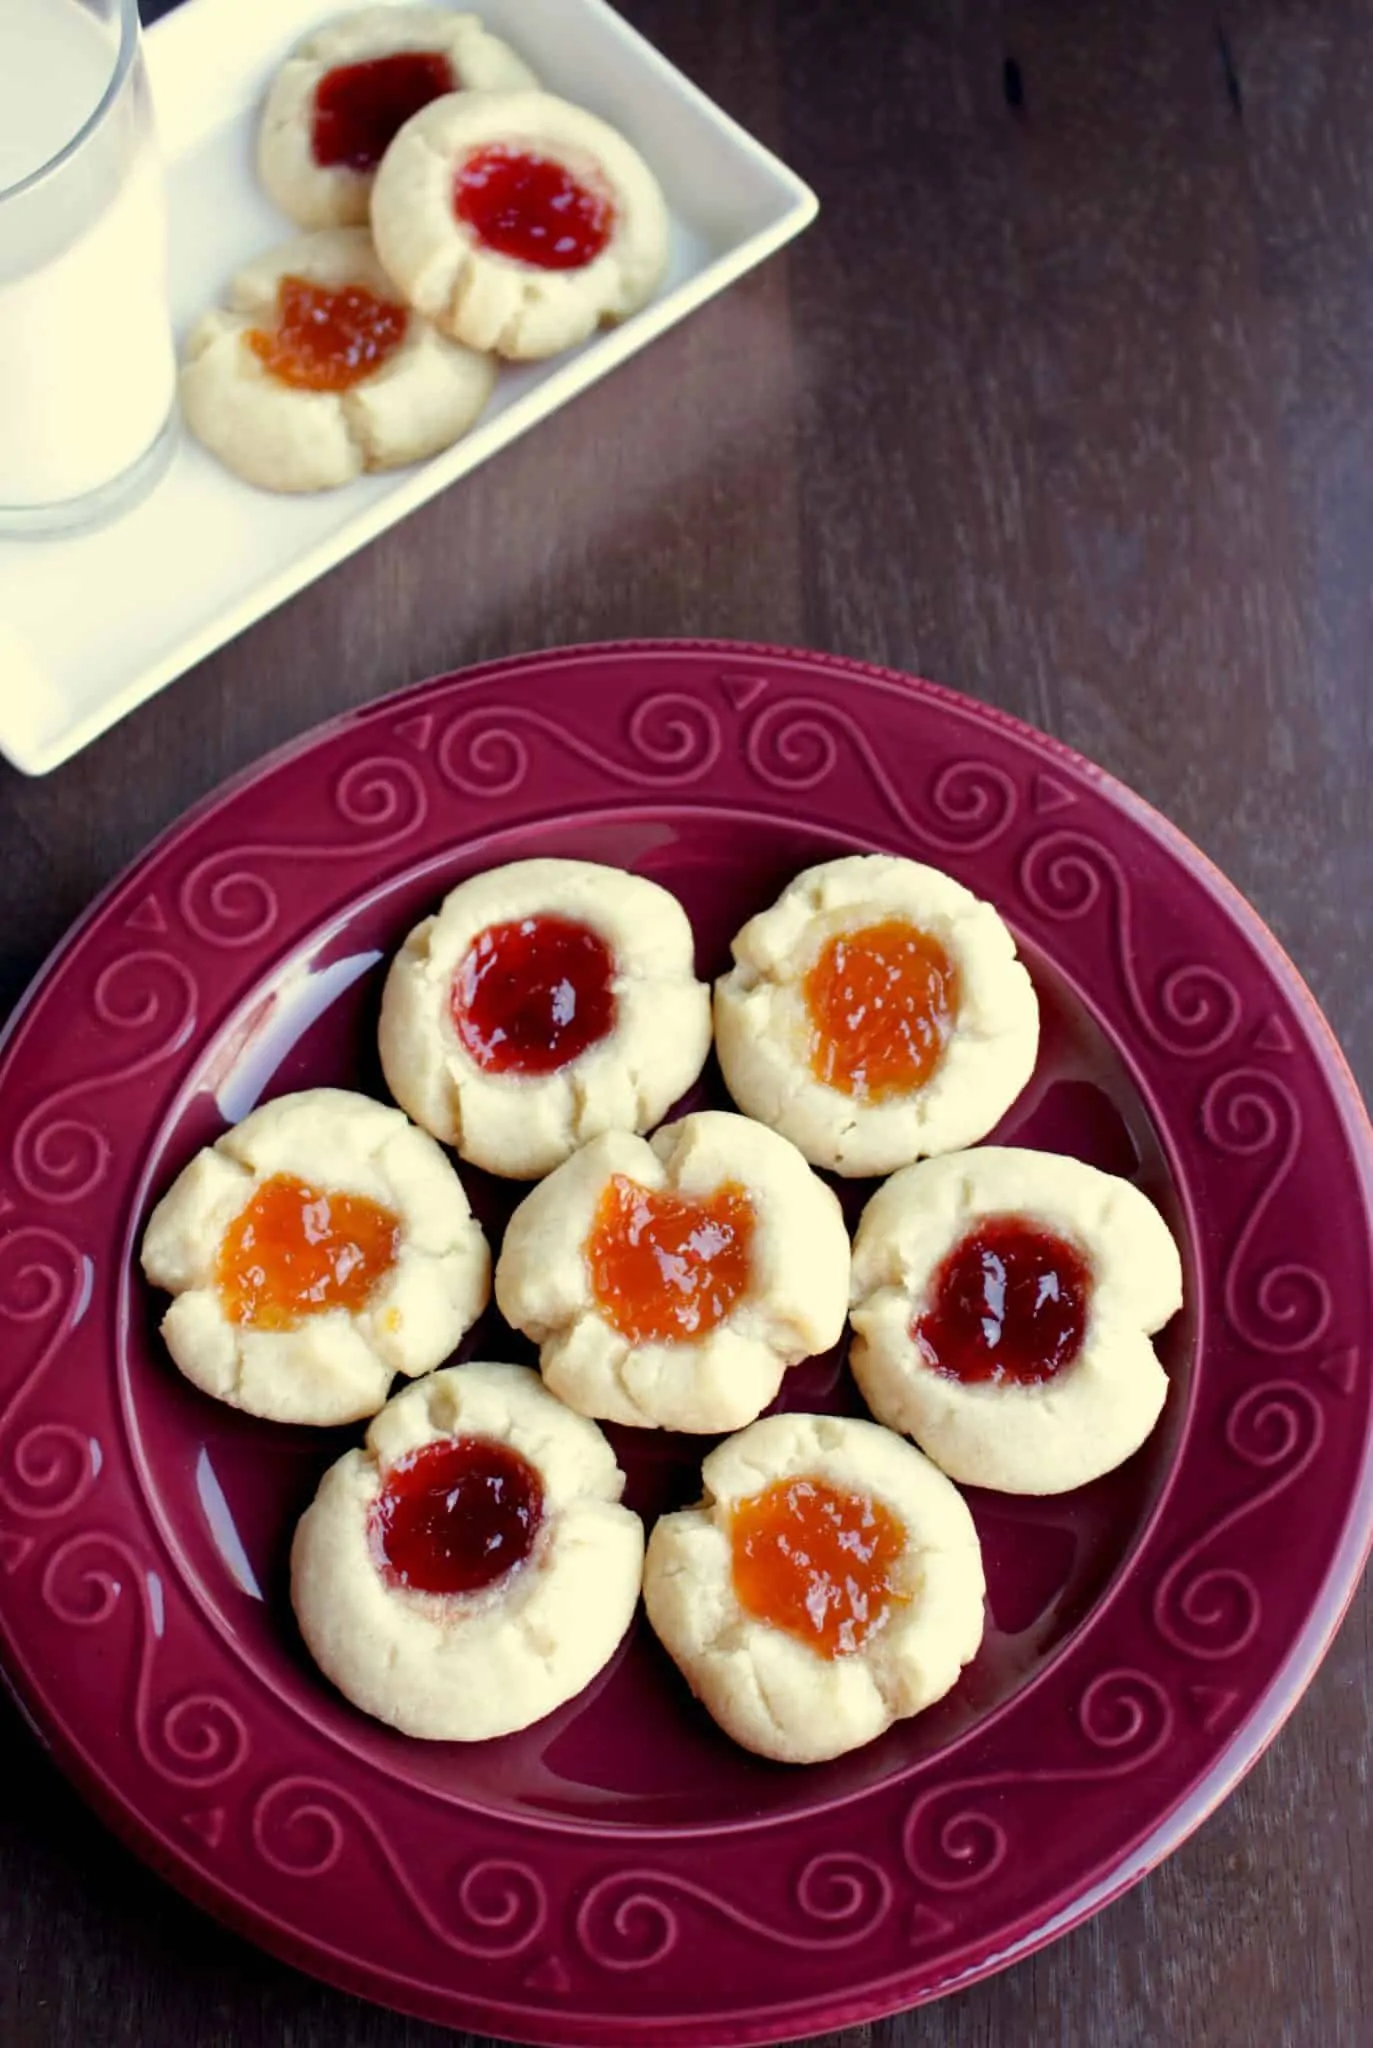
Strawberry jam is always everyone’s favorite in my house and hence that is one jam/preserve that gets used up really quickly. Next to that, is the apple jam that is a favorite.
I did not have any homemade spiced apple jam and hence was not able to try it out, but it will be a great one to try in the fall when I will have an abundance of apple jam.
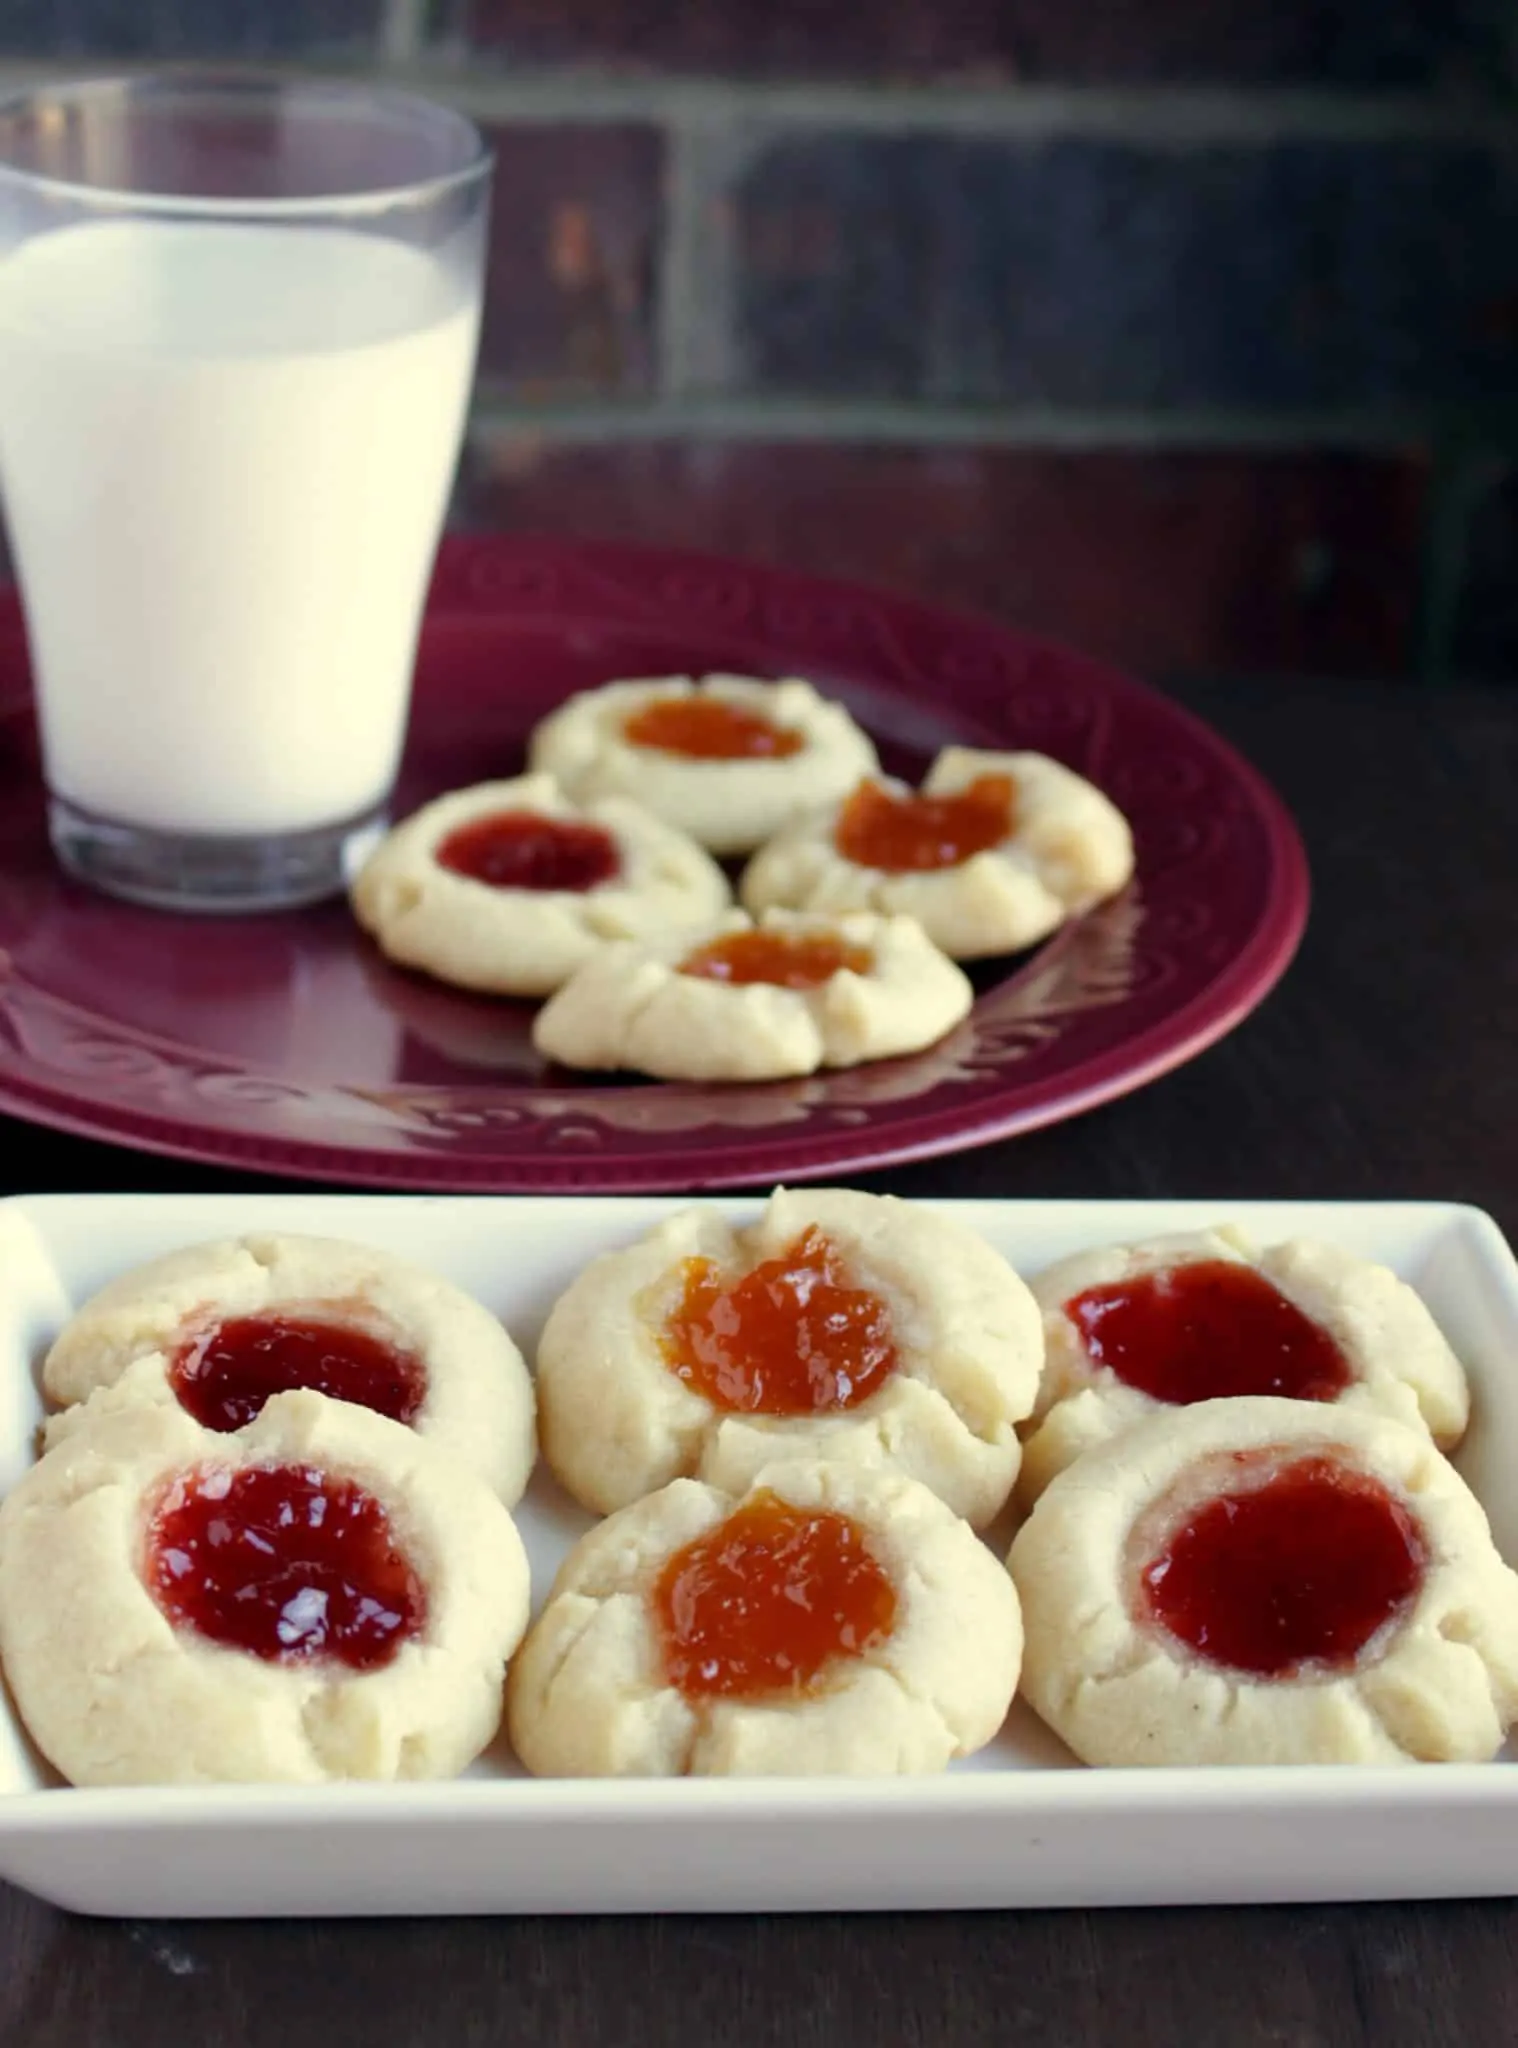
I had a jar of the apricot preserve that was begging to be used. My boys did not care for it in the sandwiches and hence it was left untouched. I was planning on making the entire batch with the apricot preserve hoping to use quite a bit of it, but then decided to use it only in half as I was worried the boys might not like it.
I used strawberry jam for the remaining half. Like I thought, my boys were not too keen on the apricot flavor and fought for the strawberry ones. My husband on the other hand loved the cookies with the apricot jam and enjoyed the whole batch without any competition.
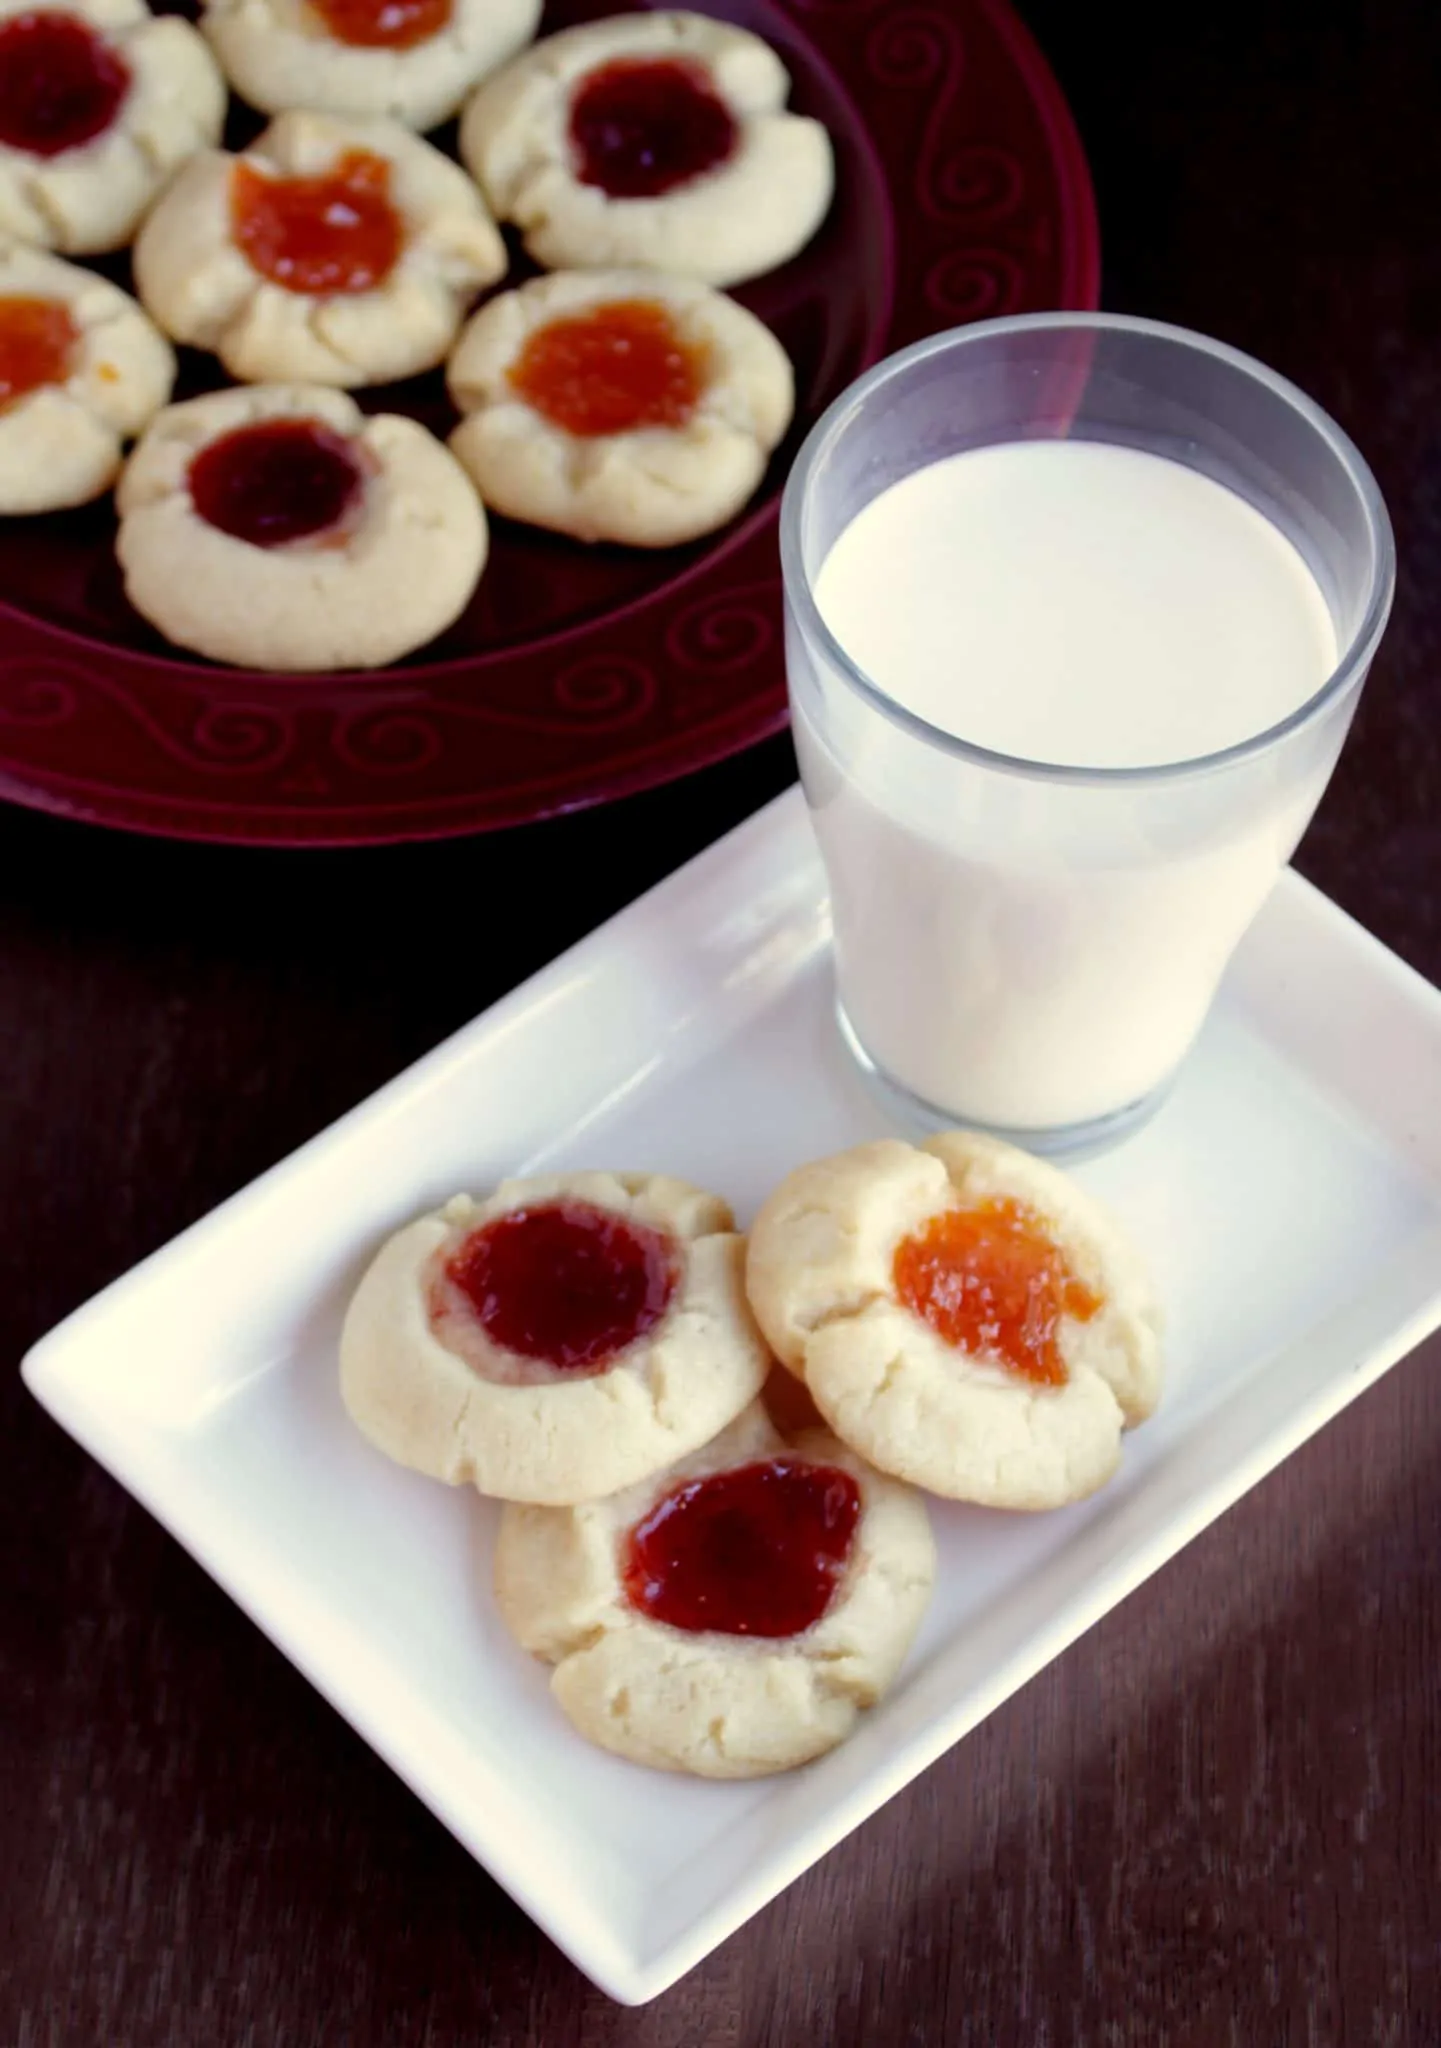
These jam thumbprint cookies are mildly sweet with a very flaky texture. The cookies just melt in the mouth and are perfect with a glass of milk or for a sneaky after-dinner snack.
If you love lemon flavor, then you have to try these delicious lemon puff cookies. They are very similar to these jam thumbprint cookies except we make a fresh lemon filling to add to the cookies.
Preparation time - 10 minutes Baking time - 12 to 14 minutes per batch Difficulty level - easy
Ingredients to make Jam Thumbprint Cookies - (makes about 15 cookies)
- Butter (Unsalted, room temperature) - 1 stick (½ cup)
- Sugar - 7 tbsps
- Vanilla extract - 1 tsp
- All-purpose flour - 1 cup + 1 tbsp
- Jam (any flavor) - as needed (I used strawberry and apricot jams)
Procedure -
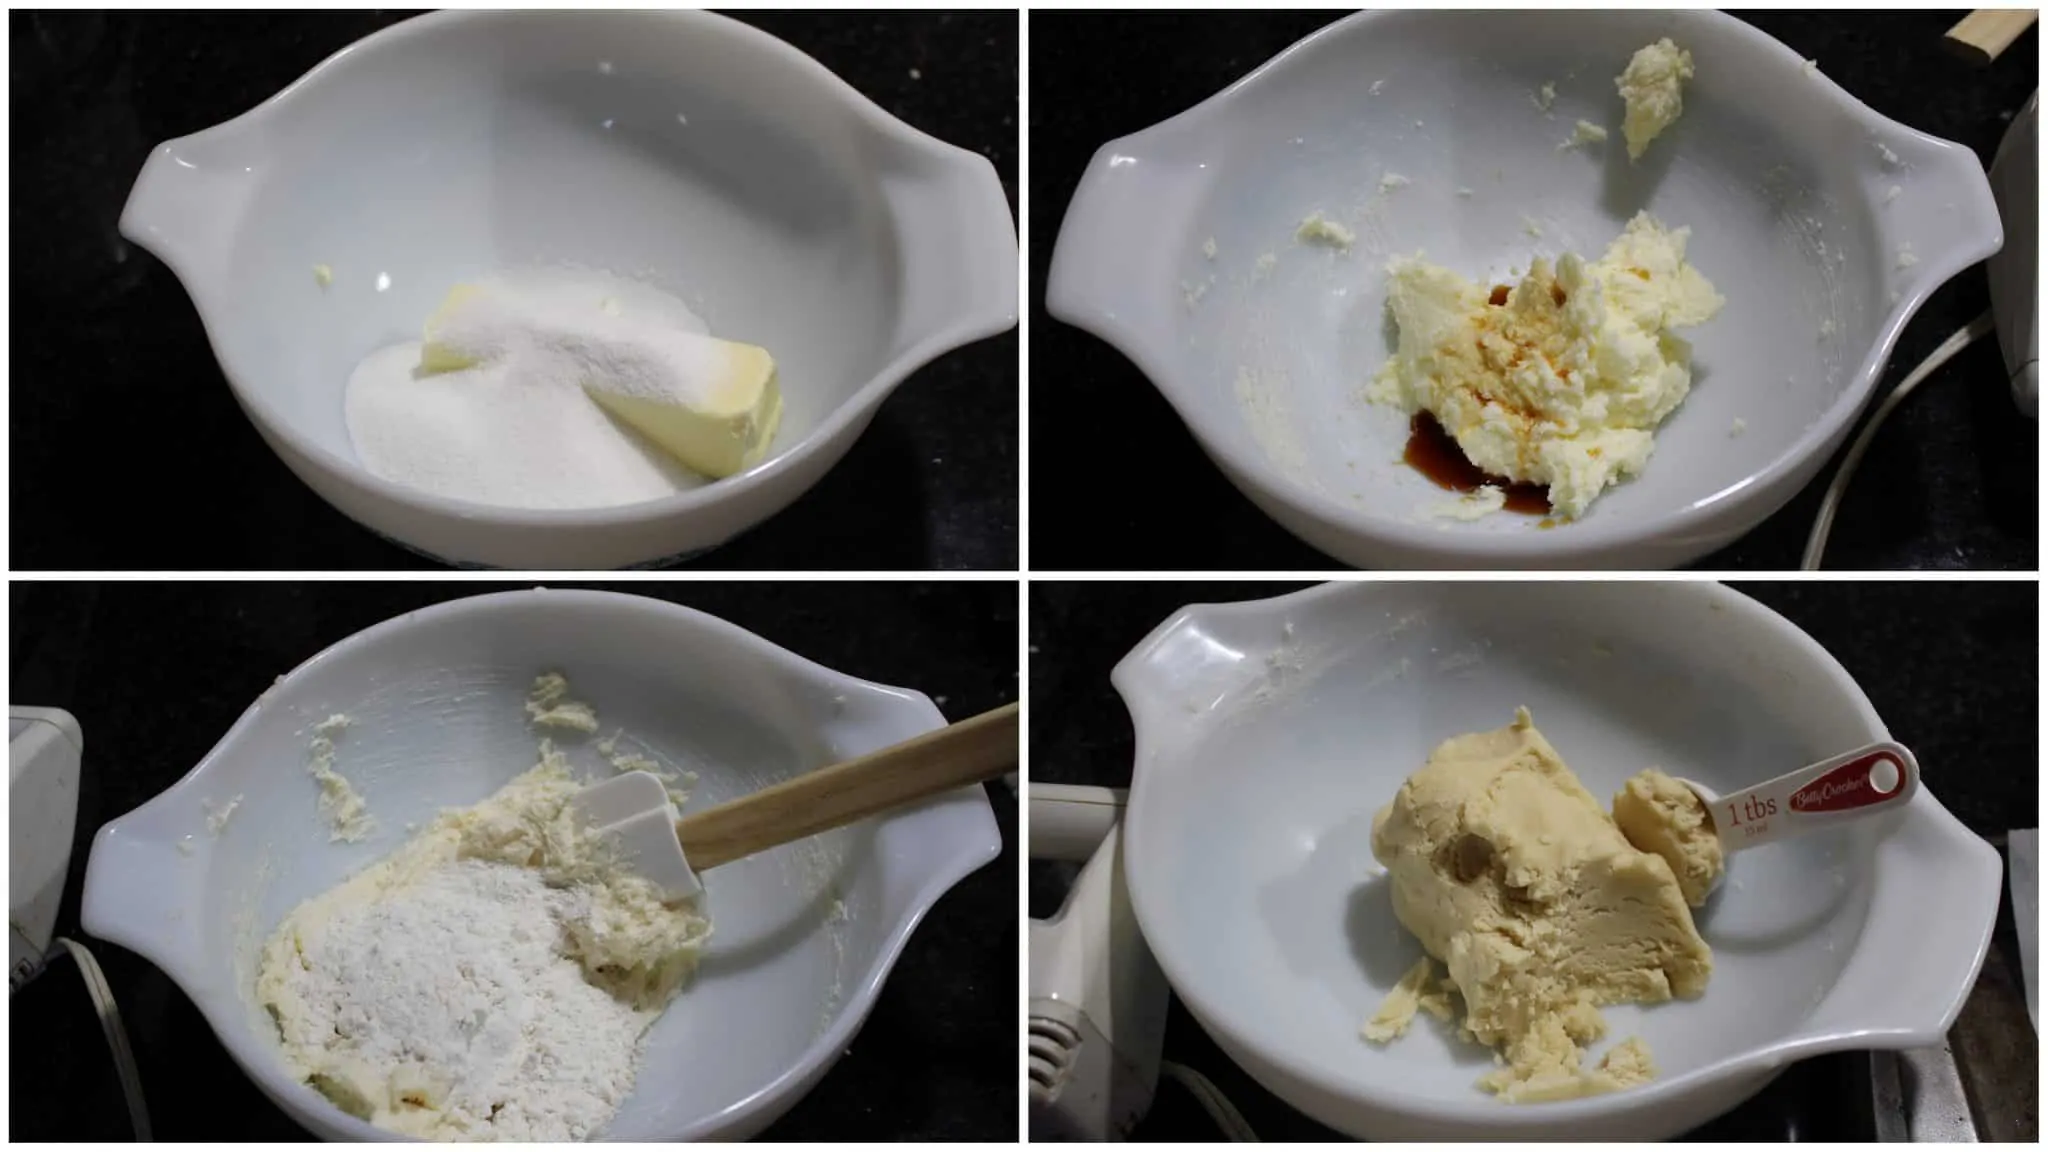
In a medium bowl, cream together the butter and the sugar. Make sure that the butter is at room temperature. I used by hand mixer to cream the butter as this was a small batch. If I was doubling the recipe, I would have used my stand mixer.
Add the vanilla extract and mix again.
Add the flour in batches and mix until it forms a stiff dough.
Preheat the oven to 350 F. Line a baking sheet with parchment or baking paper.
Using a tablespoon measure, scoop out the dough and form a ball. Place them on the lined baking sheet.
Using the back of a ½ teaspoon measure or using your thumb, make a small indentation in the middle of each cookie ball.
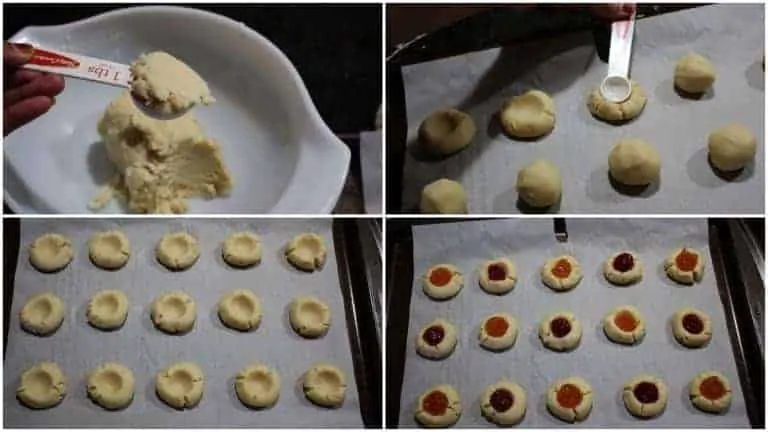
- Fill the indentations with jam.
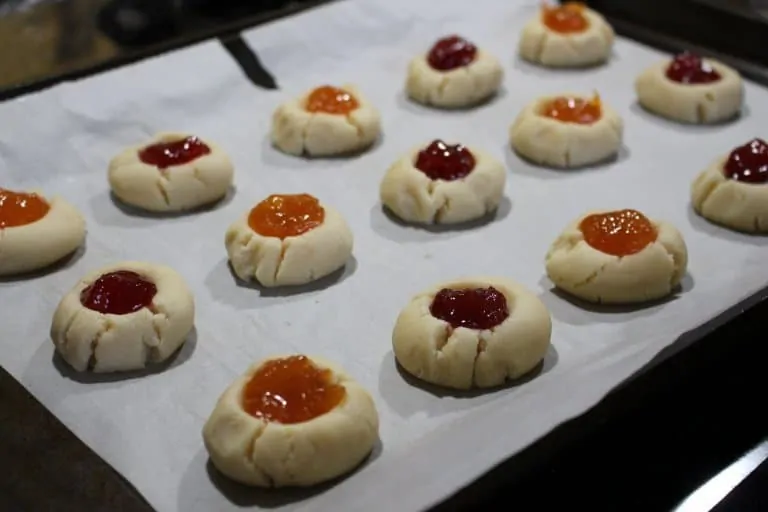
Bake them for about 12 to 14 minutes, keeping an eye on them for about 12 minutes. Mine needed 14 minutes, but depending on individual ovens the baking time may vary. Don’t let the cookies become too dark. Remove them when they are pale golden.
Let the Jam thumbprint cookies cool on the sheet for about 5 minutes and then cool entirely on a wire rack.
Similar Recipes
- Basic Christmas Sugar Cookies Recipe
- Japanese Melon Pans - Cookie Covered Bread Rolls
- Orange-Scented Cranberry Walnut Cookies
- Kiffles | Kiflis | Traditional Hungarian Pastries
Recipe
Equipment
- ▢ Oven
Ingredients
- ▢ 1 stick Butter Unsalted, room temperature (½ cup)
- ▢ 7 tbsps Sugar
- ▢ 1 teaspoon Vanilla Extract
- ▢ 1 cup All purpose flour Plus 1 tbsp
- ▢ Jam Any Flavor - as needed (I used strawberry and apricot jams)
Instructions
- In a medium bowl, cream together the butter and the sugar. Make sure that the butter is at room temperature. I used by hand mixer to cream the butter as this was a small batch. If I was doubling the recipe, I would have used my stand mixer.
- Add the vanilla extract and mix again.
- Add the flour in batches and mix until it forms a stiff dough.
- Preheat the oven to 350 F. Line a baking sheet with parchment or baking paper.
- Using a tablespoon measure, scoop out the dough and form a ball. Place them on the lined baking sheet.
- Using the back of a ½ teaspoon measure or using your thumb, make a small indentation in the middle of each cookie ball.
- Fill the indentations with jam.
- Bake them for about 12 to 14 minutes, keeping an eye on them from about 12 minutes. Mine needed 14 minutes, but depending on individual ovens the baking time may vary. Don’t let the cookies become too dark. Remove them when they are pale golden.
- Let the Jam thumbprint cookies cool in the sheet for about 5 minutes and then cool entirely on a wire rack.
Nutrition
More Cookies
- Crunchy Coconut Sesame Cookies
- Cream Cheese Spirals | Cinnamon Nut Filled Cookies
- Sweet Maida Biscuit | Baked Shakarpara
- Easy Eggless Coconut Macaroons

Chocolate Pinwheel Cookies
Equipment
- Oven
- Rolling Pin
Ingredients
- 1 ½ cup All-purpose flour 6-¾ Oz
- ½ teaspoon Baking powder
- ¼ teaspoon Salt
- ½ cup Unsalted softened butter 4 Oz
- ¾ cup Granulated sugar
- 1 Large egg Lightly beaten
- 1 teaspoon Vanilla extract
- 2 tablespoon Unsweetened cocoa powder
- ¼ cup Semi-sweet chocolate Melted and cooled slightly
Instructions
- Sift together the flour, baking powder, and salt and keep it aside.
- In the mixer, beat together the butter and the sugar until light and fluffy.
- Now beat in the egg and the vanilla and beat until well combined.
- Add the sifted flour mixture slowly over the butter and mix until it forms a dough.
- Now remove half the dough (About 9 0z) and keep it aside. This will become the vanilla layer of the cookie.
- Melt the chocolate in the microwave or a double boiler slowly. Add the cocoa powder to the melted chocolate and mix well.
- To the other half of the dough, add this chocolate mixture and mix again until the chocolate mixes uniformly in the dough.
- Make discs of both the chocolate and vanilla dough and cover it with plastic wrap and chill for about 30 minutes. Depending on where you live, it might need more time to chill.
- Roll the vanilla layer into a 12 inch square in between 2 layers of parchment or wax paper.
- Also, roll out the chocolate in between 2 layers of parchment into a slightly smaller square than the vanilla.
- Remove the top parchment from both the rolled out dough and slowly place the chocolate layer on top of the vanilla layer.
- Slightly roll the dough again (using less pressure) to make the two layers stick to each other.
- Roll the dough into a tight log. Refrigerate the dough for at least 2-3 hrs to completely harden at this stage.
- Make sure you lay the dough carefully in the fridge so that the shape of the log does not get disturbed. I froze my log for about an hour and then took it out to cut.
- Remove the log from the refrigerator or the freezer and roll it back and forth a couple of times to bring back the nice circle. Now using a sharp knife cut the log into ¼ inch thick cookies and place them on a parchment layered baking sheet.
- Bake them at 350 F/180 C preheated oven for 9 – 12 mins.
- Watch out for the base of the cookies when baking. The chocolate layer tends to become brown much quicker than the vanilla.
- Cool on a wire rack and when completely cooled, store the Chocolate Pinwheel Cookies in an airtight container.
